How to Delete Rows in Excel
Would you like to know how you could easily delete one or more rows in Excel? We can take a look at it together in this video tutorial!
See the video tutorial and transcription below:
See this video on YouTube:
https://www.youtube.com/watch?v=xlwrRrVORKg
If you’re asking how to remove rows in Excel, you’re in the right place! To find the answer, we’ll use the data table you can see right in front of you now.
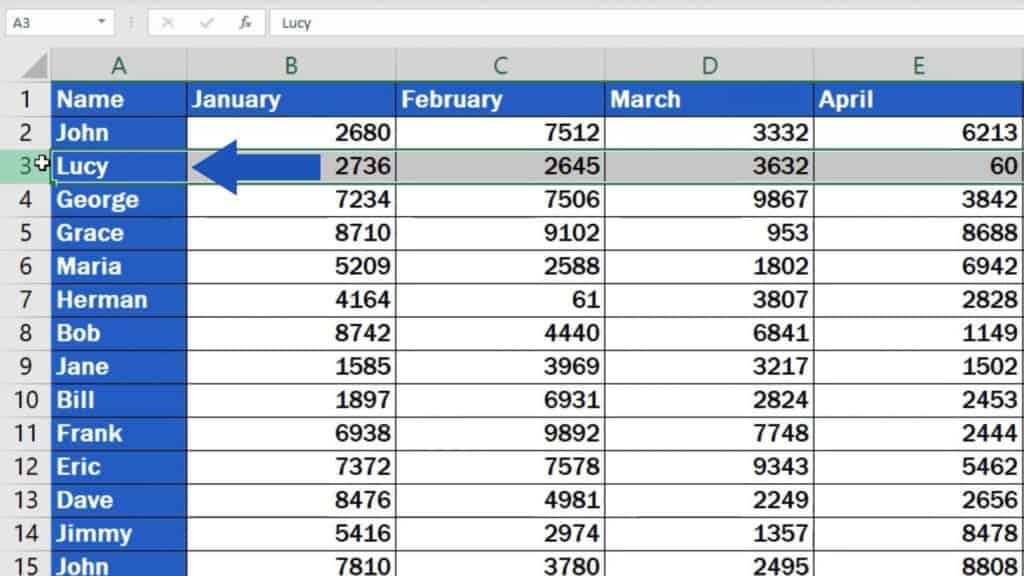
First, you need to click on the selected row heading represented by a number located on the left side of the spreadsheet. That’s how you mark the row you want to remove. In our case, this is gonna be row 3 with Lucy.
Now right-click and choose the option ‘Delete’.

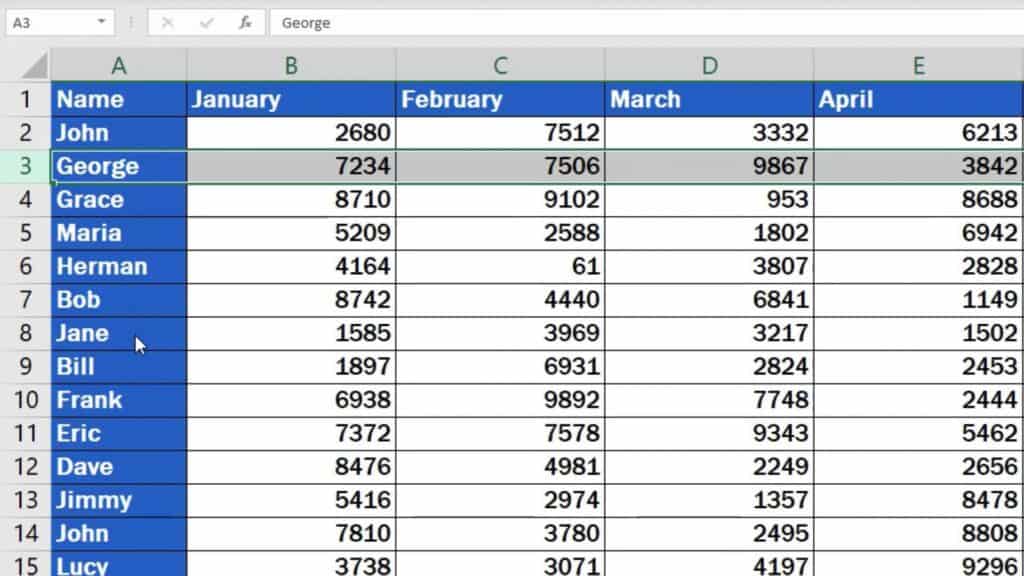
And that’s all you need to do! You may have spotted that the order of the rows got adjusted to the change we’ve made. George’s not in row 4 anymore, but he’s moved to row 3.
And here are two tips to make your life with Excel easier:
How to Remove Multiple Rows That Are Next to Each Other at Once in Excel
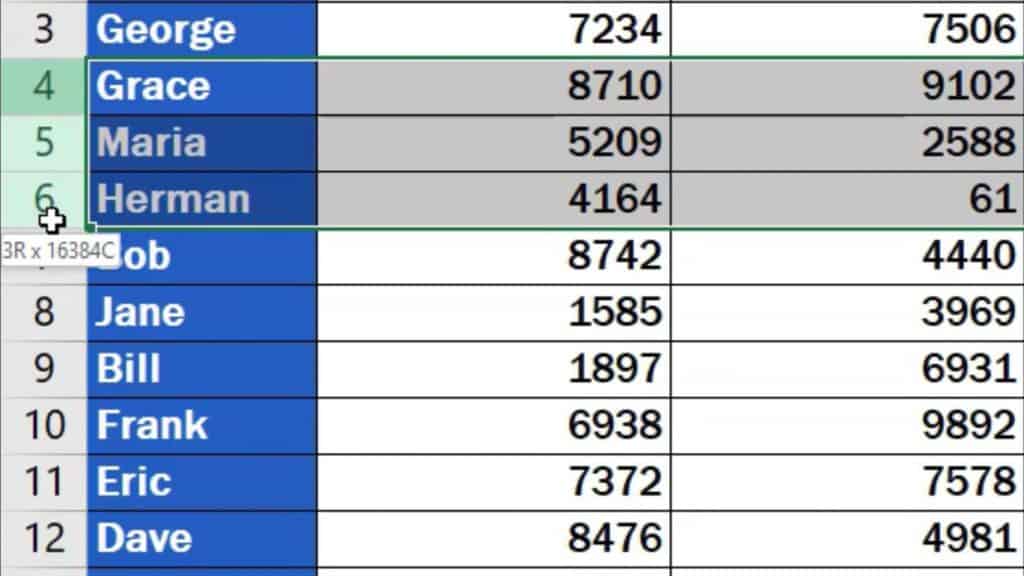
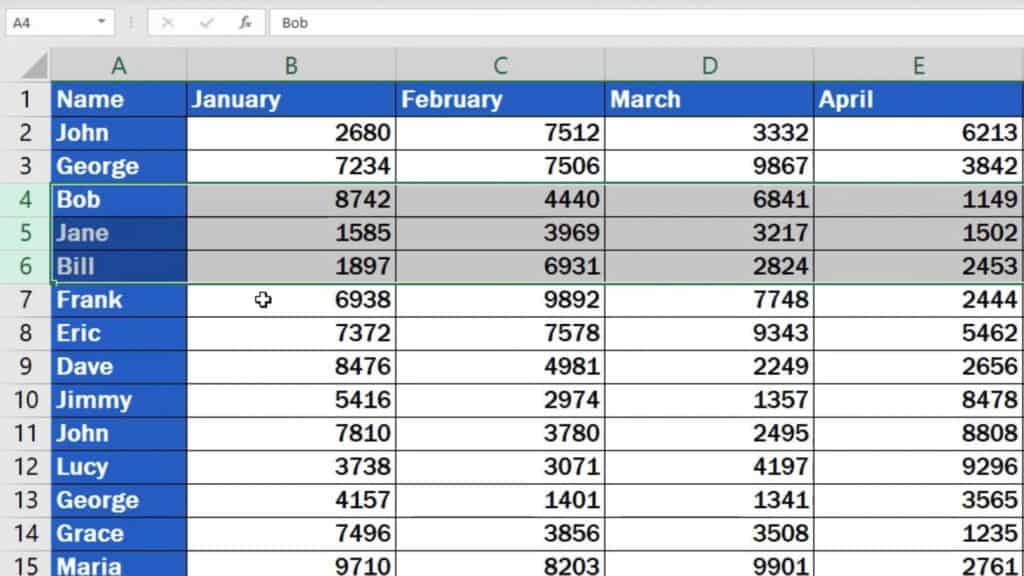
If you need to remove multiple rows that are next to each other at once, select the first row of the batch – click on the left button of the mouse, then hold and drag through all the rows you want to delete.
You don’t need to waste your time counting the number of rows you’re highlighting – Excel will do that for you! Just look at the little box on the right where you’ll see the selected row count.
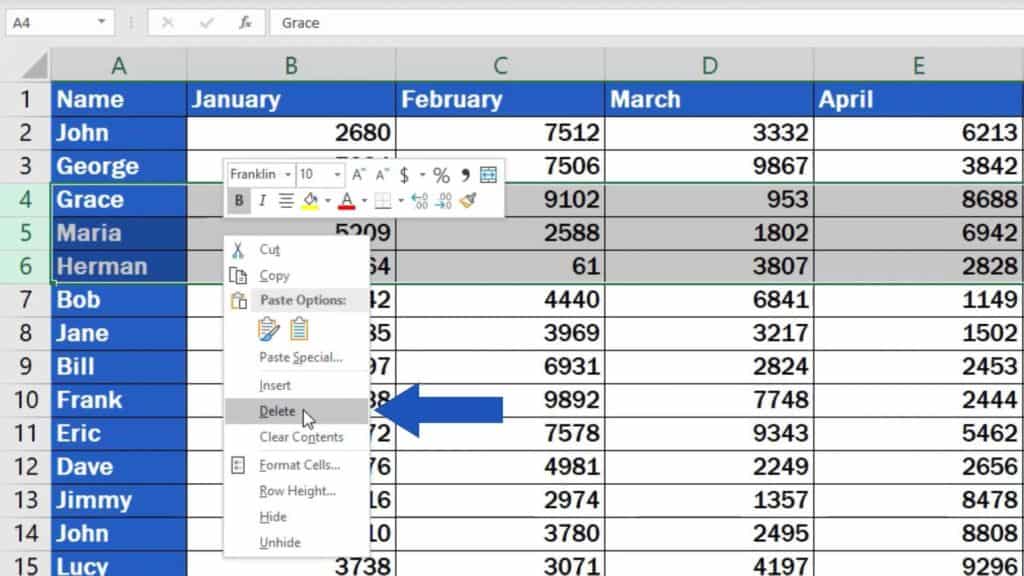
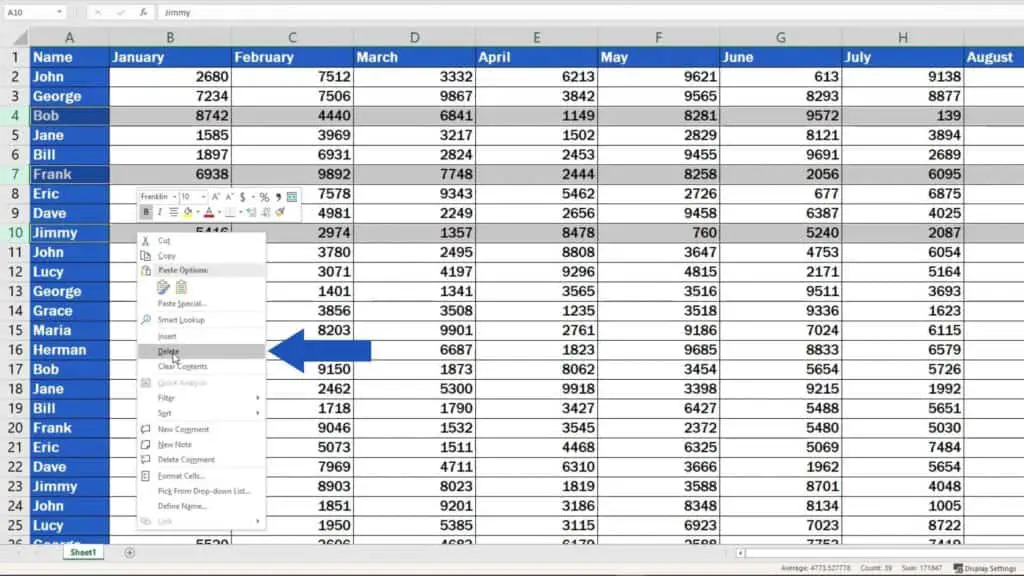
Once you’ve marked all the rows you want to remove, repeat the steps you already know – right-click into the highlighted area and select ‘Delete’.
Good job!
But watch out!
How to Remove Multiple Rows That Are Not Consecutive
If the rows you need to delete are not consecutive, you’ll have to try a slightly different way to remove them.
Select the rows by clicking on the first one, then find and press on the keyboard the ‘Ctrl’ key. While holding it, select any row you need by simply clicking on it. Let’s pick rows 4, 7 and 10, now.

Use the right-click, choose ‘Delete’, and we’re done!
There’s one thing to keep in mind, though.
How to Prevent Loss of Data in Excel
In this tutorial, you saw how to delete rows from a spreadsheet. Before you remove any rows, make sure you won’t need the data they contain, since all the information becomes lost after deletion.
If you still need the information contained in the rows you intend to remove, it’s always better to hide them.
Don’t miss out a great opportunity to learn:
- How to Hide Rows in Excel
- How to Unhide Rows in Excel
- How to Insert Row in Excel
- How to Freeze a Row in Excel
If you found this tutorial helpful, give us a ‘like’ and watch other video tutorials by EasyClick Academy. Learn how to use Excel in a quick and easy way!
Is this your first time on EasyClick? We’ll be more than happy to welcome you in our online community. Hit that Subscribe button on our YouTube channel and join the EasyClickers!
See you in the next tutorial!

 How to Subtract a Percentage in Excel
Welcome! Today we’re going to talk about the simplest way how to…


