How to Insert a Calendar in Excel (the Simplest Way)
Today we’ll be talking about how to insert a calendar in Excel. Thanks to this function you’ll be able to use a date picker, which allows you to comfortably enter dates in data tables.
Shall we start?
Would you rather watch this tutorial? Click the play button below!
There’s more than one way to insert a calendar (or date picker) in Excel and, as usual, we’ll have a closer look at the quickest and simplest one.
How to Insert a Calendar in Excel
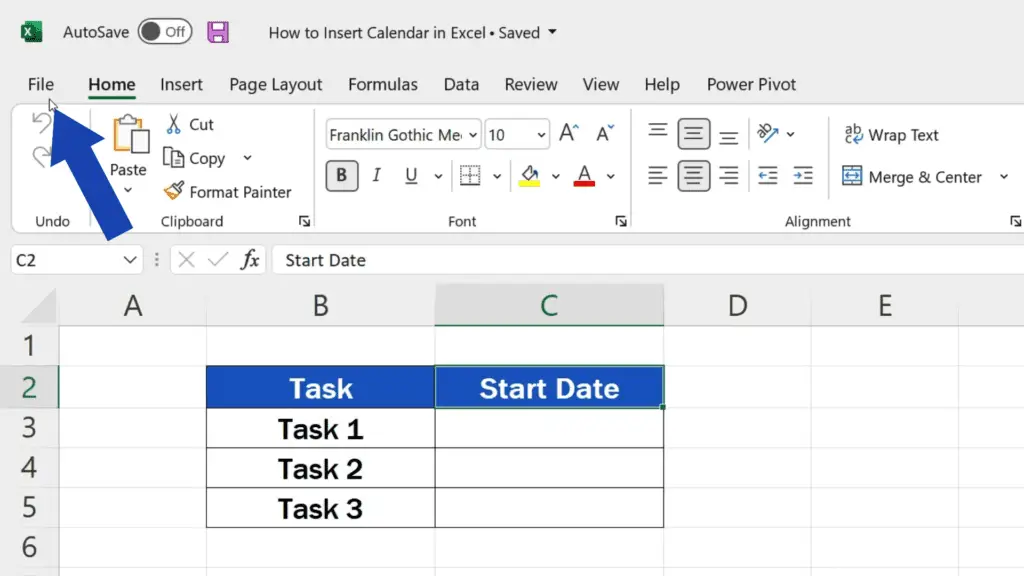
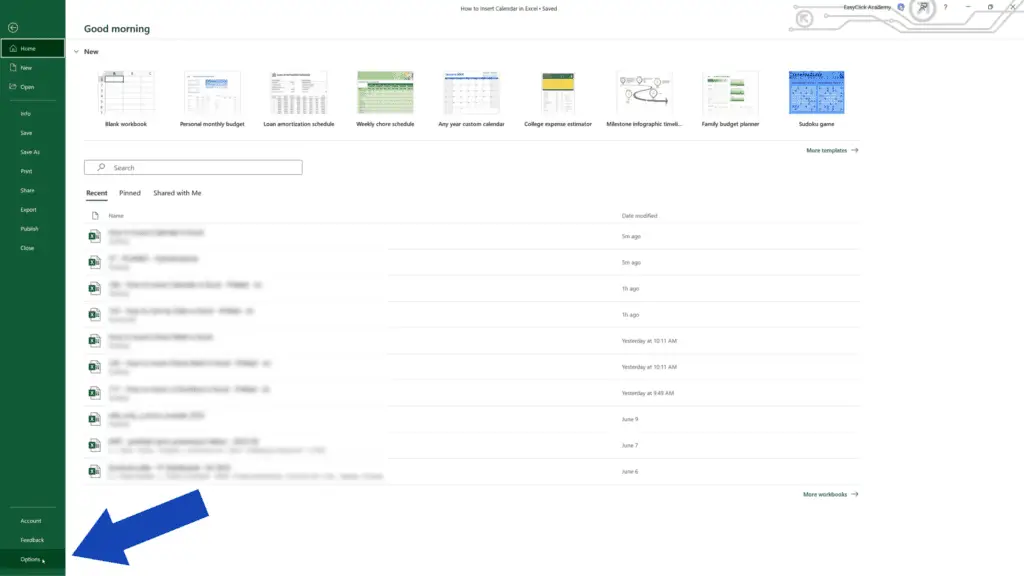
To install a calendar in Excel, we need to activate the Developer tab first. So, let’s click on ‘File’ up here and select ‘Options’.
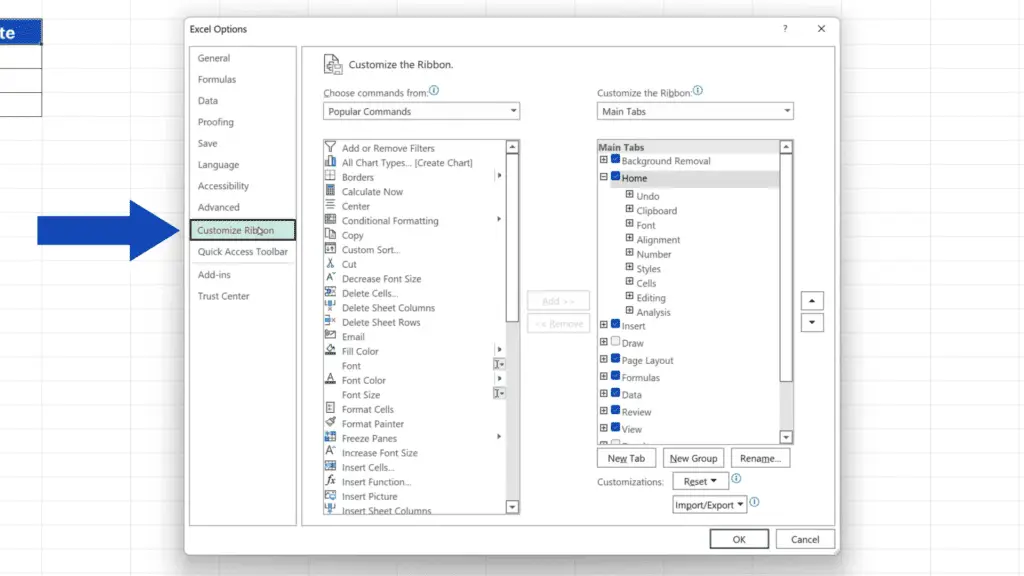
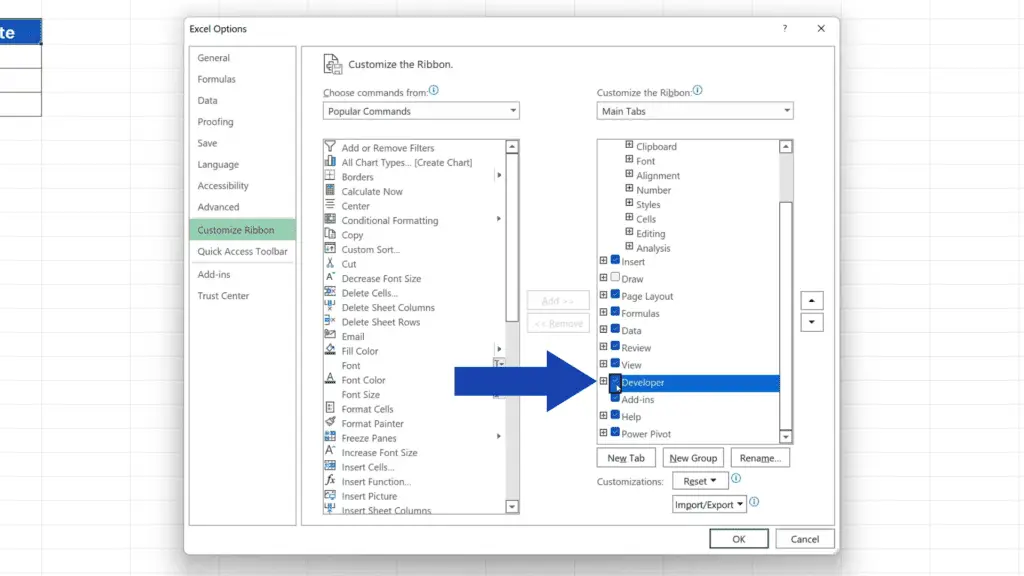
Once this window appears, click on ‘Customize Ribbon’. Look on the right-hand side of the pane and select ‘Developer’ to activate it. Now just click on OK and that’s done.
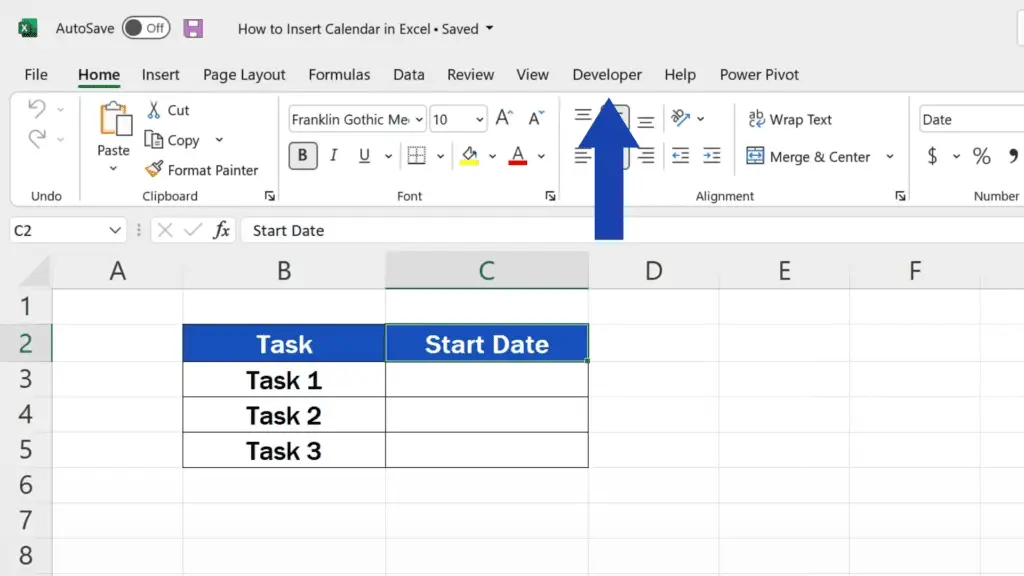
You’ll see the Developer tab up here among the rest of the tabs.
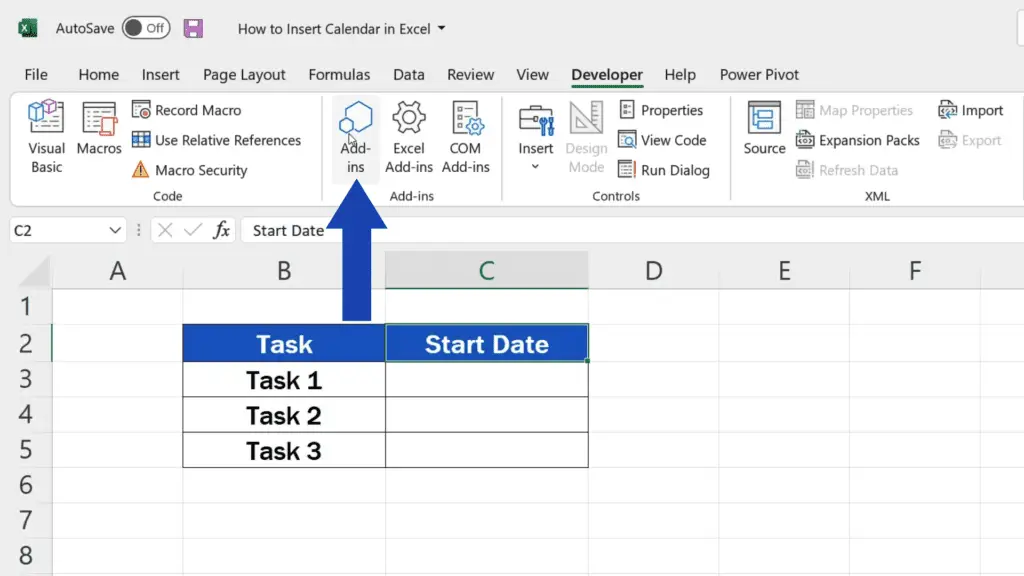
We can move on now and install the calendar in Excel, which is a very easy thing to do. Open the Developer tab and click on ‘Add-ins’. Here we can add various useful elements to the Excel application.
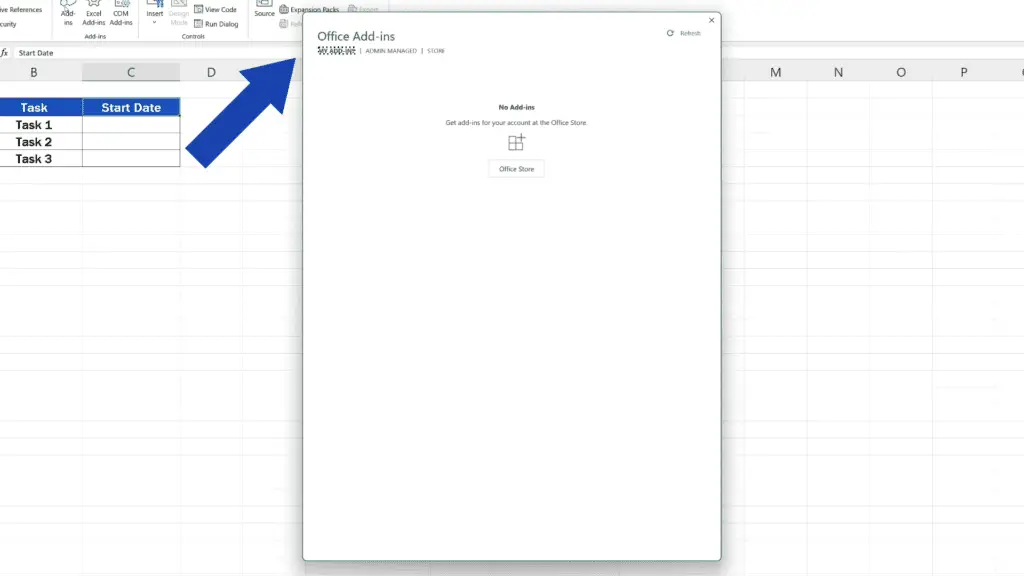
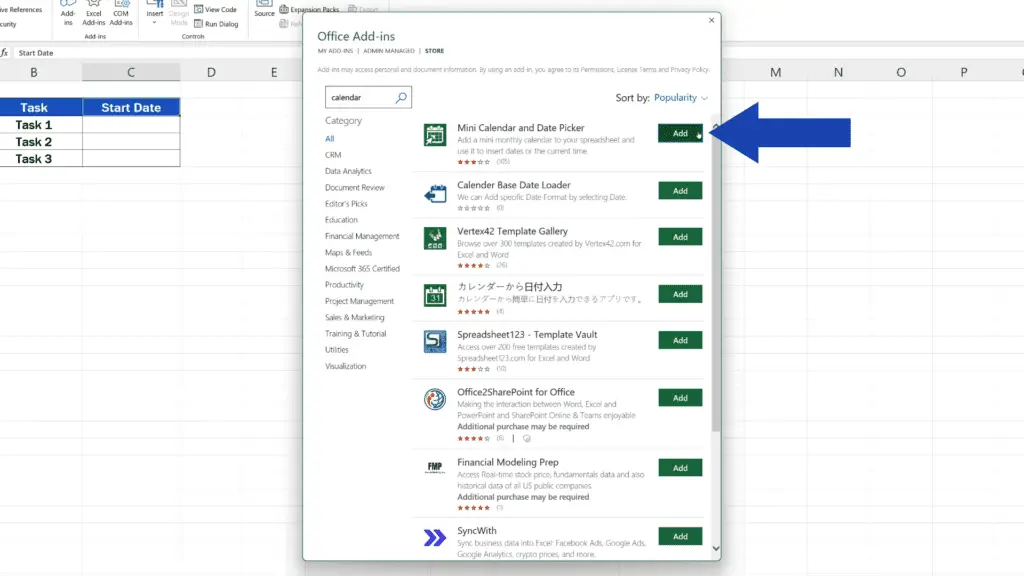
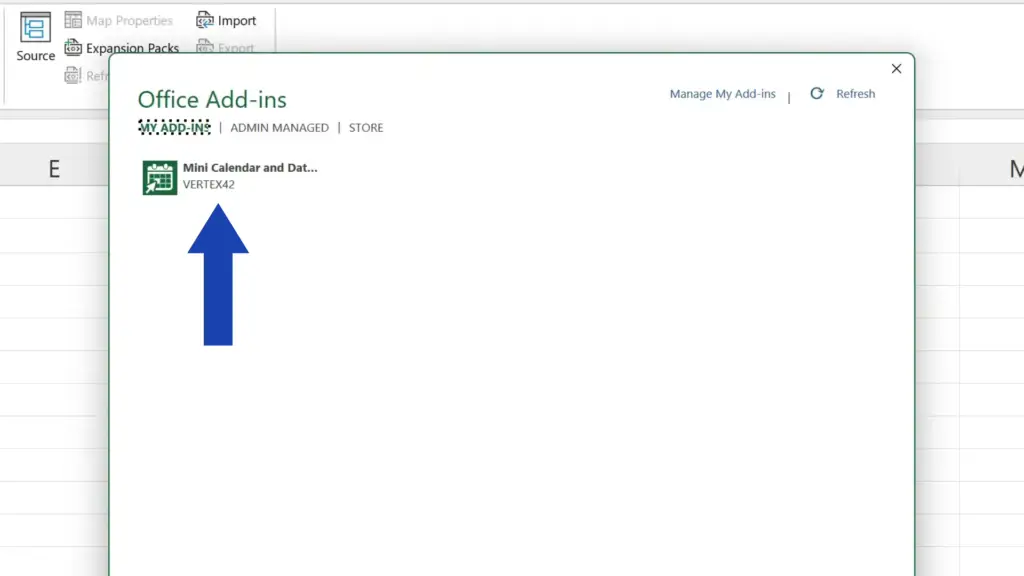
Since we want a calendar we open the Office Store and type ‘Calendar’ in the search field. After we press Enter we’ll see this Mini Calendar and Date Picker available in the first place.
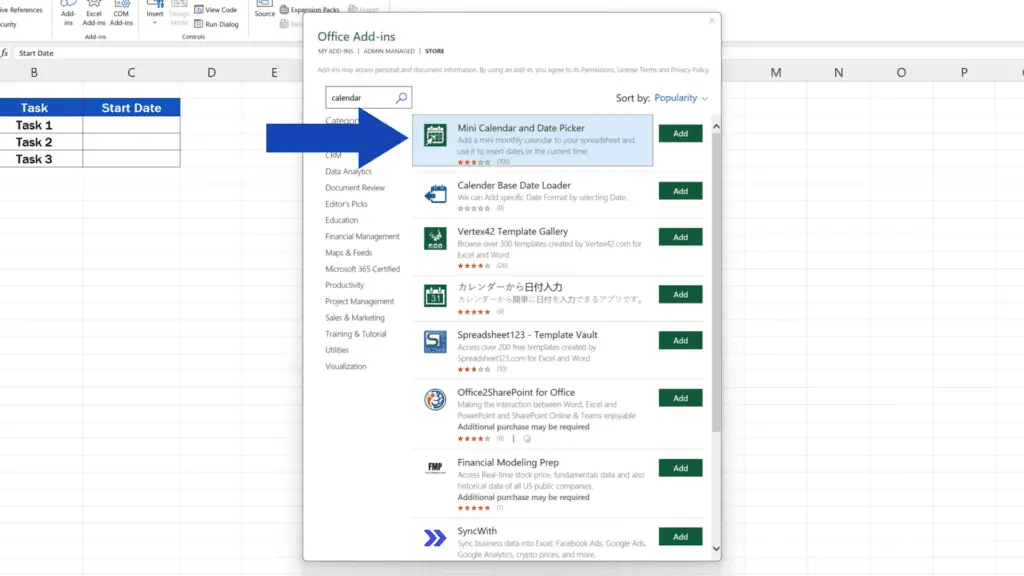
We click on ‘Add’ and now we can work with it and use it in spreadsheets.
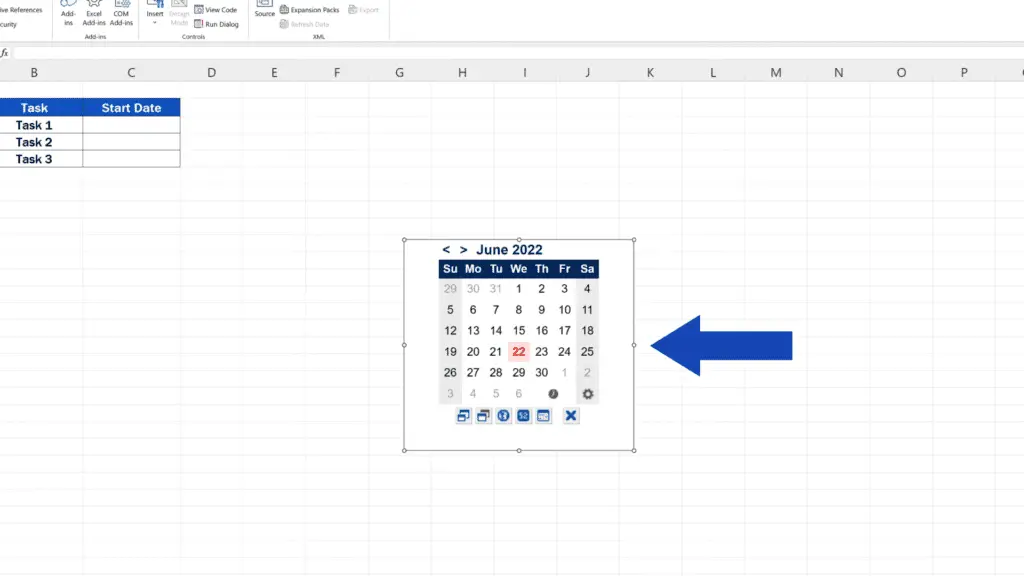
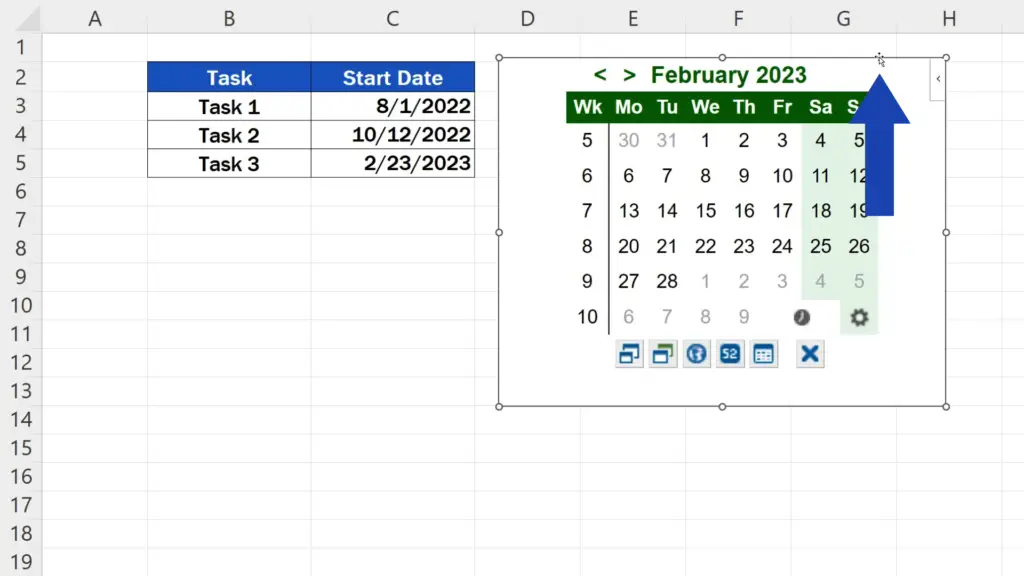
Of course, we can place the calendar just where we need. Click on any of its borders with the left mouse button, hold it and move the calendar wherever you want.

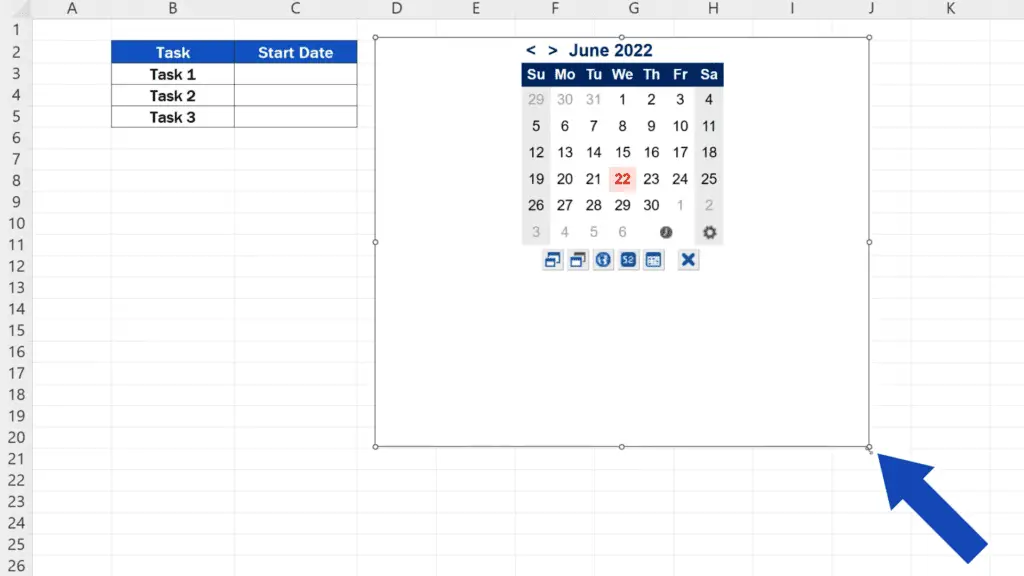
You can also change its size using these little circles in the corners.
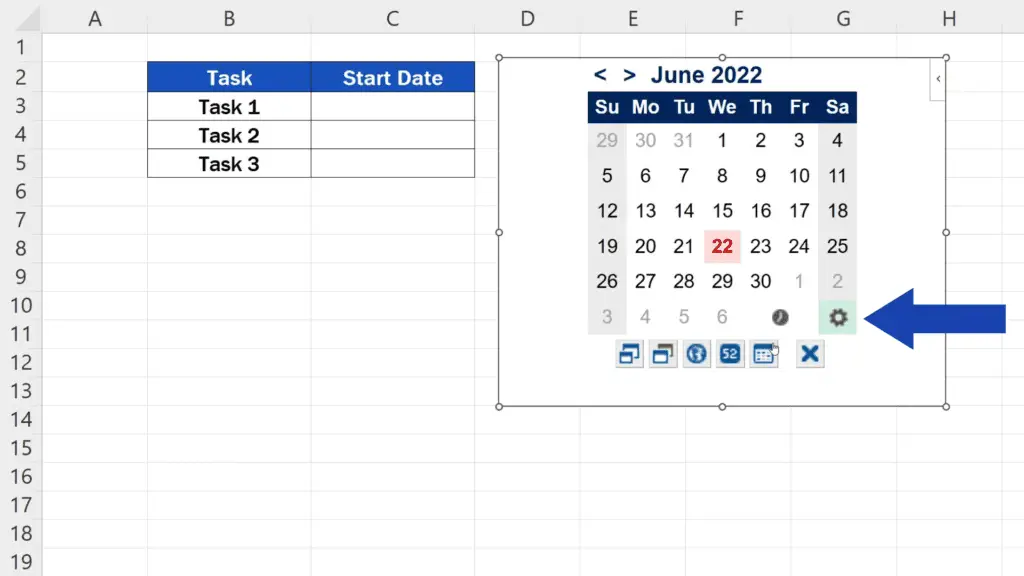
More amendments can be made through settings – for example, you can show the week number or change the calendar system. You can also adjust the style of the calendar – its colour, for instance.
But that’s not all!
How to Enter Specific Dates to Data Tables Thanks to the Calendar Function
Let’s have a look at how to enter specific dates to data tables thanks to the calendar function.
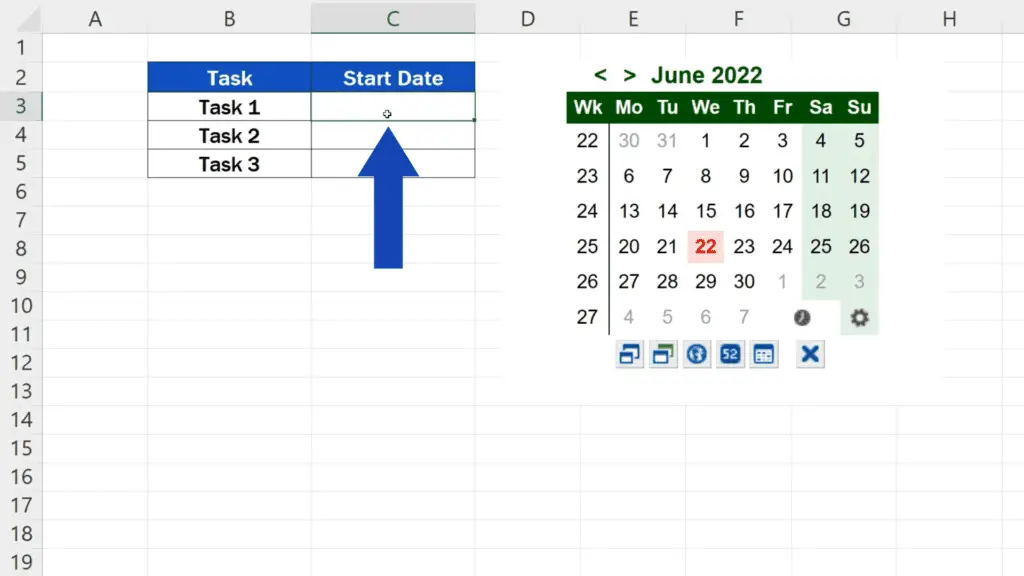
Let’s say we want to enter the start date for Task 1. Click on the cell C3 – that’s where we want to have the date displayed – then look the date up in the date picker.
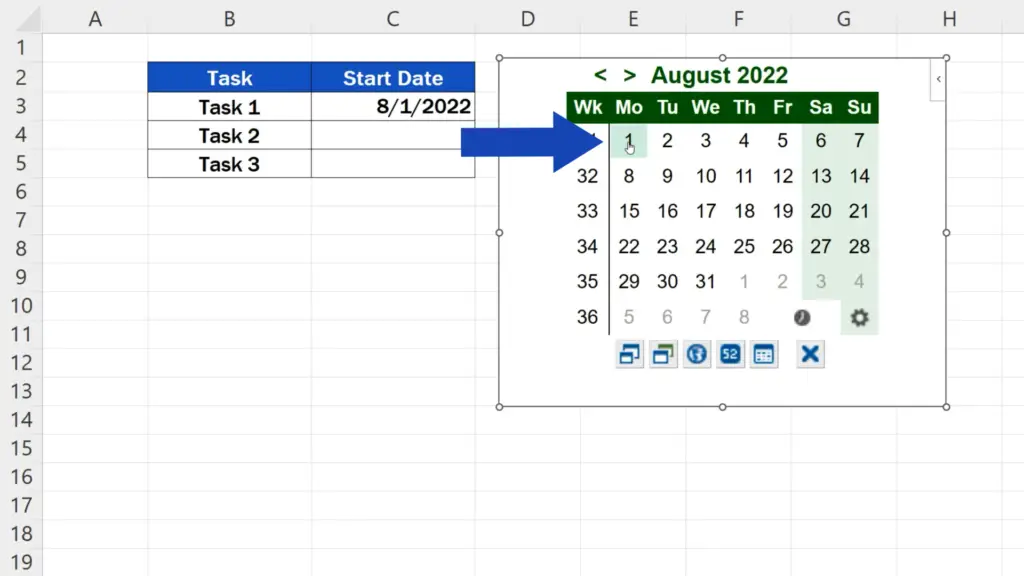
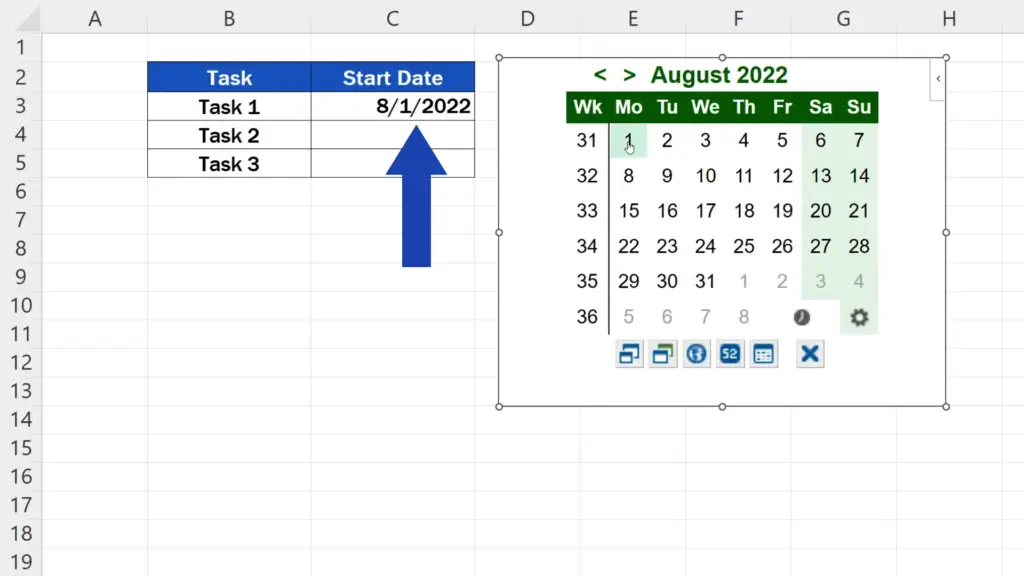
For example, Task 1 is supposed to start on the 1st of August, and here we go! The date’s in the cell C3 just as we wanted!
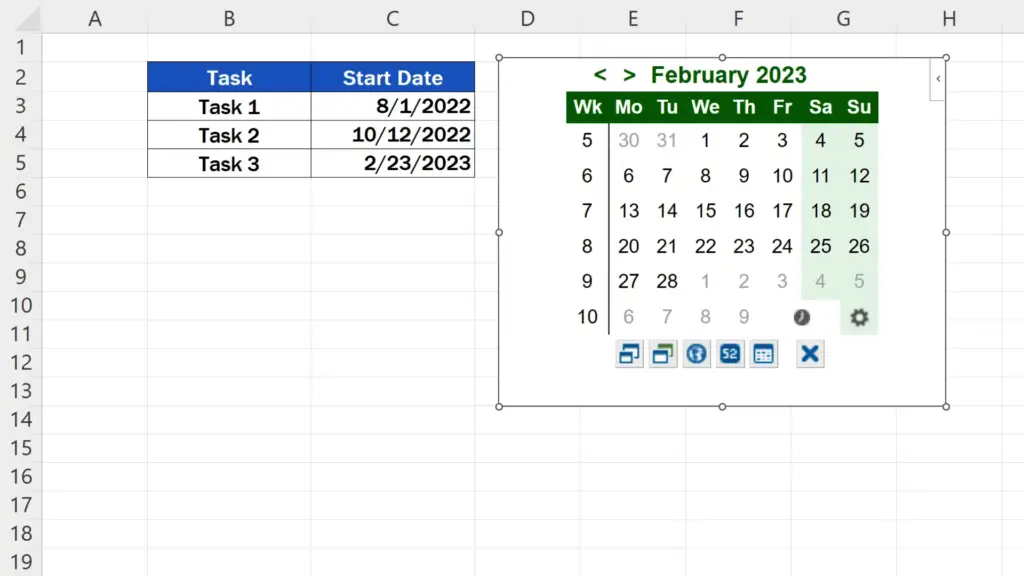
We can use the same way to enter dates for the rest of the tasks. We click on the cell, pick the date and that’s it!
And before we wrap it up, here’s a handy trick.
If you don’t need to use the date picker anymore, just click on any of the borders and press the Delete key. And it’ll be gone in a split second!
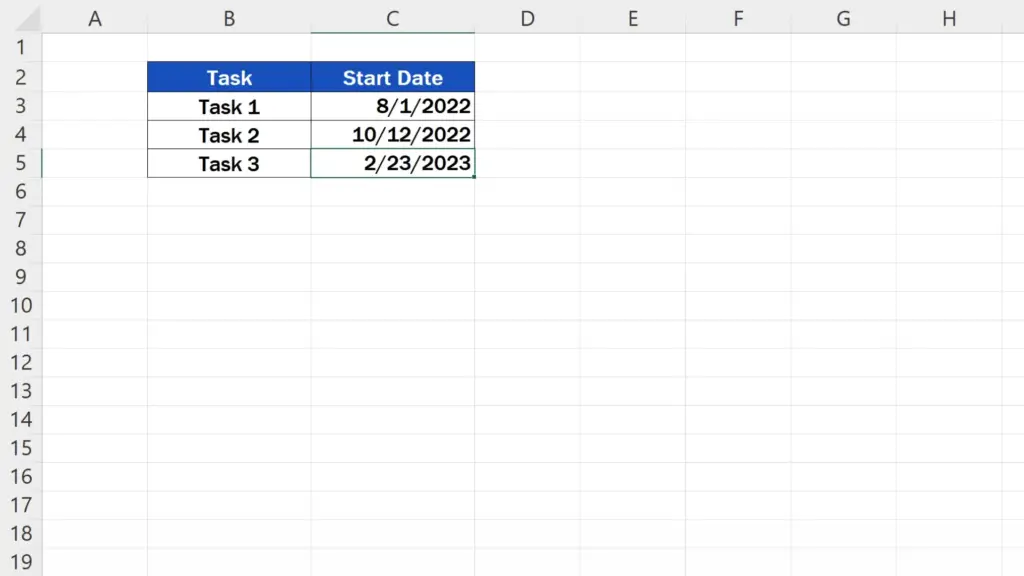
To have it back on screen again, just click on the Developer tab, go to ‘Add-ins’ just as you did before, and now you’ll see it among the already used add-ins.
Click on it again and you’ll see it back in no time!
Don’t miss out a great opportunity to learn:
- How to Use the TODAY Function in Excel (Useful Examples Included)
- How to Calculate Working Days in Excel (Two Helpful Ways)
- How to Calculate Age Using a Date of Birth in Excel (The Easy Way)
If you found this tutorial helpful, give us a like and watch other tutorials by EasyClick Academy. Learn how to use Excel in a quick and easy way!
Is this your first time on EasyClick? We’ll be more than happy to welcome you in our online community. Hit that Subscribe button and join the EasyClickers!
Thanks for watching and I’ll see you in the next tutorial!

 How to Subtract a Percentage in Excel
Welcome! Today we’re going to talk about the simplest way how to…


