How to Insert and Format Time in Excel
In this tutorial, you’ll learn the basics of how to insert and format time in Excel. In the end, you’ll be ready to use your knowledge in further, more advanced operations with time values.
Here we go!
See the video tutorial and transcription below:
See this video on YouTube:
https://www.youtube.com/watch?v=hhJ5T8wqRGk
Right Formatting for Cells with Time Information in Excel
First, it’s important to know that Excel works with and saves time data in a special way. That’s why you might want Excel to know that you’re inserting a time value (not a number, currency, or any other type of data), and that’s why you ought to set the right formatting for cells which are intended to contain time information.
So, the first important step is to format cells correctly. Keep watching to learn how to do it!
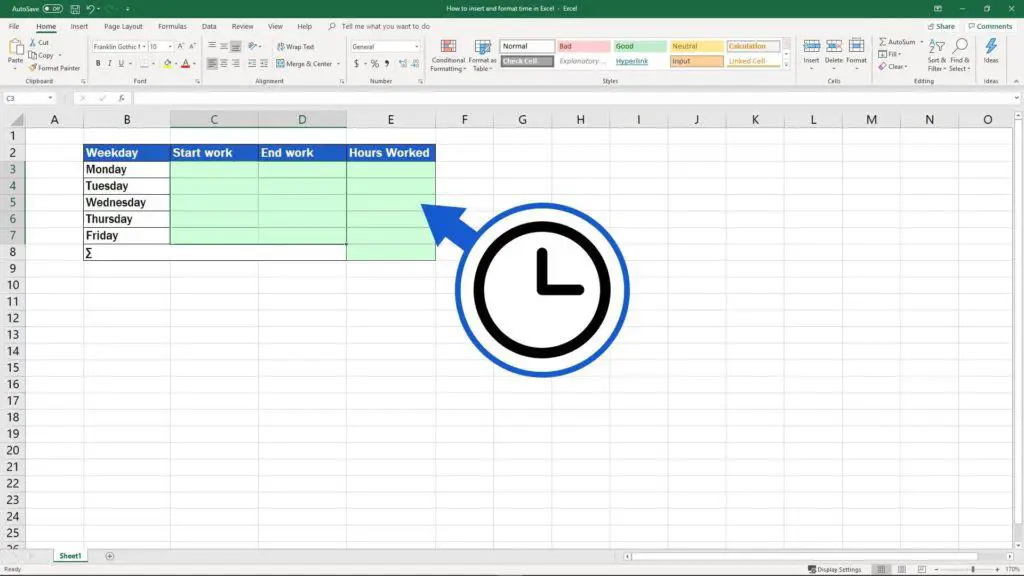
In this video, we’ll use the table to demonstrate how to log working hours or times when we started and finished working. The next tutorial will explain how to sum hours worked.
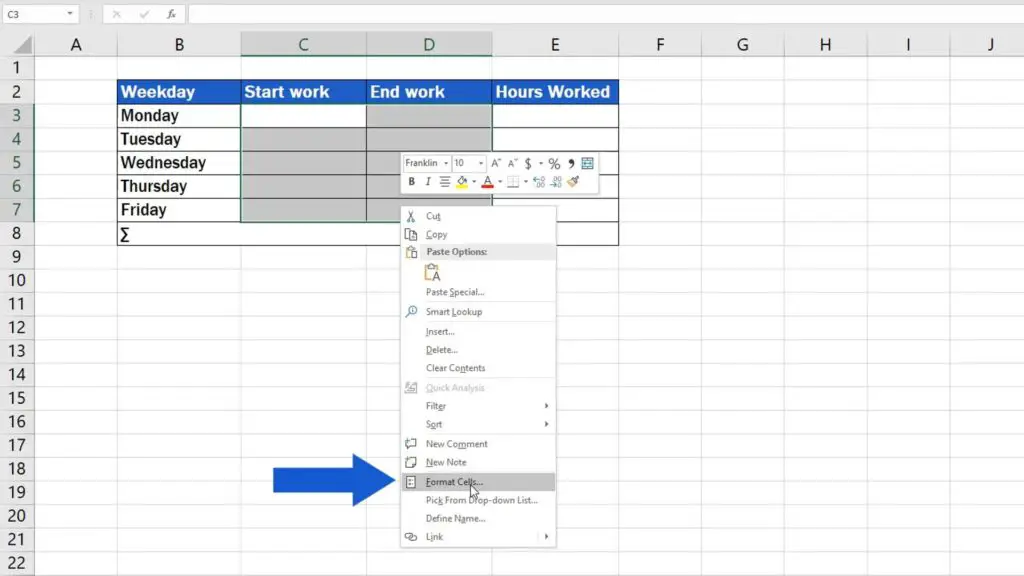
Let’s start with selecting empty cells. You can select cells which will contain time data in your table the same way. Once the cells have been selected, use a right-click to get to the option ‘Format Cells’.
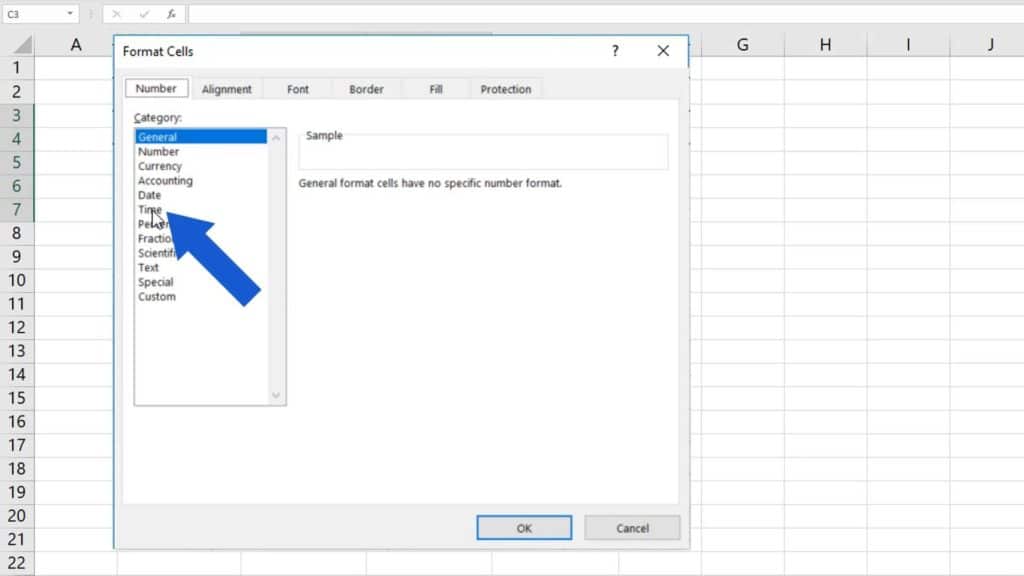
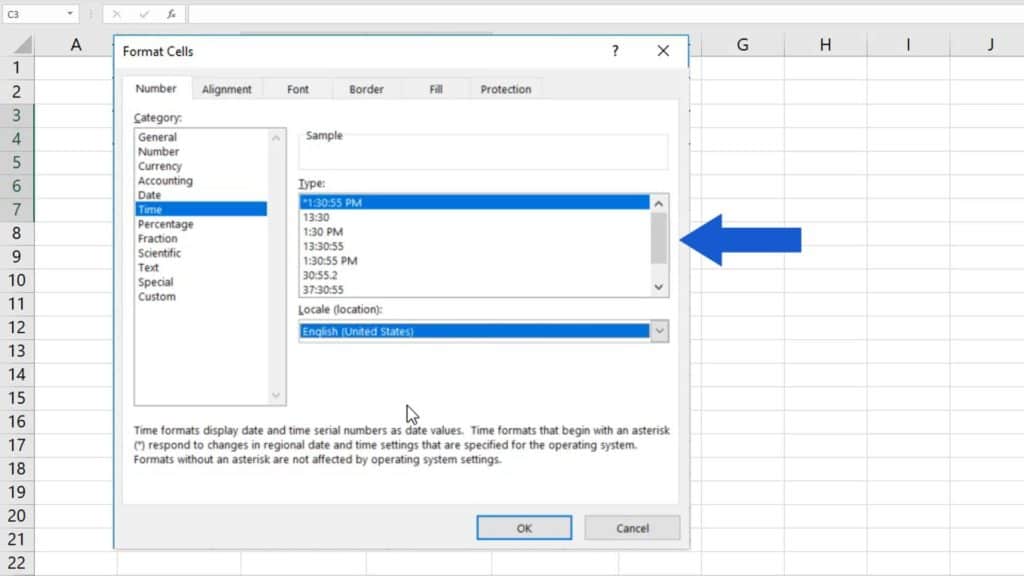
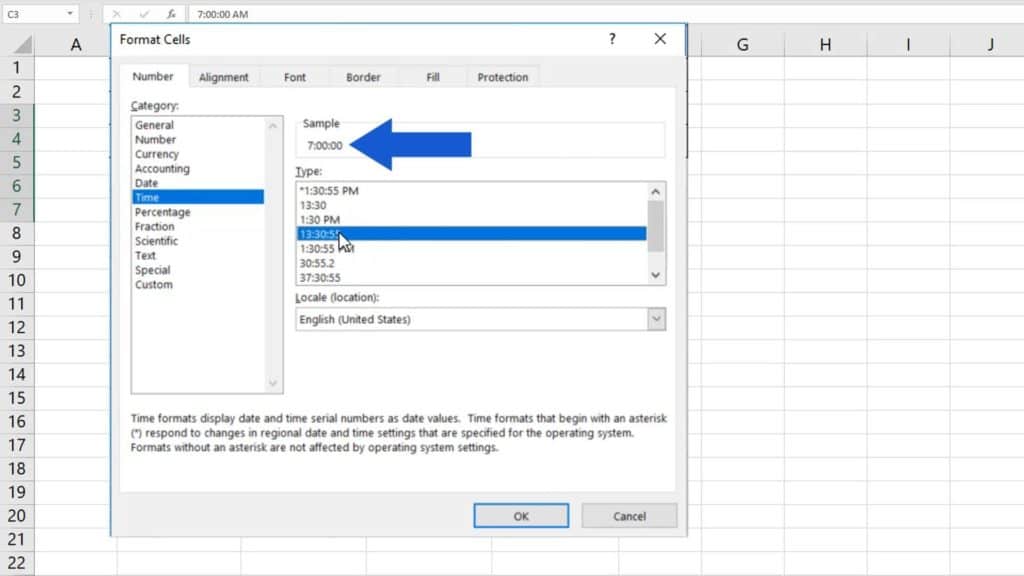
In the pop-up window, go to tab ‘Number’ and choose the category ‘Time’.
How to Pick a Country-Specific Time Format in Excel
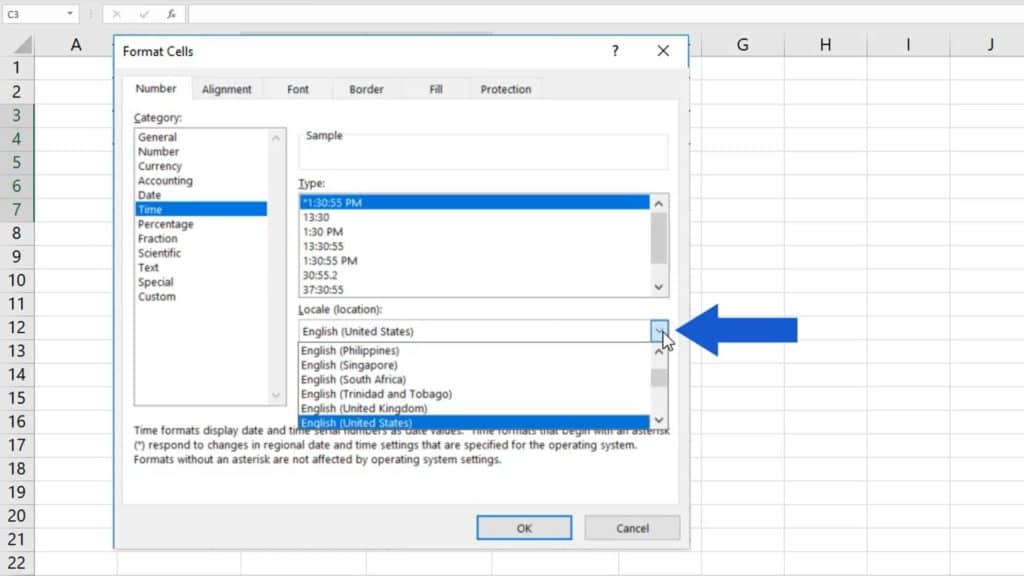
Excel has users all around the globe – when you have a look at the ‘Locale’ drop-down list, you can pick a country-specific time format according to what you need. We’ll choose English for the United States here and move on.
How to Pick Suitable Time Format in Excel
It’s important that in the next step you pick whichever time format is the most convenient for further operations. There’s a format containing seconds or a format without them, or even a time format that includes a reference to date.
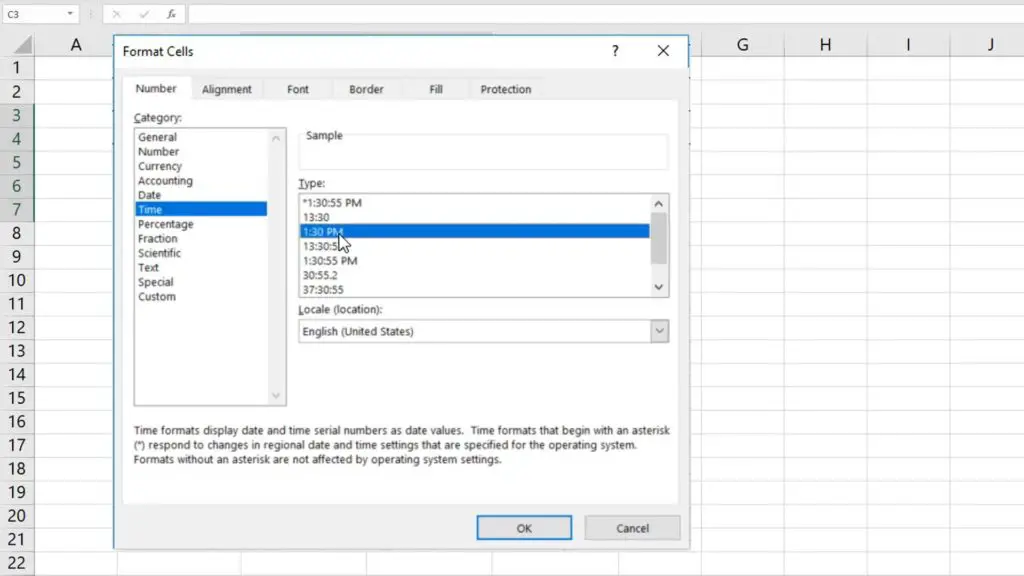
Well, let’s say that for us the most suitable format is the short AM/PM format. Select and click on OK.
To insert hours worked, cells need to be formatted the way you already know – as a regular time format. We’ll have a look at how to sum hours worked in the upcoming tutorial.
How to Insert AM/PM Time Format Correctly
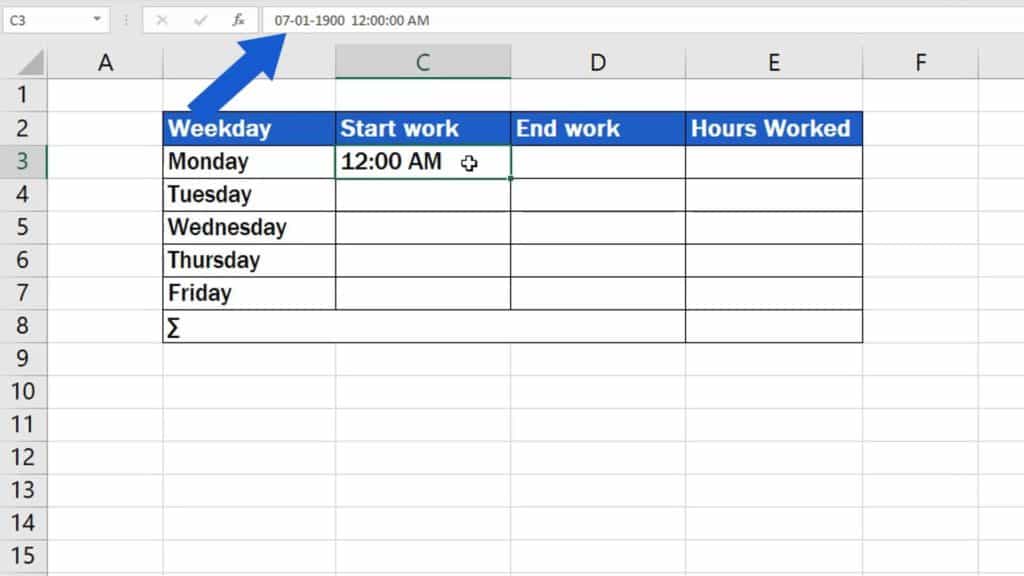
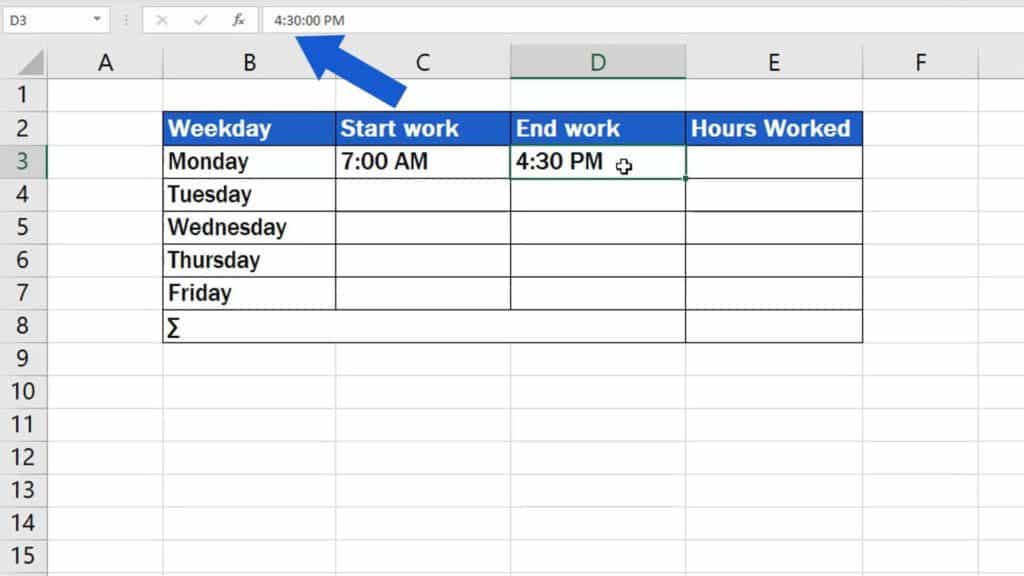
We’ll now log a start work time as 7AM. If we insert only the number 7, Excel will change it into a date and time format, as you can see up here, in the formula bar.
To make the value display correctly as seven o’clock in the morning, you’ll need to type in 7, then insert a colon and finally, add the number of minutes. In this case, we’ll use double zero. Press ‘Enter’ and watch how Excel automatically turns the inserted value into the short AM/PM format we set earlier.

In a similar way, we can log time when we finished work, for example at half past four in the afternoon. We can insert sixteen, then thirty separated by the colon, press ‘Enter’, and Excel will convert the time into the AM/PM format.
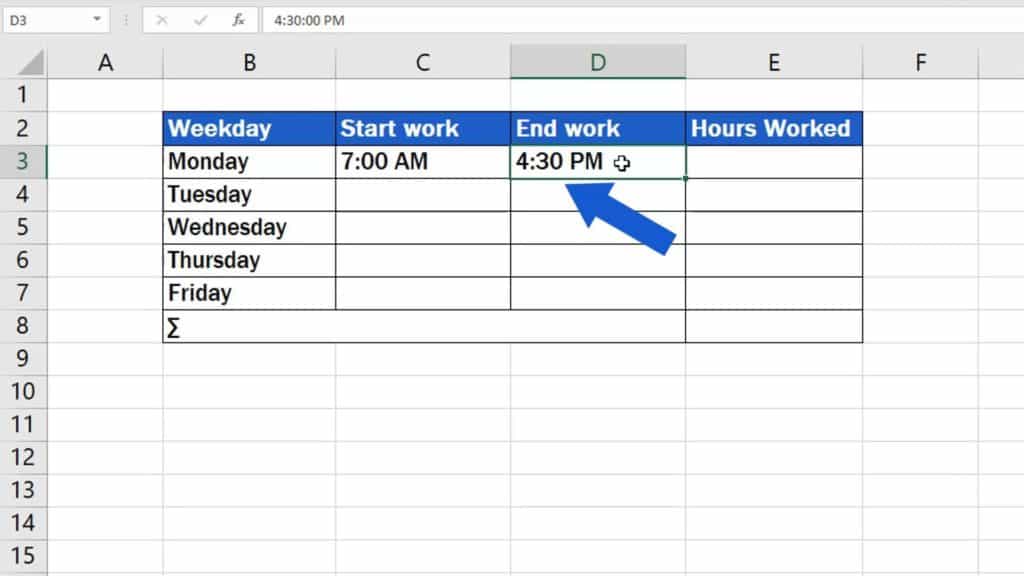
There’s another way how to get the same result without counting with the high numbers. We can insert four, the colon, and thirty, but this needs to be followed by a space. Only then we can add ‘PM’, like this. Without the space between the time and ‘PM’, Excel will not turn it into a time value, which can cause difficulties with any future calculations.
Let’s move on, now!
Change the Type of the Time Format in Excel
If you decide to change the type of the time format, follow the steps you already know. Select the cells, right-click, choose ‘Format Cells’ and pick any format type you need, for example the one that contains the reference to seconds. Up here, in the bar, you can see a preview. Click on OK and it’s all done! The times are now displayed in the format we’ve just set.
You’ve learned a simple way how to correctly insert and format time in Excel!
If you’re curious to know how to do correct calculation of hours worked (here in the column E),
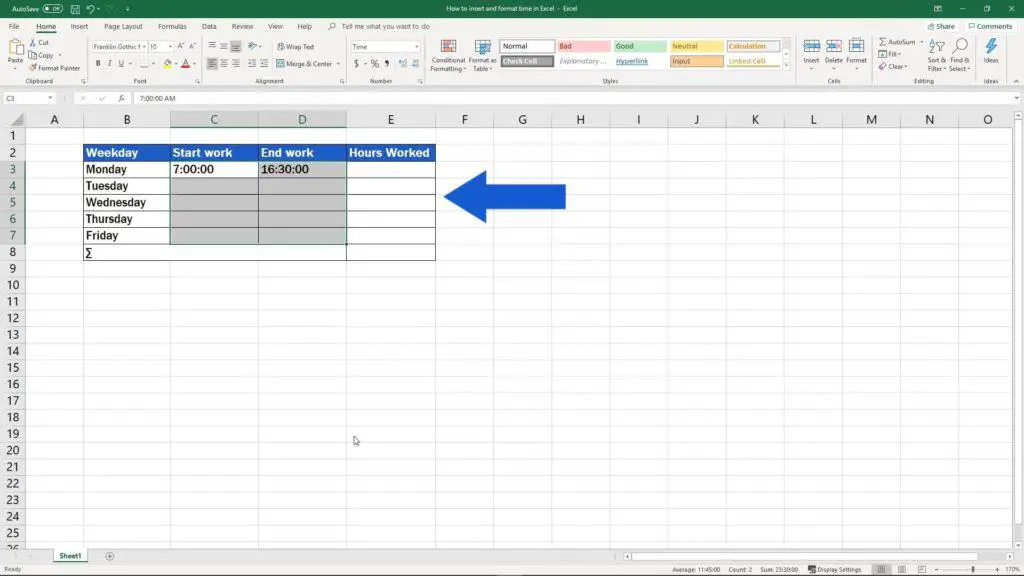
and if you also want to know how to avoid basic mistakes made in such calculations, watch the next video tutorial by EasyClick Academy!
Don’t miss out a great opportunity to learn:
- How to Sum Time in Excel
- How to Calculate Hours Worked in Excel
- How to Calculate Hours Worked in Excel (Midnight Span)
If you’ve found this tutorial helpful, like us and subscribe to receive more videos from EasyClick Academy. Look at more tutorials that help you use Excel quick and easy!
See you in the next tutorial!

 How to Subtract a Percentage in Excel
Welcome! Today we’re going to talk about the simplest way how to…


