How to Lock Cells in Excel
In this short tutorial, I’ll show you how to lock cells in an Excel spreadsheet to protect them from overwriting.
Let’s get started!
See the video tutorial and transcription below:
See this video on YouTube:
https://www.youtube.com/watch?v=VMaoPtVcPhk
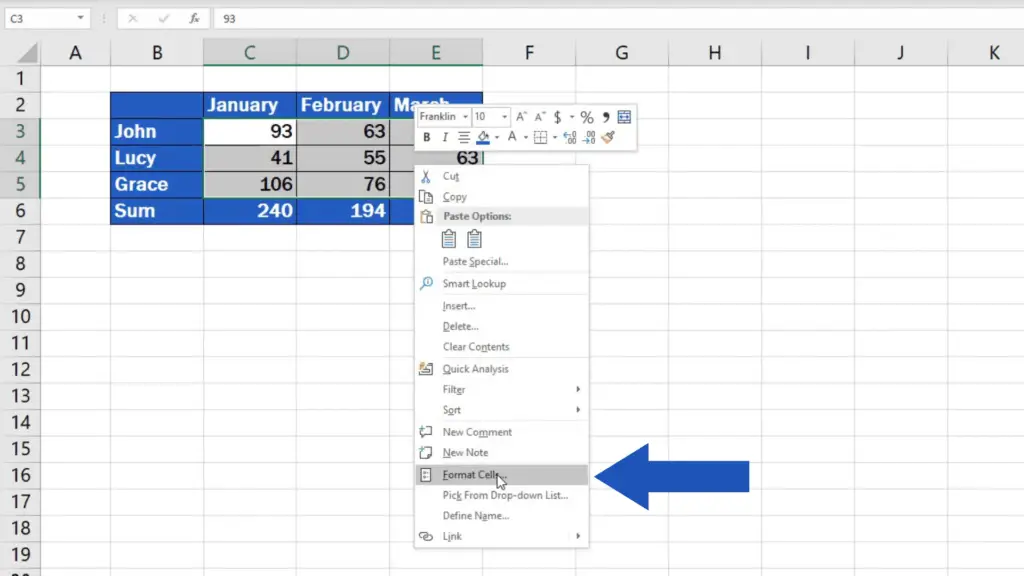
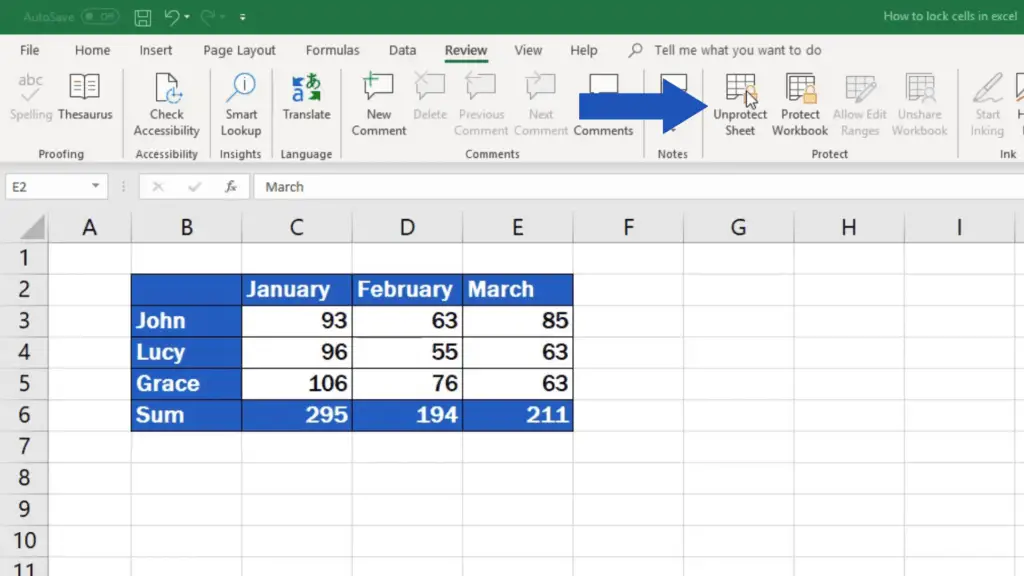
As you can see, there are some data in this table representing sales made by John, Lucy and Grace within a time span of three months – January, February and March. The bottom row contains formulas to calculate the sum of these sales for a particular month.
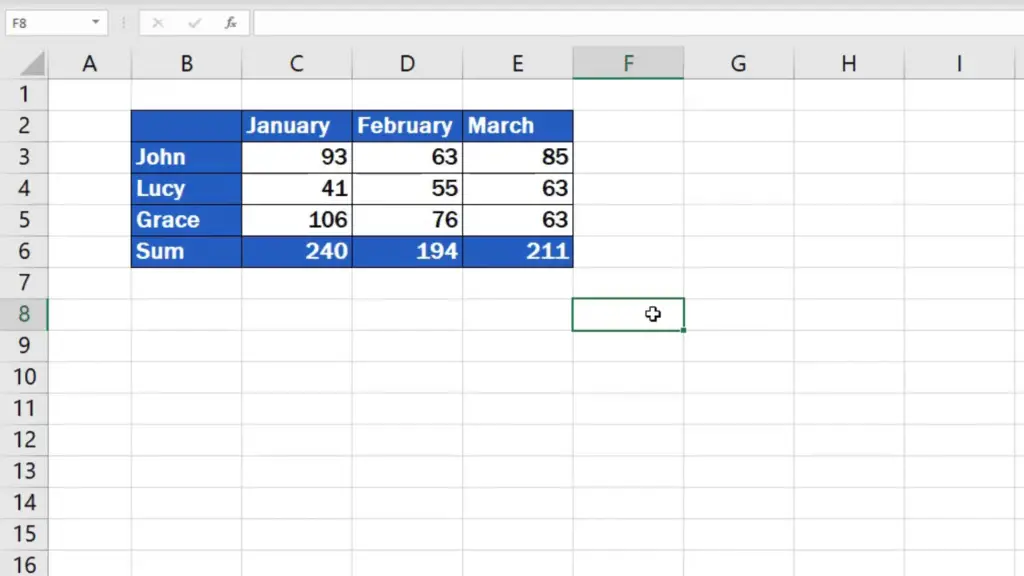
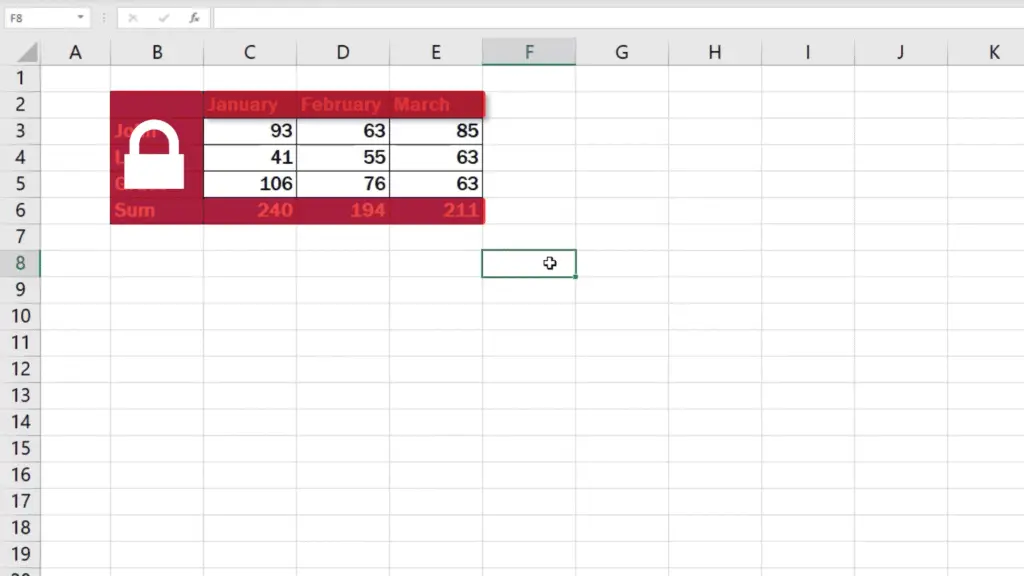
What we want to do here is leave the cells containing sales data unlocked for editing, so that people could write their own values in these cells, but, at the same time, lock the cells with formulas, months and names to make them read-only (or non-editable).
And this is how to do it!
How to Select Editable Cells in Locked Spreadsheet
The first step is to check for the option to lock all the cells in the sheet. You can do so by clicking into the top left-hand corner.
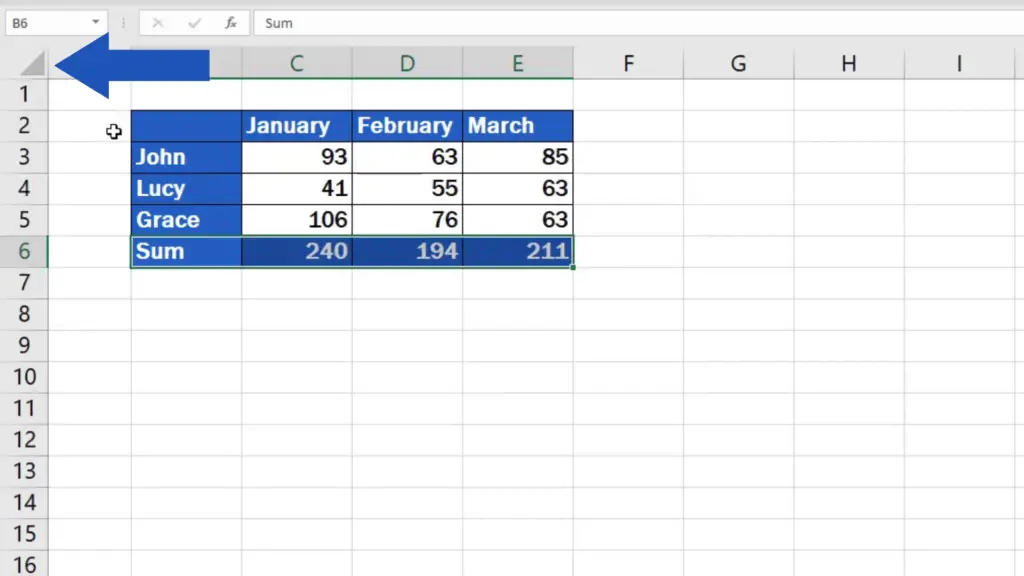
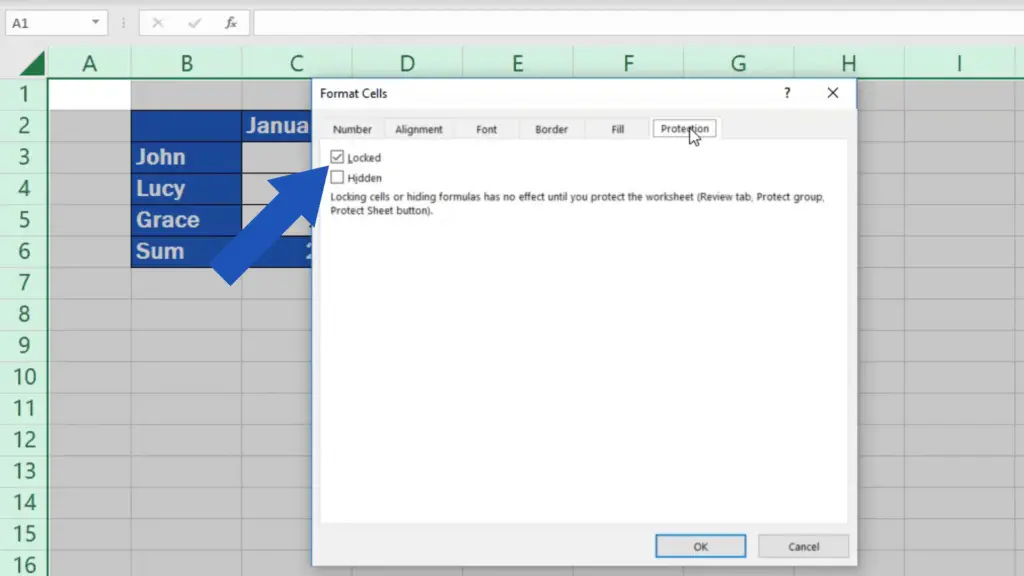
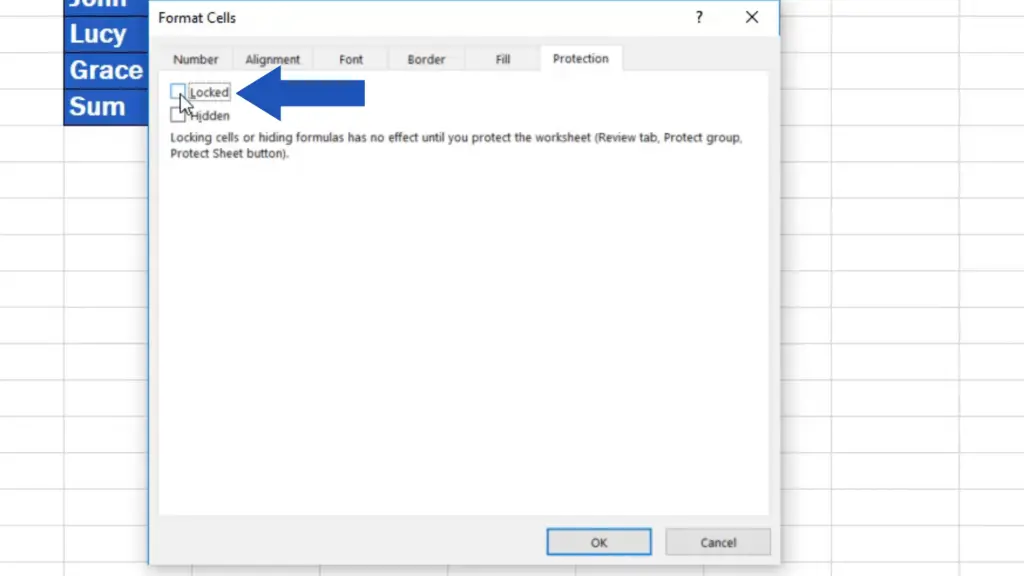
This highlights the whole spreadsheet. Now right-click, find the Format cells option, and a popup window appears. Check whether the Locked option has been selected on the Protection tab. Through this, all the cells in the sheet can be locked. Click on OK and we’ll move on to the next step.
Now we’ll select the cells we do not want to lock – the cells into which people will be able to type their data. Right-click again, and Format cells option again.
For these cells we will untick the Locked box. This will leave them editable and people will be able to enter their own data here. Confirm through the OK button, again.
These two steps basically ‘told’ the software first to lock all the cells in the spreadsheet, and then, in the second step, Excel was ‘told’ which cells we want to keep unlocked, which cells should remain editable. Well, this all leads us to the third and the last step, to make the magic work.
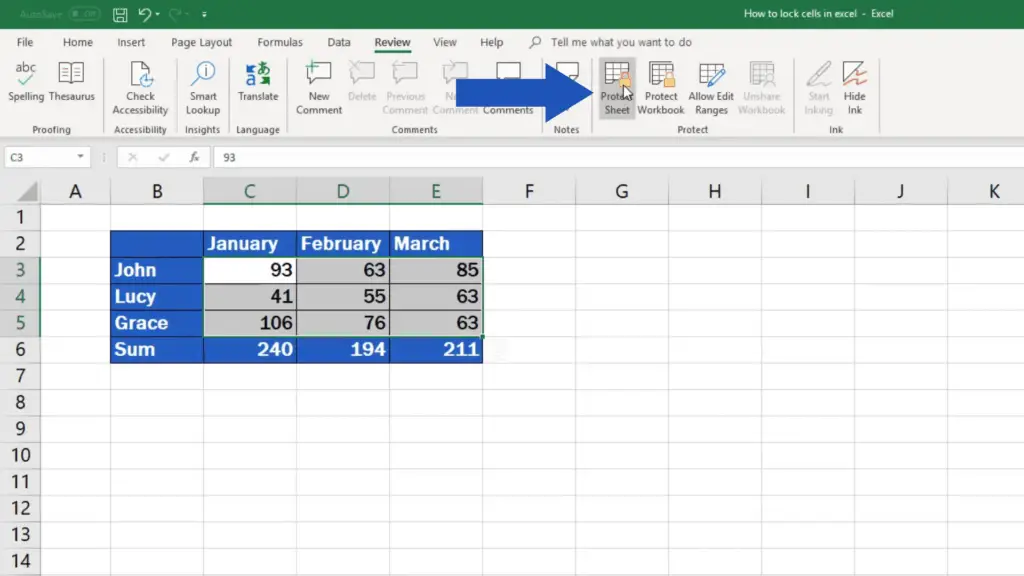
To apply the rules that were set earlier, the function ‘Protect Sheet’ must be ‘activated’, turned on.
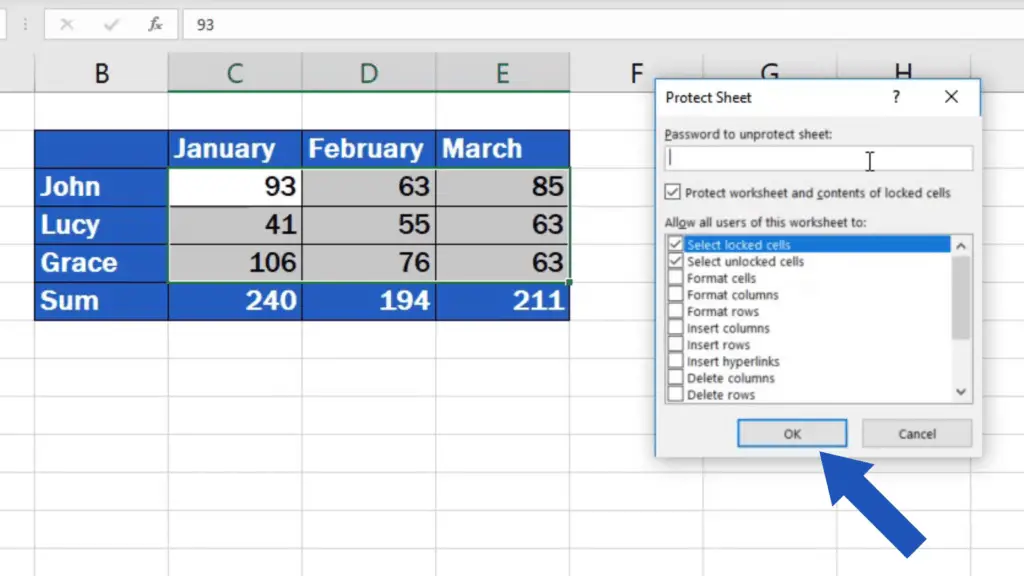
This can be done through the Review tab, with this Protect Sheet button. If you need to, you can set up a password for security reasons.
I’m gonna skip the password for now, so I’ll only confirm it by clicking on the OK button. The spreadsheet with the cells as we selected them is now protected.
We can double-check together.
The cells that will contain sales data can be edited, but the formulas, the rest of the table, all the months and names, have been locked, set up as ‘read-only’, so no one can overwrite the information inside them.
How to Unlock Cells in Excel
If you want to undo the protection, simply, go to Review tab, Unprotect Sheet, and all the cells in the spreadsheet will be open for editing.
Are you interested in:
If you’ve found this tutorial helpful, like us and subscribe to receive more videos from EasyClick Academy. Look at more tutorials, that help you use Excel quick and easy!
See you soon in the next tutorial!

 How to Subtract a Percentage in Excel
Welcome! Today we’re going to talk about the simplest way how to…


