How to Protect Excel Sheet with Password
In this tutorial, we’ll go through some simple steps to learn how to protect a sheet with a password. This will help you to protect data from overwriting or to prevent anyone else from making any unwanted changes in the spreadsheet.
Let’s start!
See the video tutorial and transcription below:
See this video on YouTube:
https://www.youtube.com/watch?v=5S0DK50_yrg
If you want to lock a sheet in Excel using a password, you’ll need to check first whether the option to lock cells has been selected.
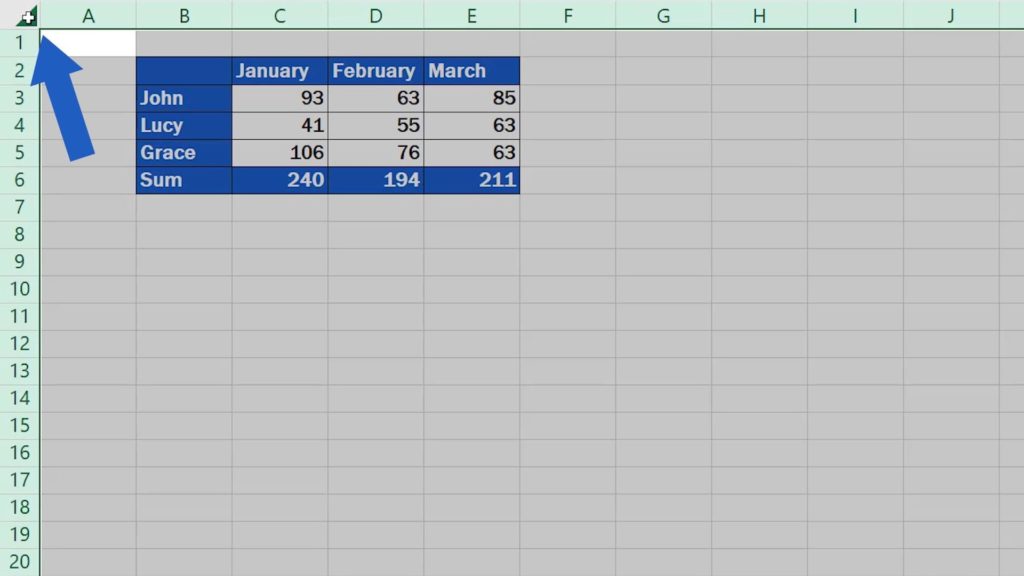
You can do so by clicking into the top left corner – the whole sheet gets highlighted.
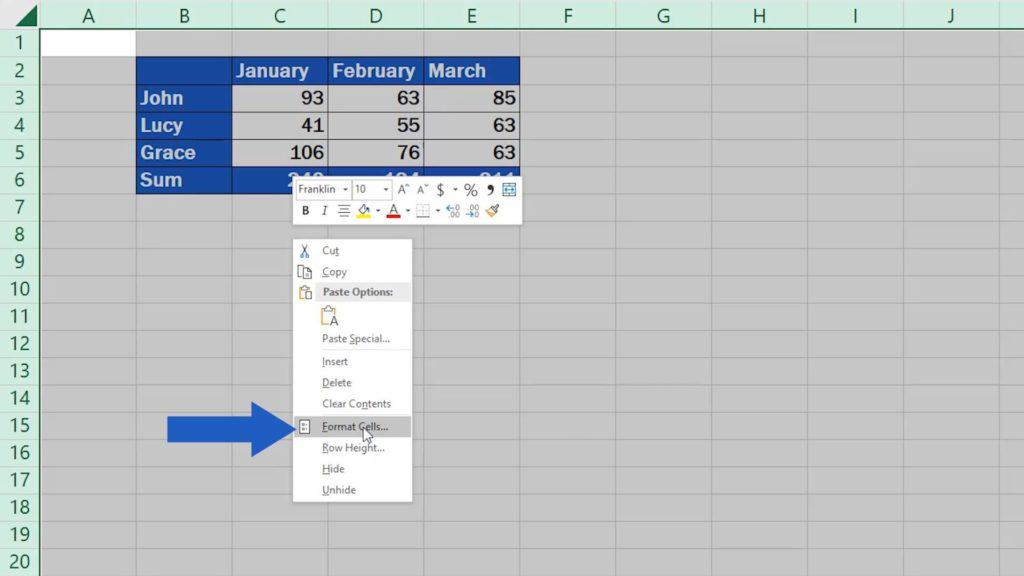
Then use the right-click to look for the ‘Format Cells’ option.
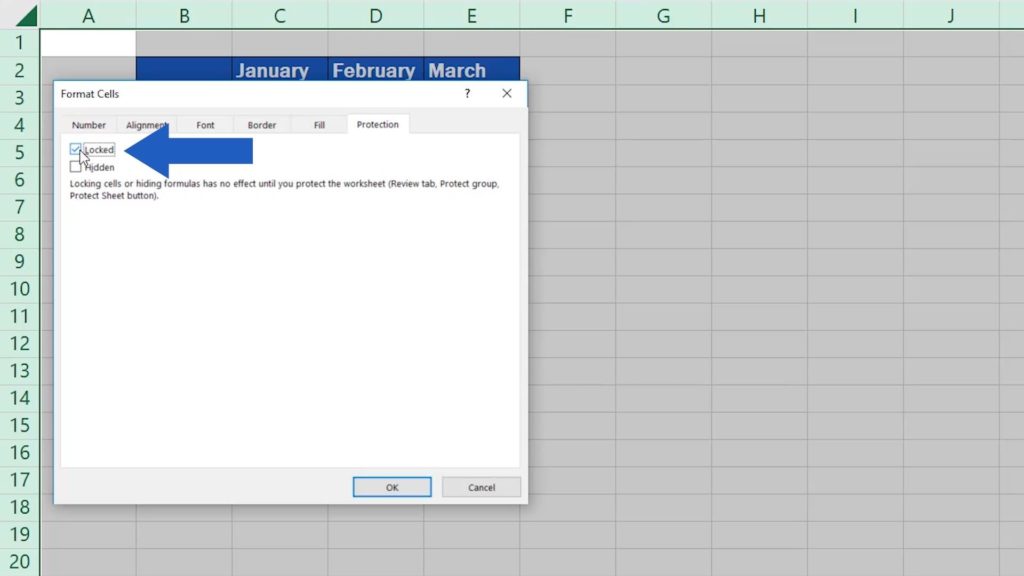
In the pop-up window that appeared, go to ‘Protection’. You’ll need to make sure that the box ‘Locked’ has been ticked. This means that all the cells in the spreadsheet can be locked. Click on OK and we’ll move on.
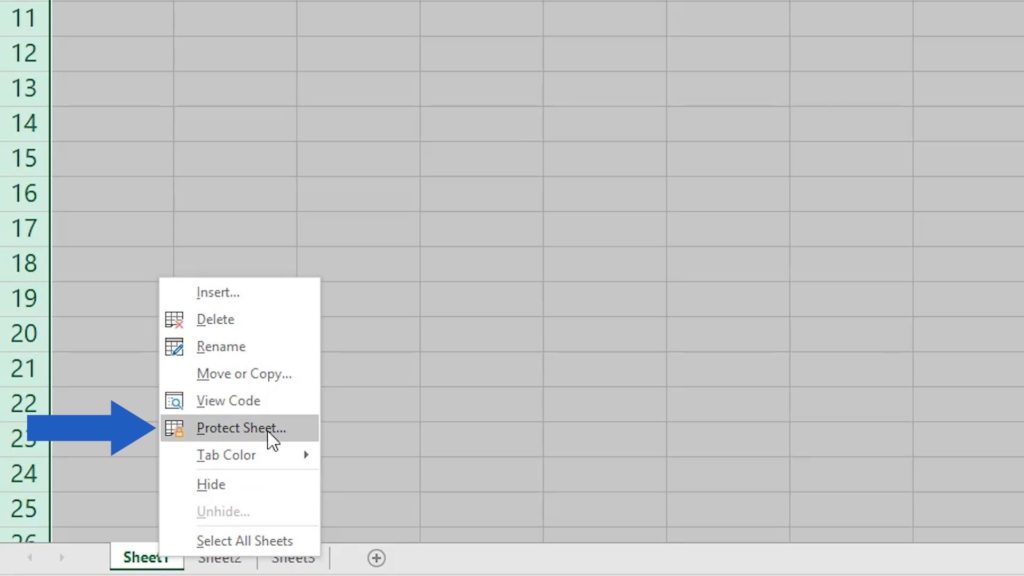
Now, you’ll need to right-click down at the bottom of the screen, where you can see the sheet name and select the option ‘Protect Sheet’.
You’ll see a pop-up window where you can type in a password to secure the sheet. Here, you can also set up what sort of changes other users will be allowed to make.
Some of the options have been selected by default. For example, ‘Select locked cells’, which means that other users can click into a locked cell within the spreadsheet and have a look whether it contains a number, text or a formula.
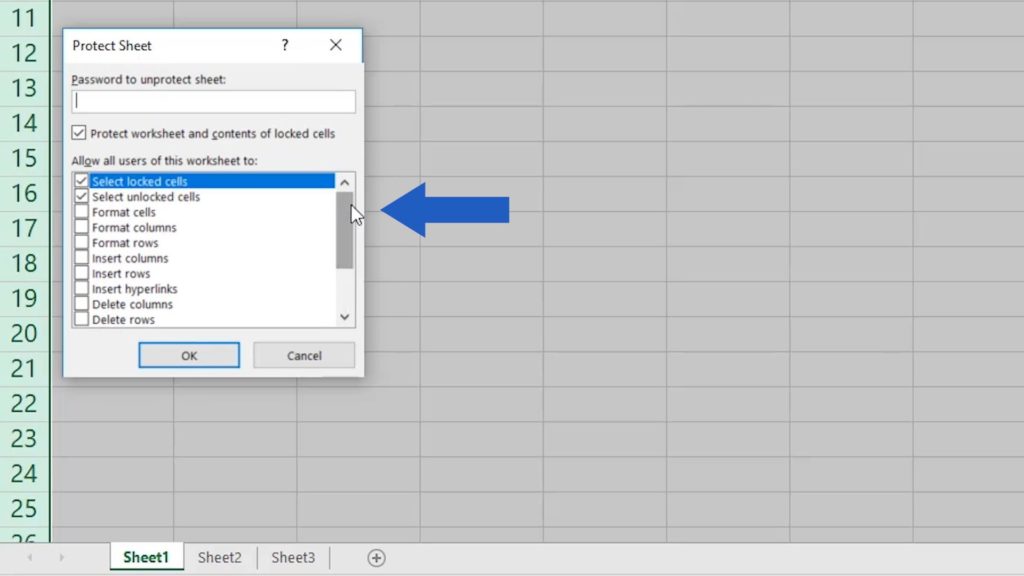
If you unselected this option, there would be no chance to click into a cell within the spreadsheet at all.
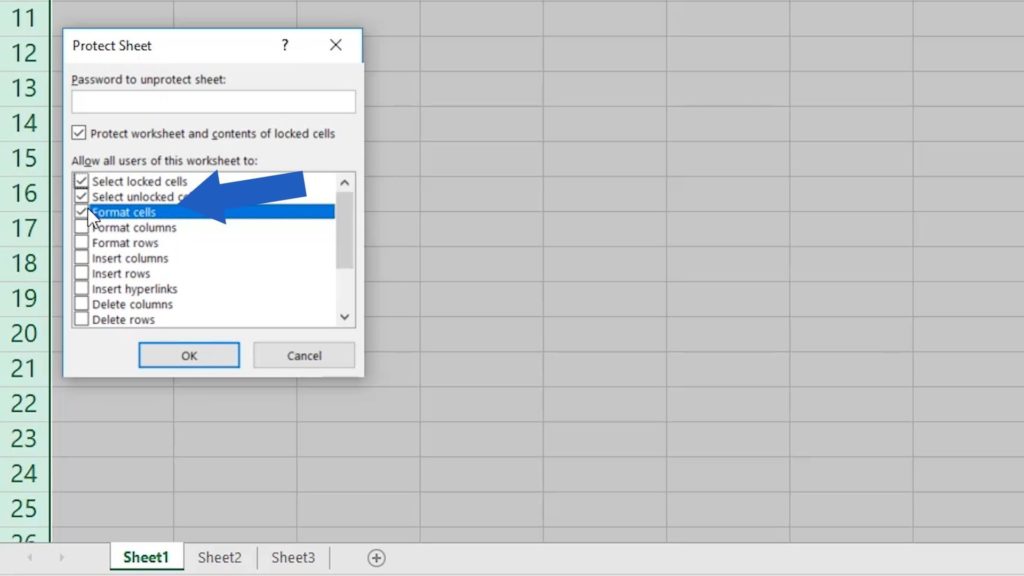
So, select which of these things you want the users to be allowed to do. Let’s say we want the users to be able to format cells. Select the option ‘Format Cells’ then.
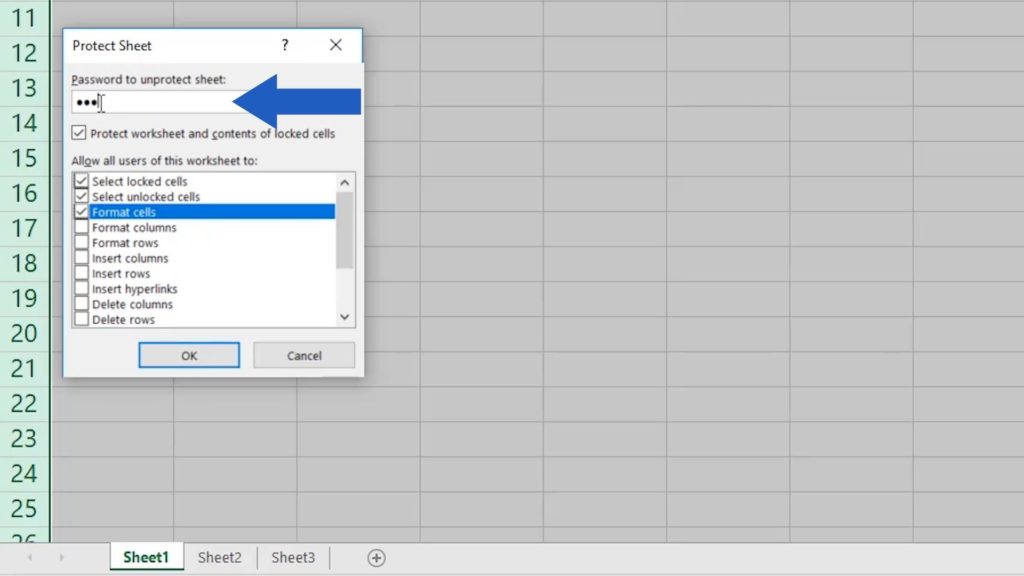
Once you’ve set up everything just as you need, enter a password to protect the spreadsheet.
Here, we’re gonna use 123. Then click on OK.
Here, Excel asks us to repeat the password. This step is a way for Excel to remind you that it’s crucial to remember the password, because once you lose it, there is no way you can retrieve it from anywhere.
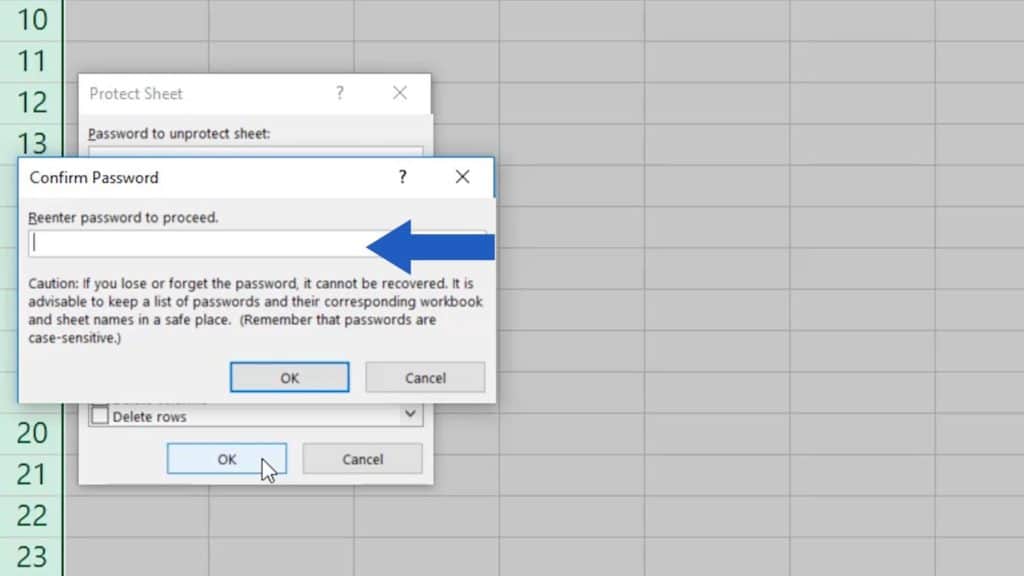
So, we’ll retype 123, confirm and the sheet is now password protected.
Shall we try it out together?
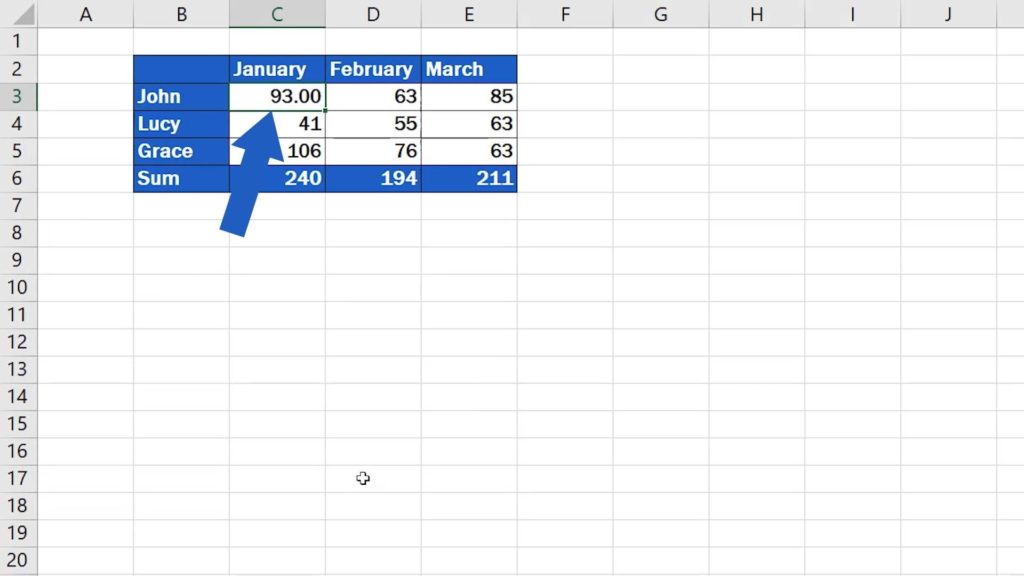
If we try to click into a cell within the sheet, let’s say cell C3, and we want to overwrite the data in it, Excel will not allow it and an alert message will show.

But there’s no problem if we only want to format the cell, which we’re allowed based on what we set up earlier.
Bear in mind, though, that if you need to lock only some of the cells within the sheet, not the whole spreadsheet, you need to follow a slightly different procedure which you can find in our tutorial on How to Lock Cells in Excel.
How to Unlock the Sheet for Editing in Excel
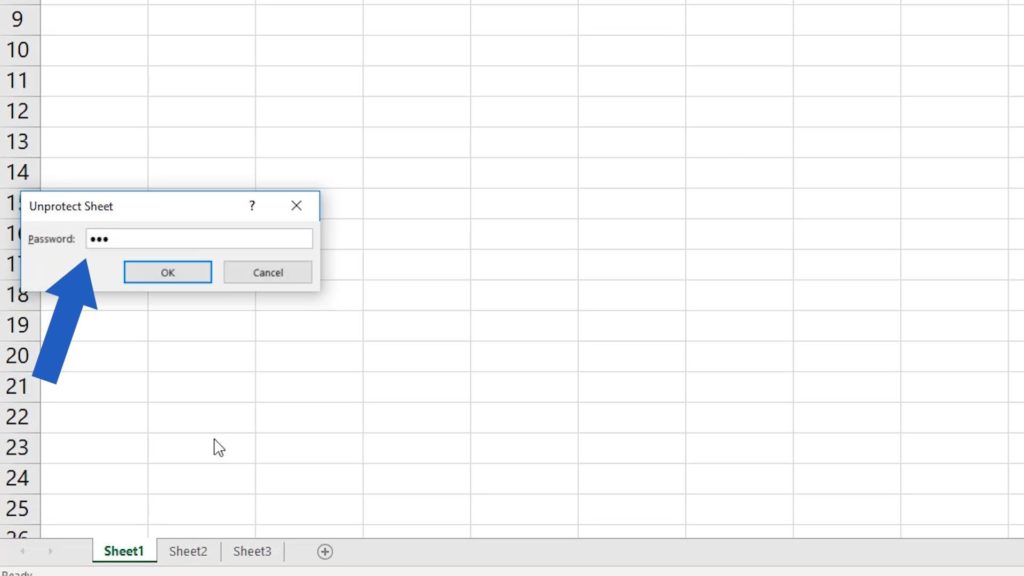
And there’s one more thing before we wrap it up. If you need to unlock the sheet for editing, simply right-click on the sheet name, select ‘Unprotect Sheet’,

enter the password and the spreadsheet becomes editable again.
Are you interested in:
- How to Unprotect Excel Sheet
- How to Hide Sheets in Excel
- How to Unhide Sheets in Excel
- How to Delete Sheet in Excel
- How to Rename Sheet in Excel
- How to Lock Cells in Excel
If you found this tutorial helpful, give us a ‘like’ and watch other video tutorials by EasyClick Academy. Learn how to use Excel in a quick and easy way!
Is this your first time on EasyClick? We’ll be more than happy to welcome you in our online community. Hit that Subscribe button on our YouTube channel and join the EasyClickers!
See you in the next tutorial!

 How to Subtract a Percentage in Excel
Welcome! Today we’re going to talk about the simplest way how to…


