How to Wrap Text in Excel
In today’s tutorial, we’ll see how to wrap text in Excel. This function can help you keep even longer texts within the boundaries of one cell, which will make it visible and readable for other users, too.
Ready to start?
See the video tutorial and transcription below:
See this video on YouTube:
https://www.youtube.com/watch?v=3mhndAl_VAA
Sometimes, we need to insert a longer text within one cell and perhaps you’ve noticed that these usually overflow to the next cells. For situations like these, Excel offers solution in the form of the function ‘Wrap Text’, which literally wraps even longer texts nicely and neatly within one cell. We’ll have a closer look at it now.
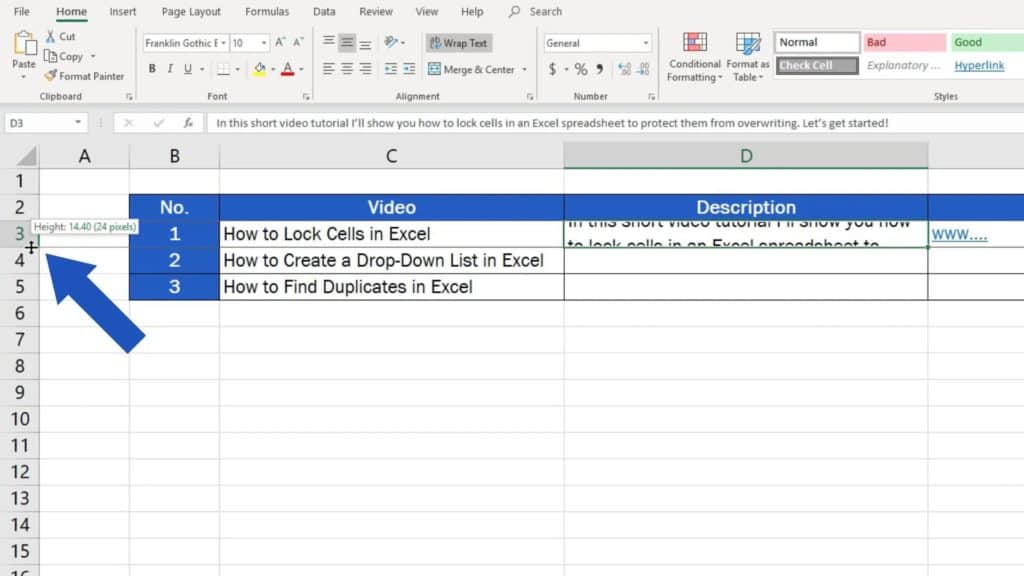
Here you can see an example of a data table. The video description in the cell appears to run through the adjacent cells.
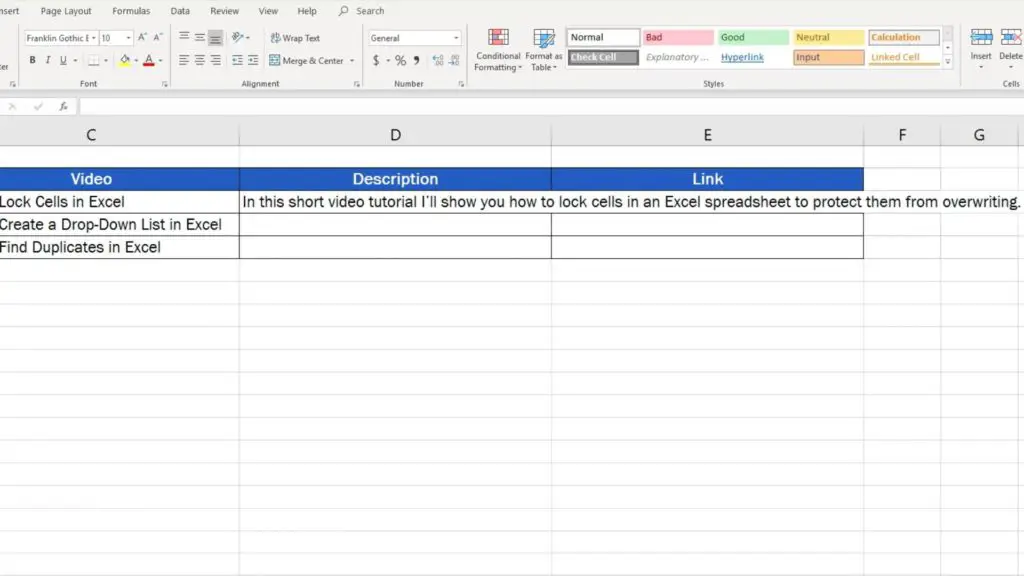
Also, if we include a link to the video in its neighbor cell, other users will be able to read only the first words of the description.
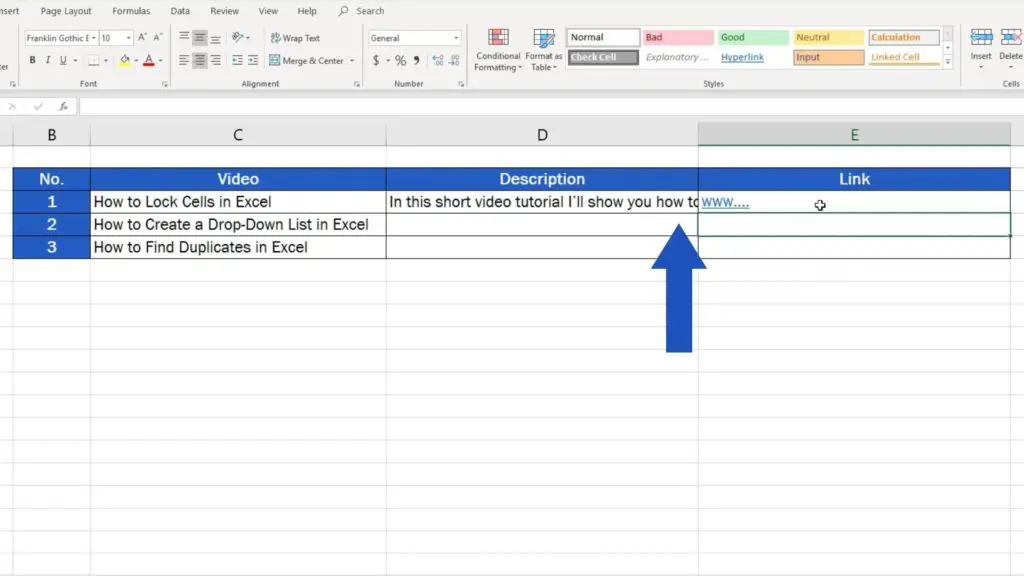
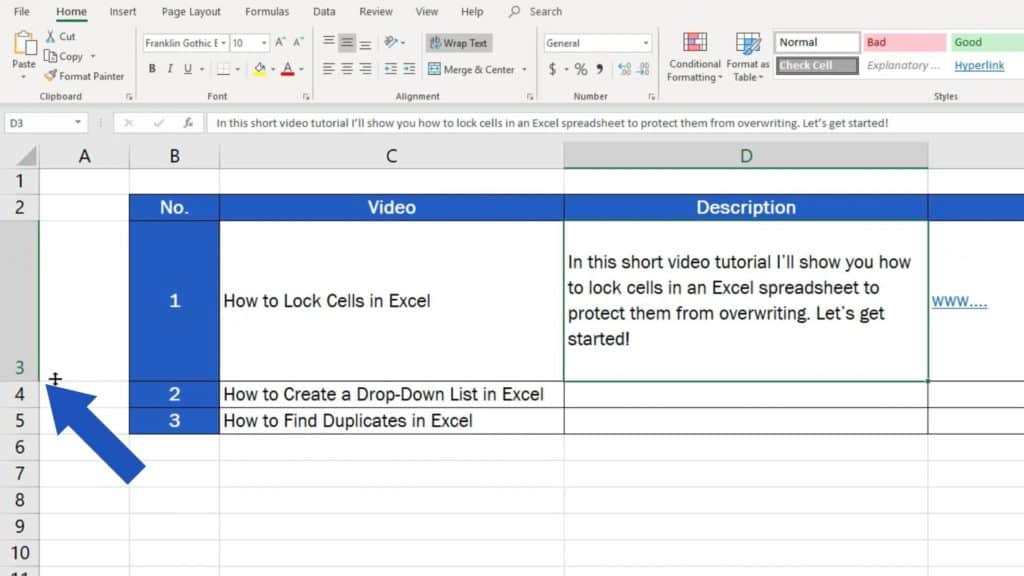
In this case, the function ‘Wrap Text’ is the ideal solution. If we wrap the text, the whole description included in the cell will become visible and readable.
Well, you may ask how to achieve this, then.
To start with, you need to select the cell where you need to wrap the text by clicking on it. Then go to ‘Home’ tab, find the group ‘Alignment’ and click on the button for the function ‘Wrap Text’.
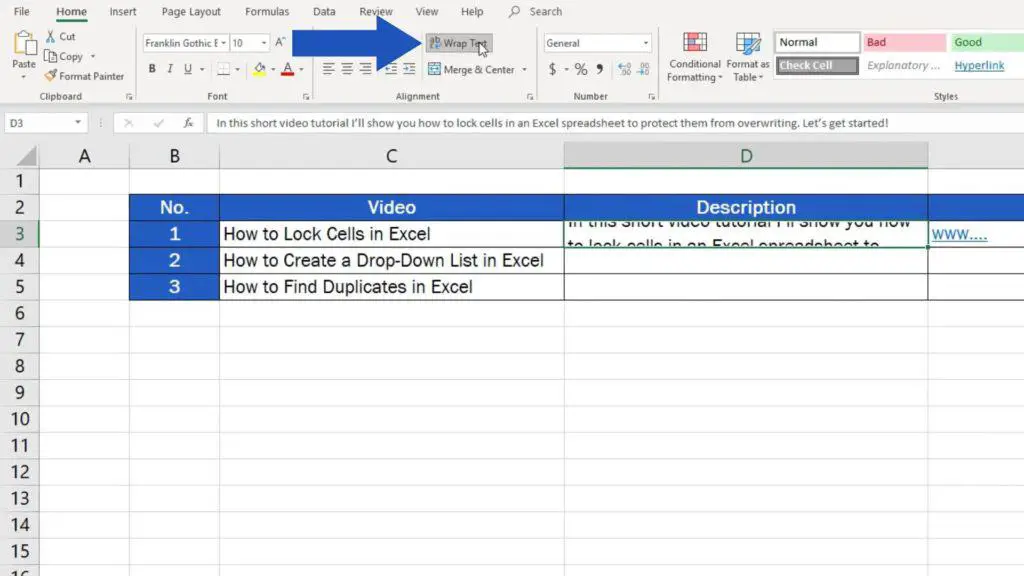
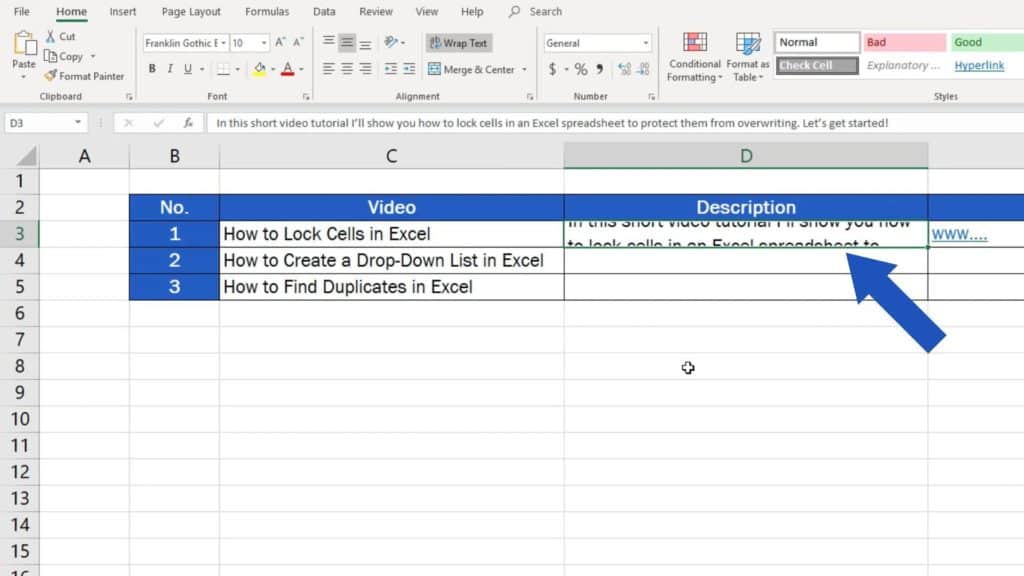
The text will be immediately wrapped within the cell. But, as you can see, the text, although wrapped in one cell, has been divided into multiple lines and some of them are not visible at all. To fix this, you’ll have to adjust the cell height and width.
How to Adjust the Cell Height in Excel
Here we’ll adjust the cell height. The same way works for adjusting its width just as you need. Find the vertical bar with the row numbers and place the cursor there, precisely on the bottom border of the row of which height you want to expand.
Then use the left button on the mouse to drag and adjust the row height to reveal the whole text. For example, like this.
How to Align the Wrapped Text in Excel
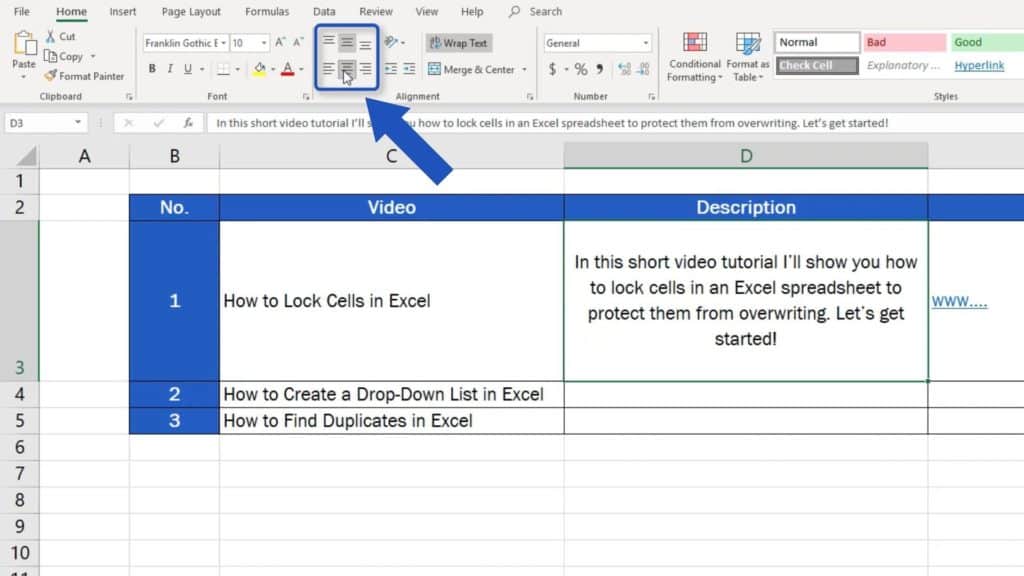
Great! The wrapped text can now be aligned to the left or right or to the centre, depends on what you need.
If you’d like to see more ways how to format text in data tables effectively, have a look at more of our video tutorials.
- How to Change Text Direction in Excel
- How to Insert and Format Time in Excel
- How to Merge Cells in Excel
If you found this tutorial helpful, give us a ‘like’ and watch other video tutorials by EasyClick Academy. Learn how to use Excel in a quick and easy way!
Is this your first time on EasyClick? We’ll be more than happy to welcome you in our online community. Hit that Subscribe button on our YouTube channel and join the EasyClickers!
See you in the next tutorial!

 How to Subtract a Percentage in Excel
Welcome! Today we’re going to talk about the simplest way how to…


