How to Insert a Checkbox in Excel (Quick and Easy)
In this tutorial, we’re going to talk about how to insert a checkbox in Excel in a quick and easy way.
Let’s start!
Would you rather watch this tutorial? Click the play button below!
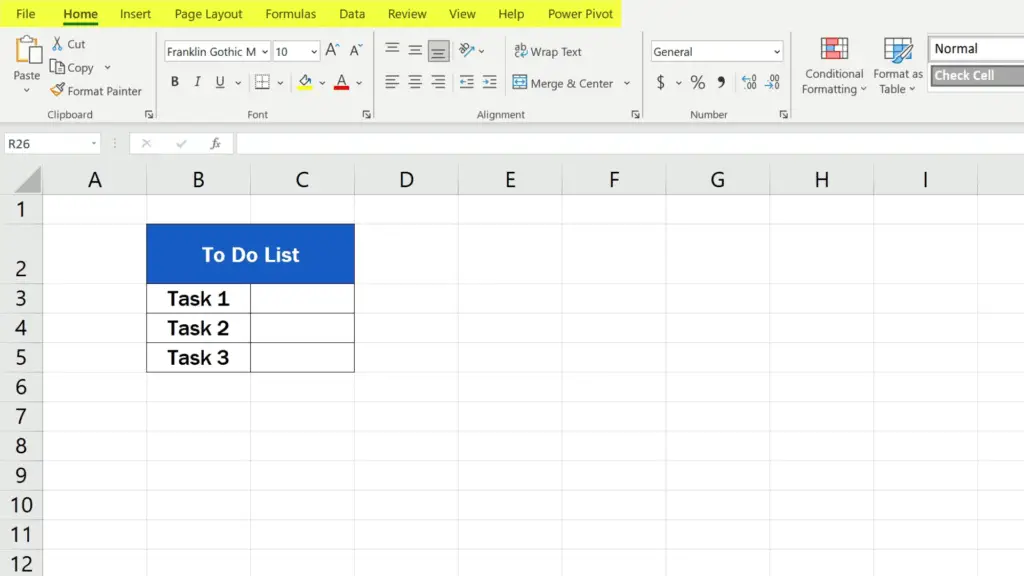
How to Insert a Checkbox in Excel
To insert a checkbox in Excel, we need to make sure that the Developer tab shows on the Ribbon.
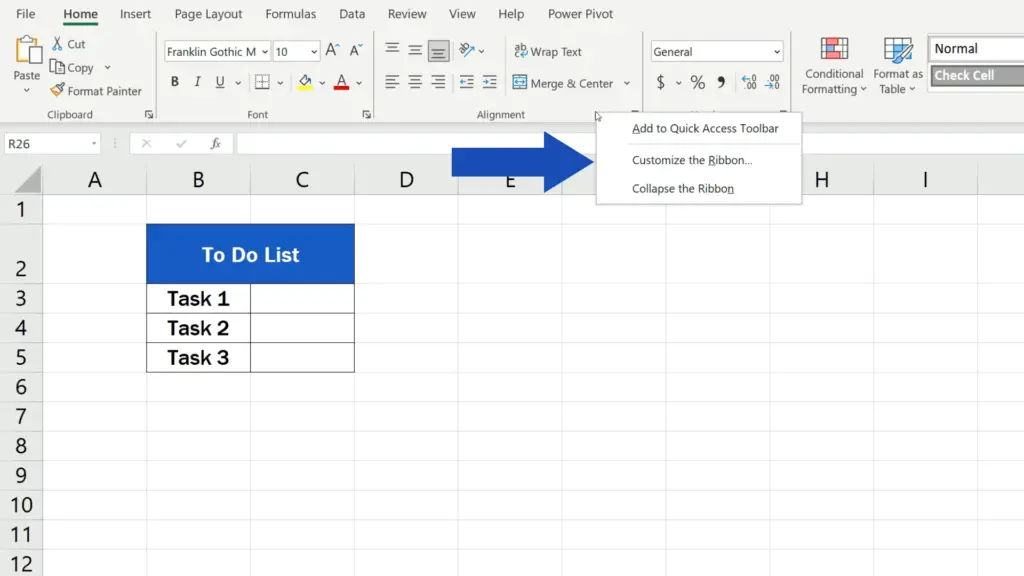
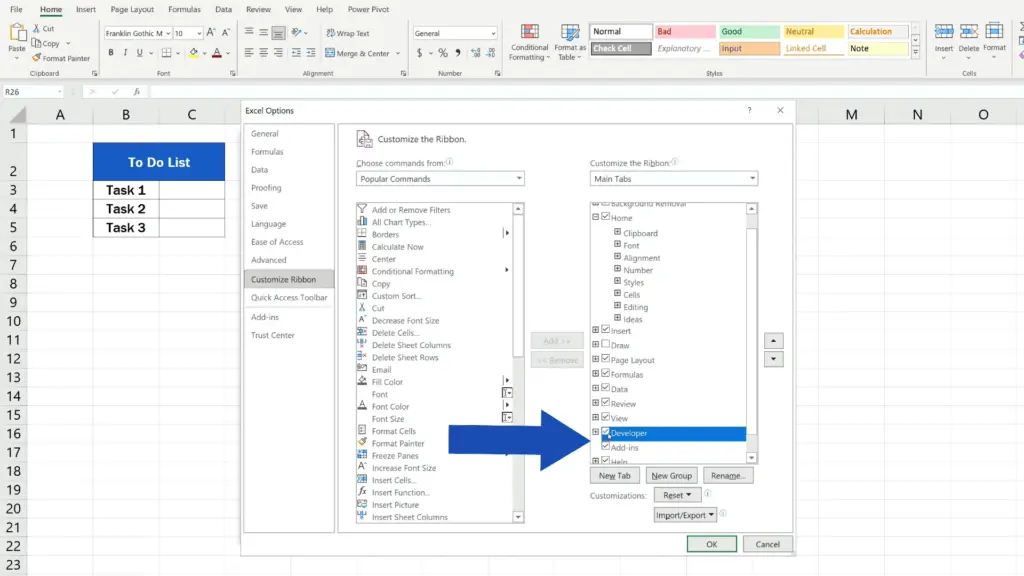
So, if you can’t see it, right-click anywhere on the Ribbon and go to ‘Customize the Ribbon’. You’ll see a pop-up window where you simply tick the Developer box and press OK.
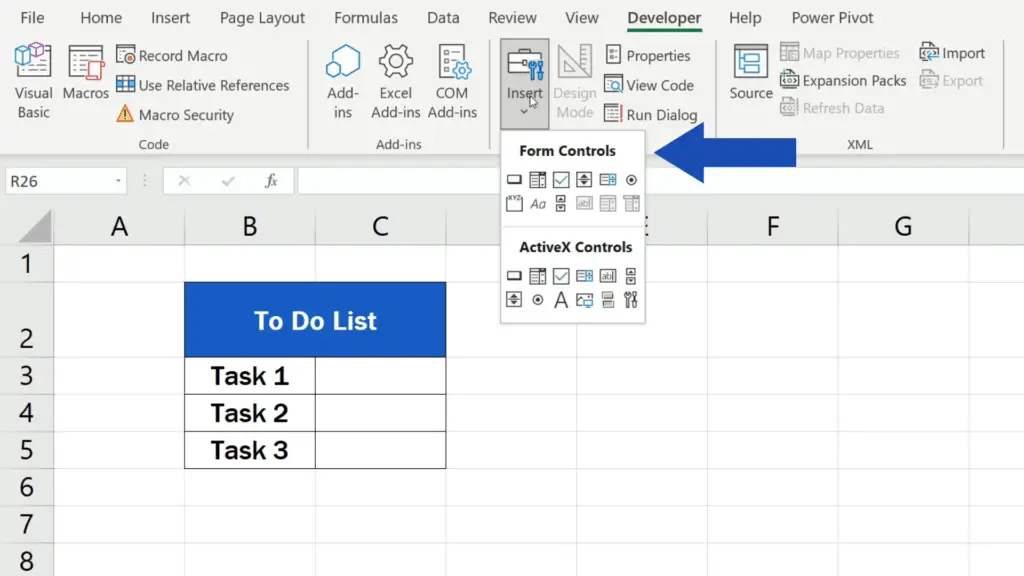
Once done, click on the tab and then click on ‘Insert’ where you’ll find what we’re looking for – the checkbox.
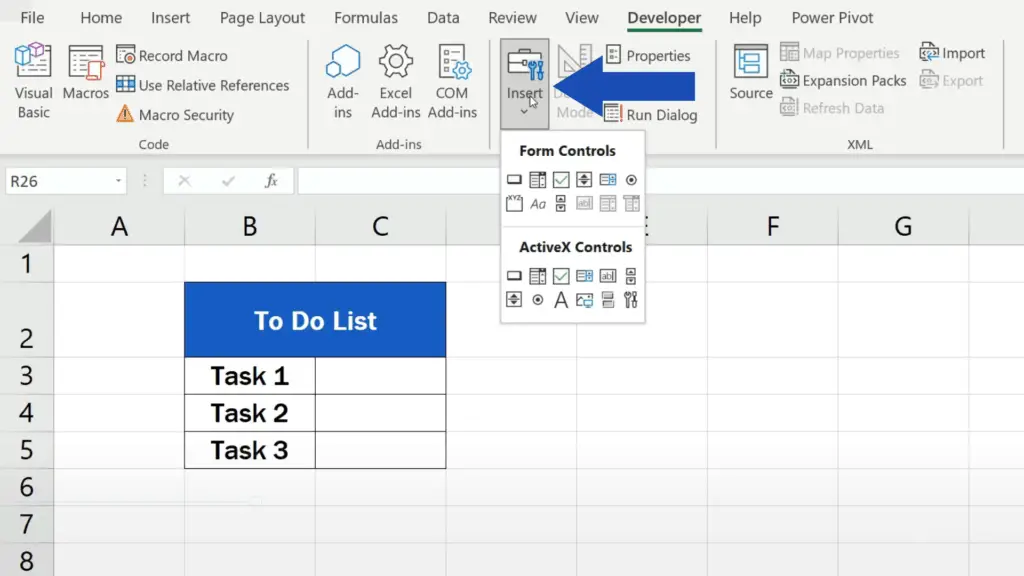
As you can see, Excel offers two sets of controls you can use. The first set is called ‘Form Controls’ – these are for a simple use, for example if you want to just display a checkbox in a worksheet. Below are ‘ActiveX Controls’ for a more advanced use – you can customise them in situations when the basic ‘Form Controls’ simply won’t do. Here we’ll focus on the simple use of ‘Form Controls’, so we’ll select the checkbox from the upper set of controls.
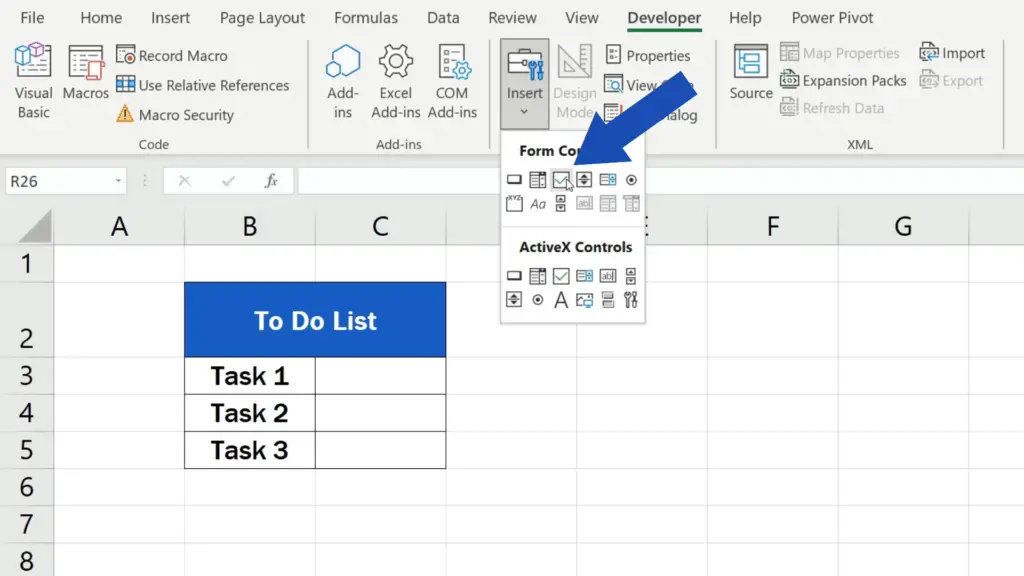
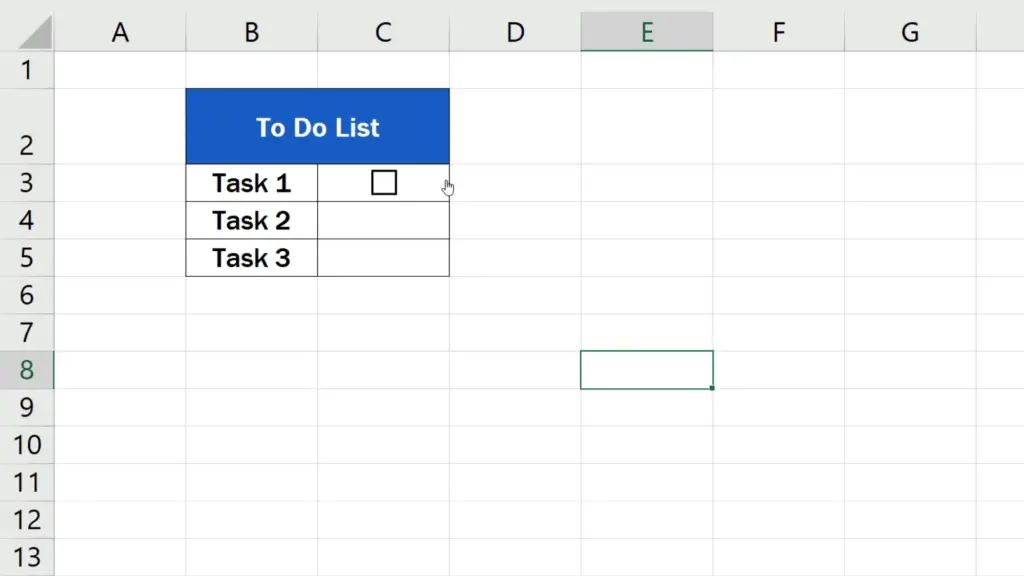
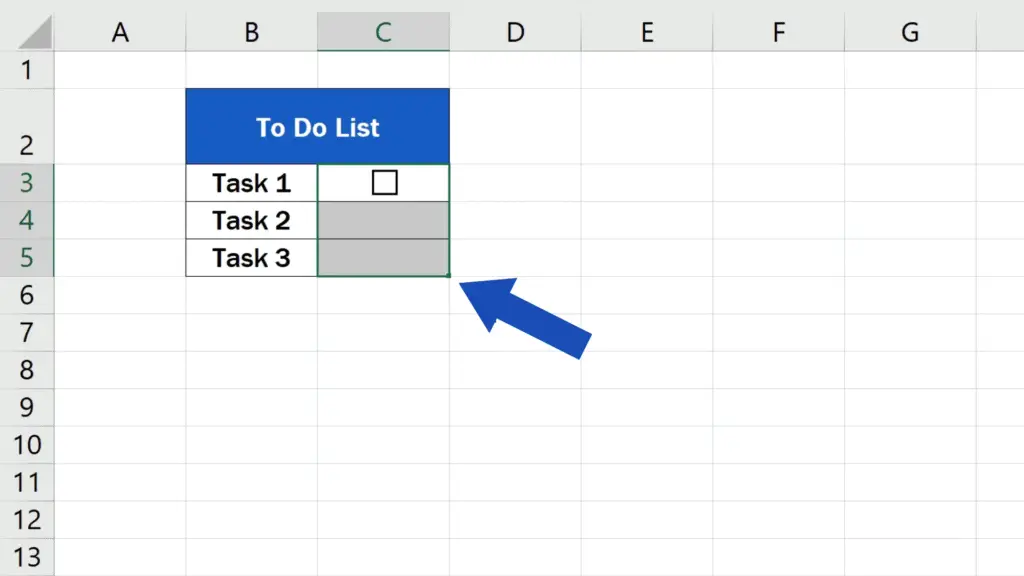
So, click on the checkbox under the ‘Form Controls’ – the cursor changes into a plus sign and we can insert the checkbox wherever we need.
Let’s insert it here and move on.
How to Adjust the Checkbox
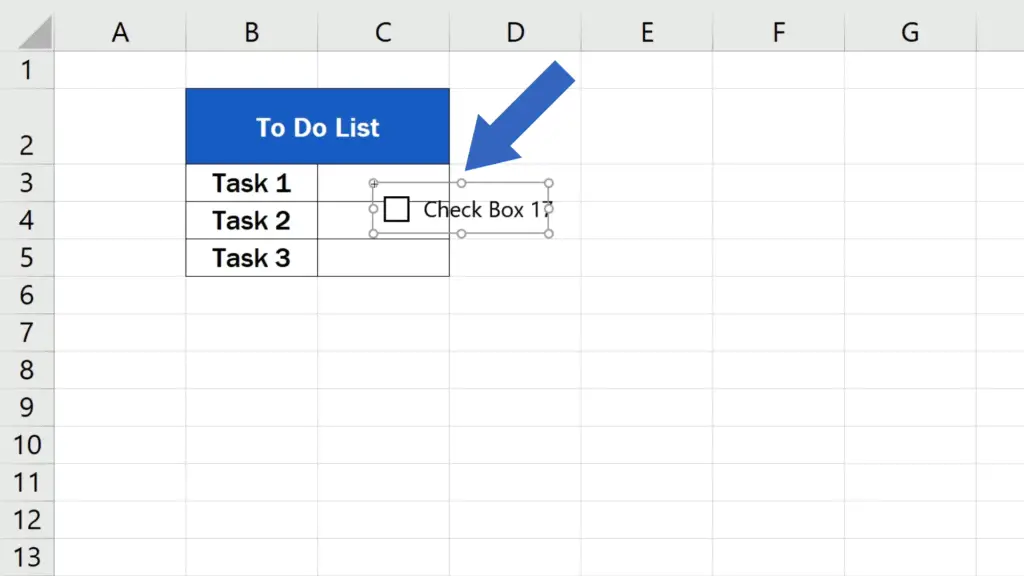
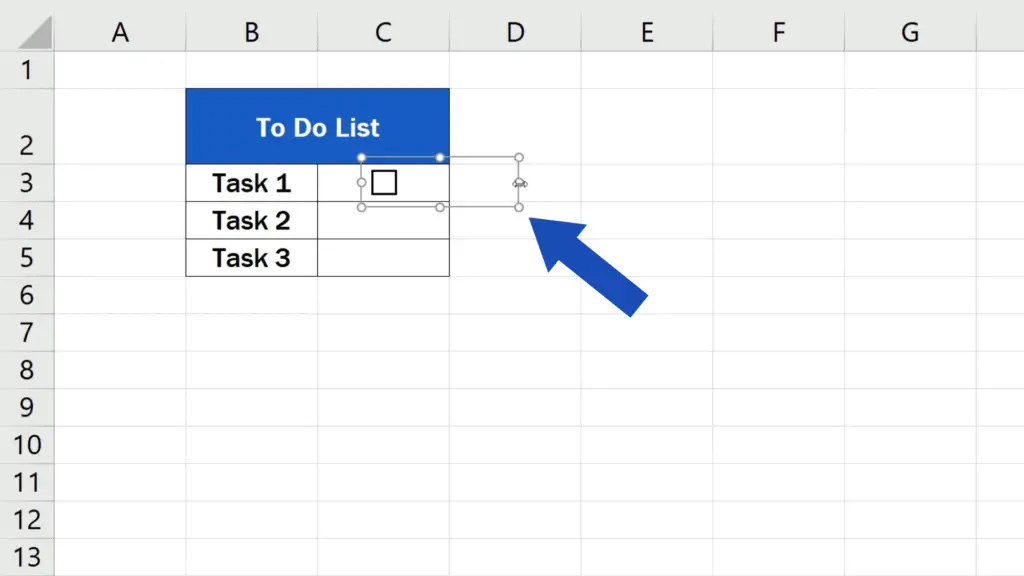
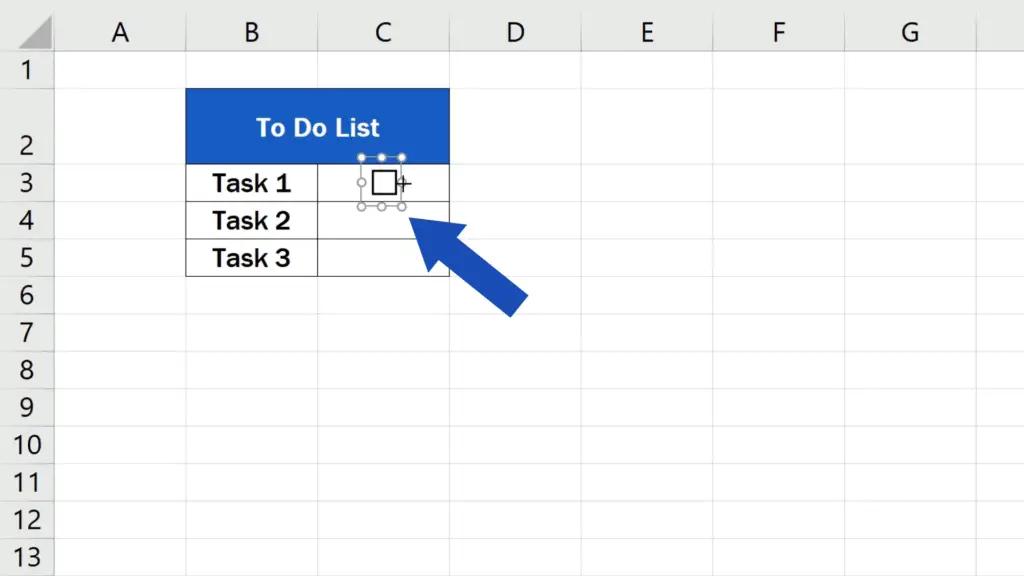
You can see that there’s a frame around the checkbox, so it’s easy to move the box or change or remove the default text.
But keep in mind that the frame also marks the active area of the checkbox. If you click anywhere within the frame, the box will get ticked or unticked. Here, the area extends beyond the cell border, so let’s have a look how the checkbox works in this case.
I’m going to click anywhere on the sheet to leave the editing mode of the checkbox. Now, when I click on the active area, which reaches beyond the checkbox and even the cell borders, the tick appears in the checkbox. To unselect the checkbox, I need to click one more time.

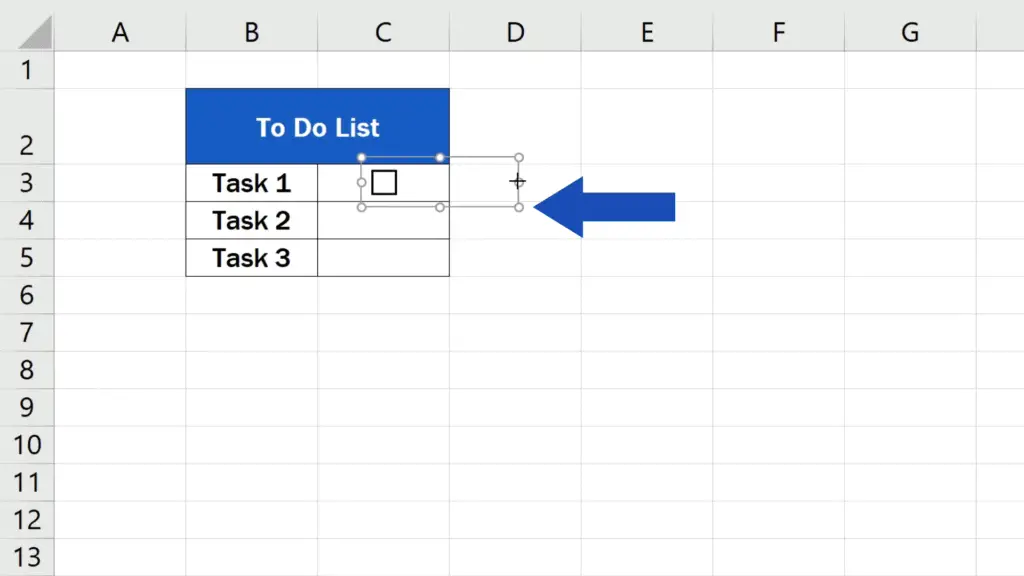
Okay, this works perfectly well! But the size of the active area can be a bit of a problem here.
That’s why it’s important to make sure that the size of the active area is adjusted as needed.
To edit the checkbox, right-click on it and you’ll see the options for editing.
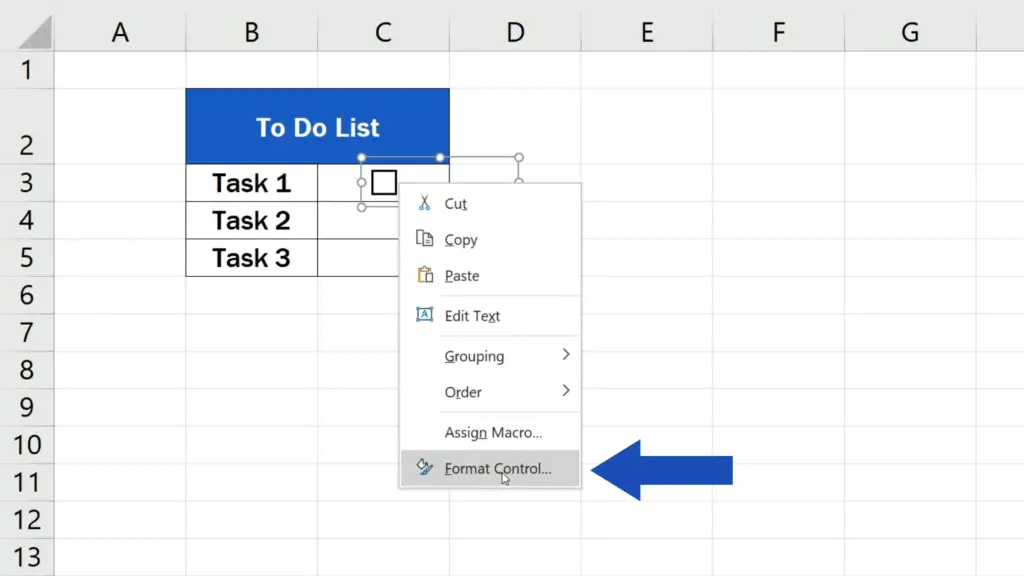
Use these little circles to set the right size of the area.
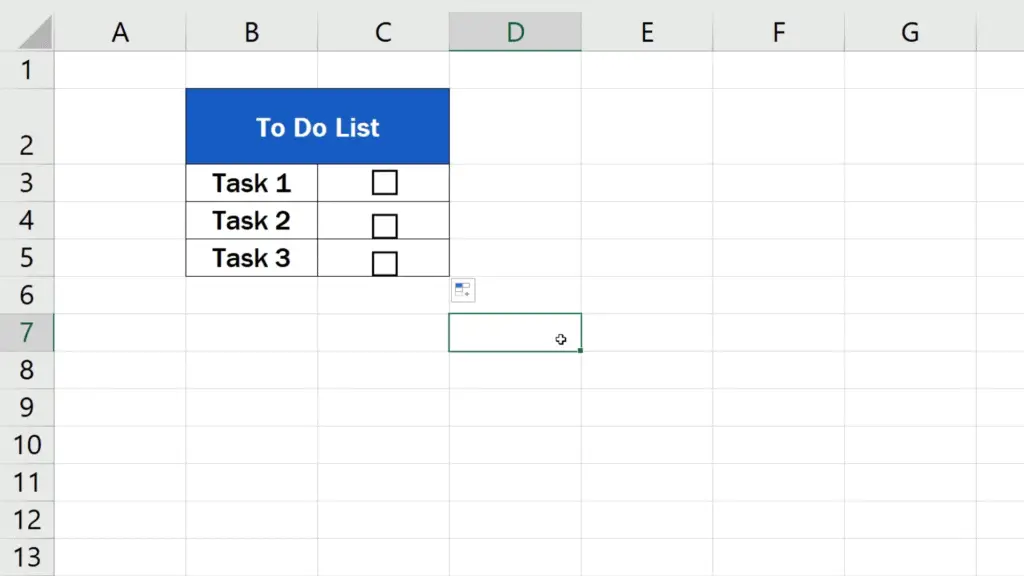
Once done, you can copy the checkbox to the rest of the rows in the table. Simply click on the cell containing the box and drag its bottom right-hand corner down all the rows in which you want to display the checkbox.
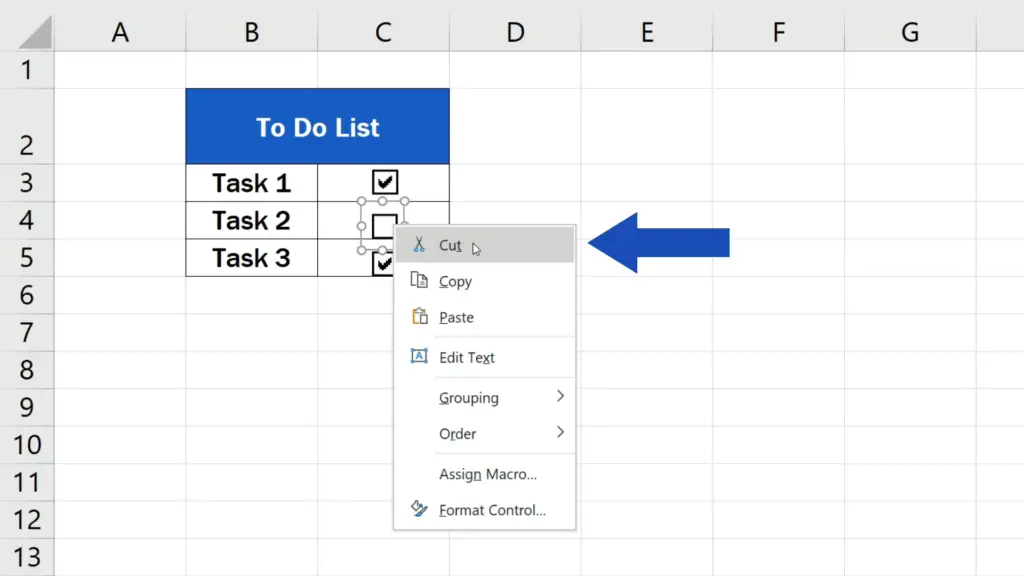
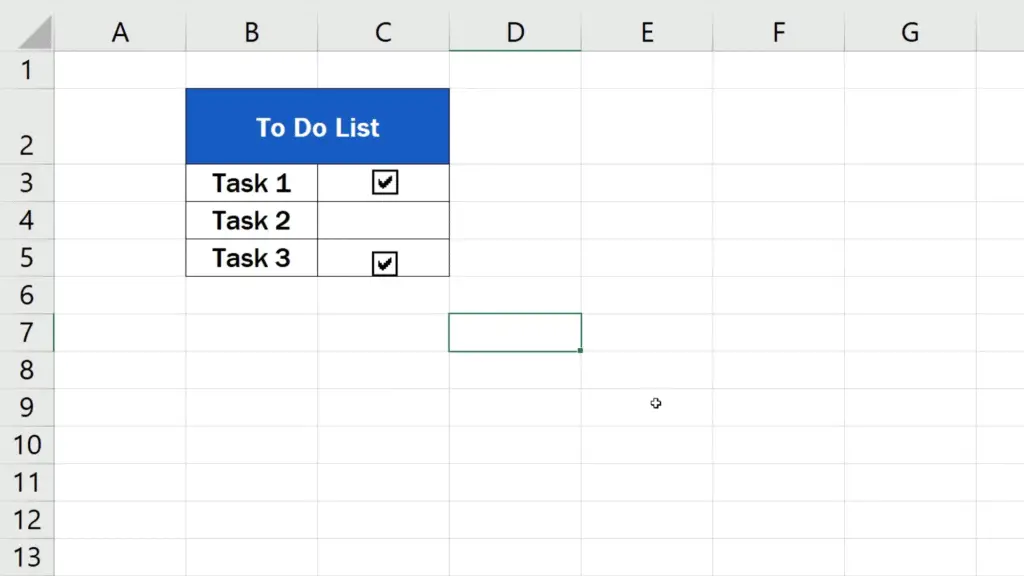
To remove the box, right-click on the area again, select the option ‘Cut’ and that’s it!
To learn about how you can add other features like bullet points to your spreadsheets, watch more tutorials by EasyClick Academy. The links are in the list below.
Don’t miss out a great opportunity to learn:
- How to Insert Bullet Points in Excel
- How to Insert a Symbol in Excel
- How to Insert Image in Excel Cell (Correctly)
- How to Insert Comment and Note in Excel
If you found this tutorial helpful, give us a like and watch other tutorials by EasyClick Academy. Learn how to use Excel in a quick and easy way!
Is this your first time on EasyClick? We’ll be more than happy to welcome you in our online community. Hit that Subscribe button and join the EasyClickers!
Thanks for watching and I’ll see you in the next tutorial!

 How to Subtract a Percentage in Excel
Welcome! Today we’re going to talk about the simplest way how to…


