How to Insert Check Mark in Excel (the Simplest Way)
In this tutorial we’re going to have a look at how to insert a check mark (a tick) in Excel, which can, in some cases, be an effective way to improve the clarity of a data table.
Let’s begin!
Would you rather watch this tutorial? Click the play button below!
If you’d like to include a tick, or a check mark, in a data table, you can do it in multiple ways. Here we’ll go through the quickest and simplest one. Ready?
How to Insert Check Mark in Excel
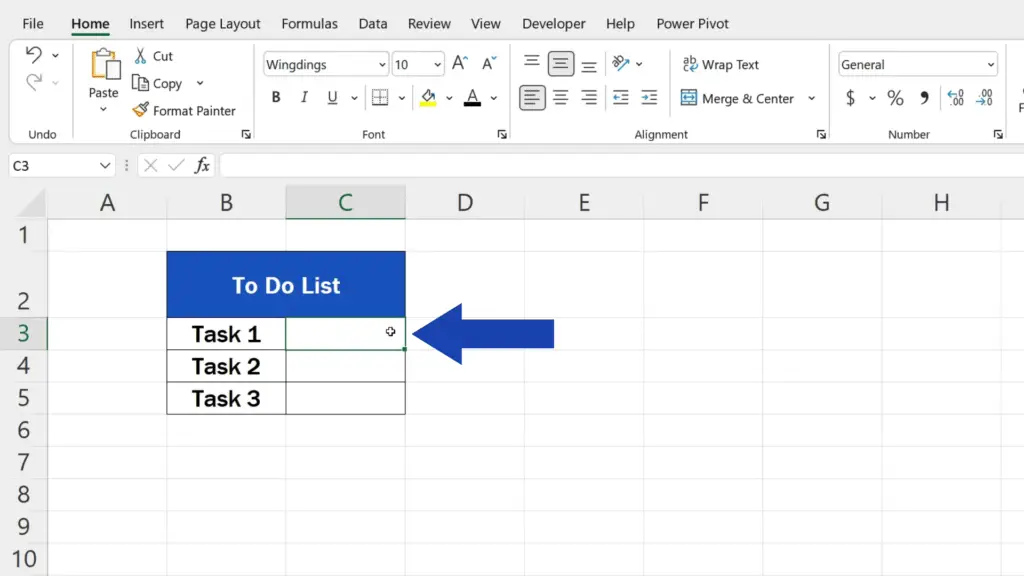
First, select the cell where you’d like to insert the check mark.
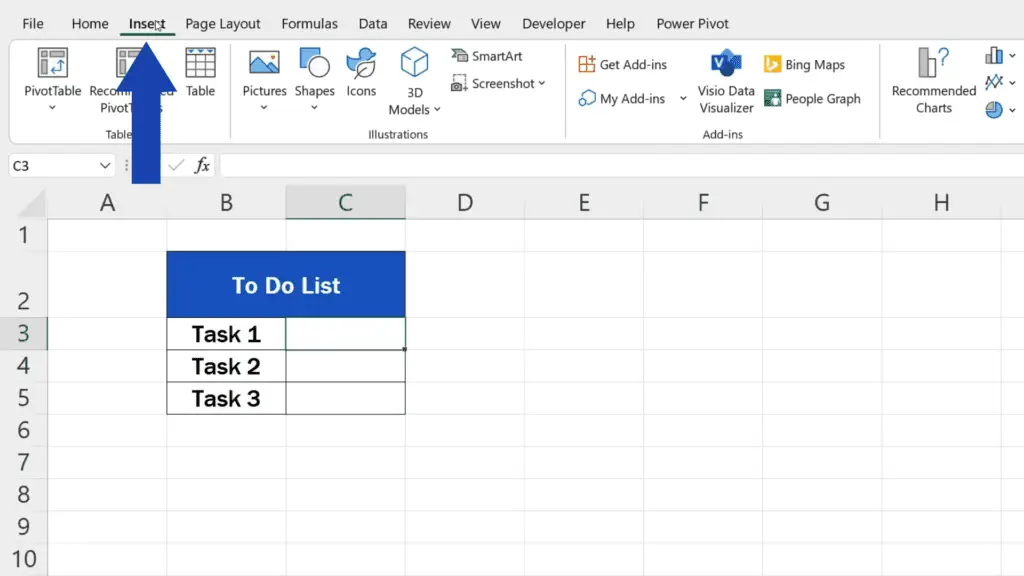
Then open the Insert tab and click on Symbol.
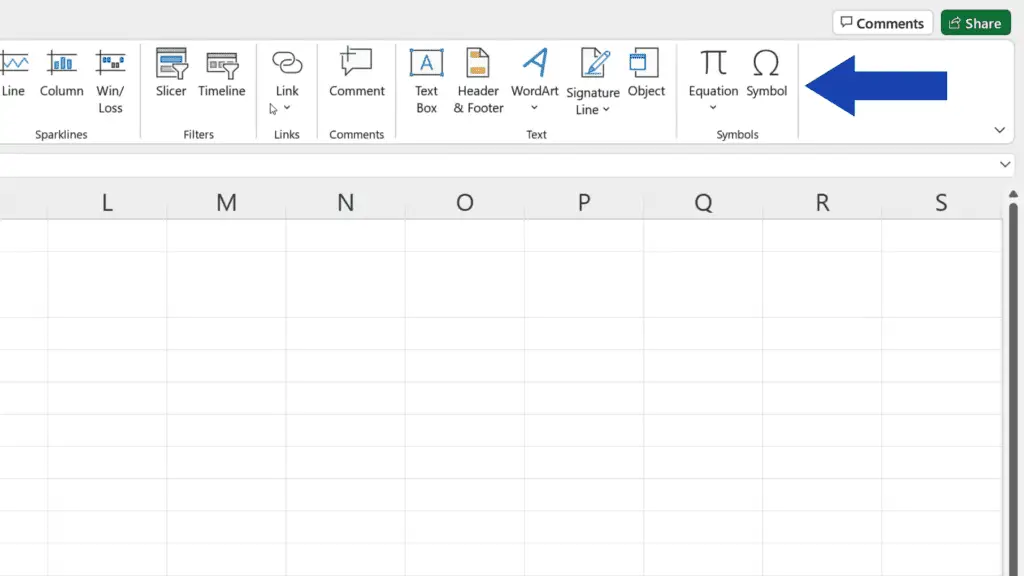
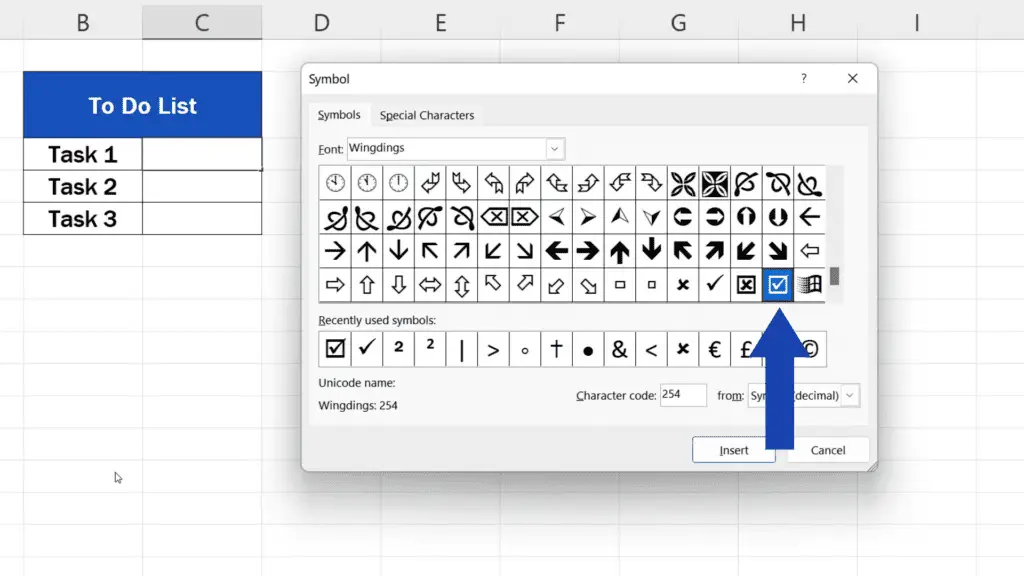
You’ll see this pop-up window where you’ll find a lot of different symbols you can use in a spreadsheet.

We’ll focus on the check mark which we’ll look up right here by selecting ‘Wingdings’ as font, here at the top, and choosing the right symbol from the range of symbols offered.
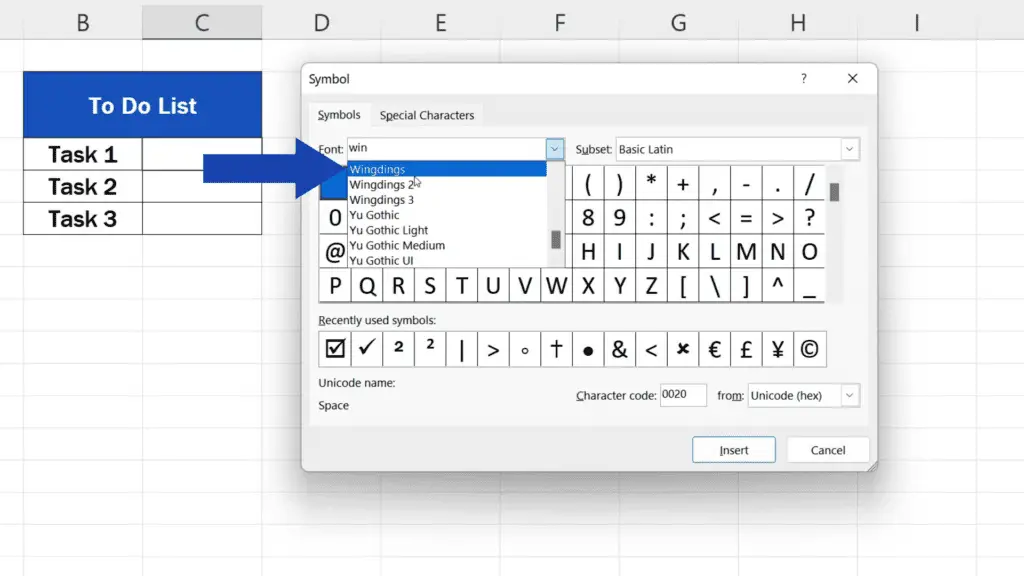
You can go for the regular check mark – a plain tick, or a check mark in a box.
Let’s go for the plain tick now, so click on the symbol we’ve picked, then click on ‘Insert’ and the symbol appears in the selected cell.

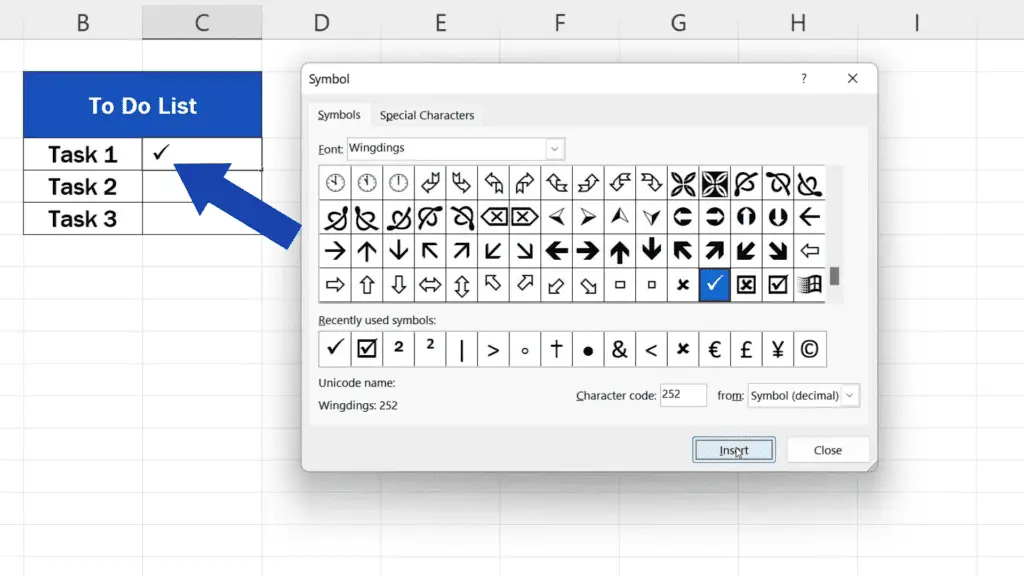
We close the window now and we can use the same way to insert the other type of the check mark in the cell below.
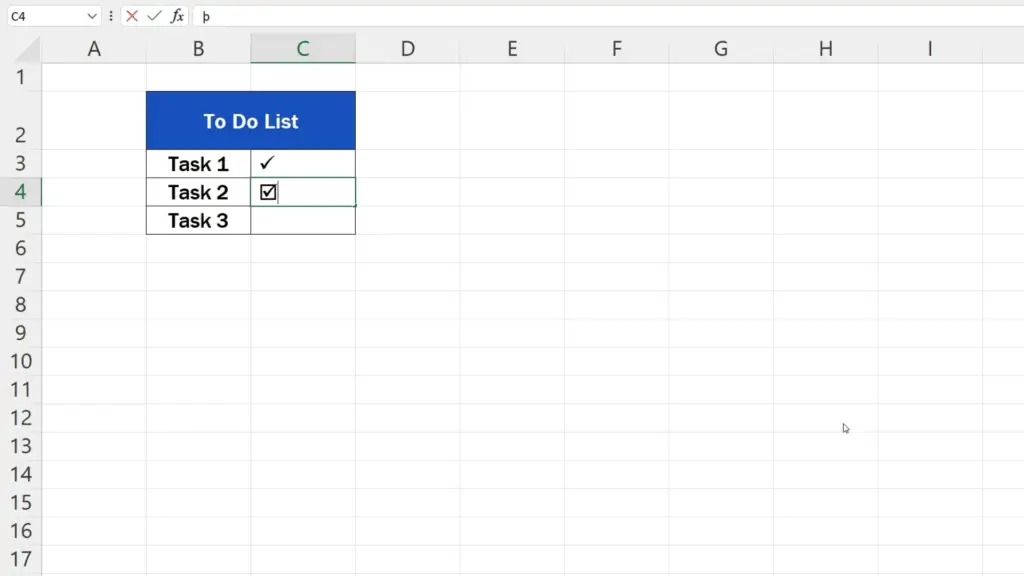
There we go!
Both symbols are in their places and now we can have a look at a couple of tips and tricks you might find useful.
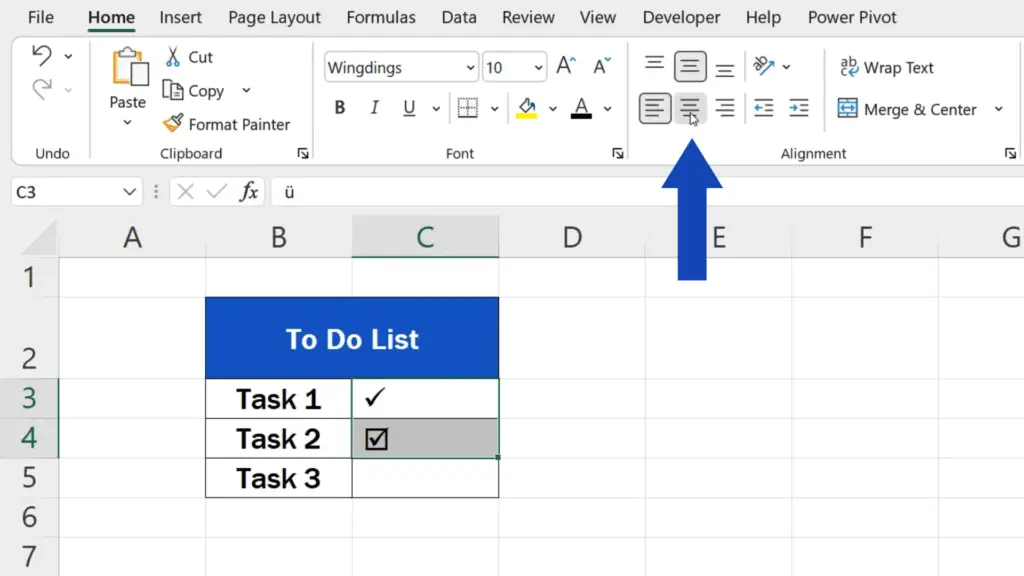
How to Adjust the Check Marks
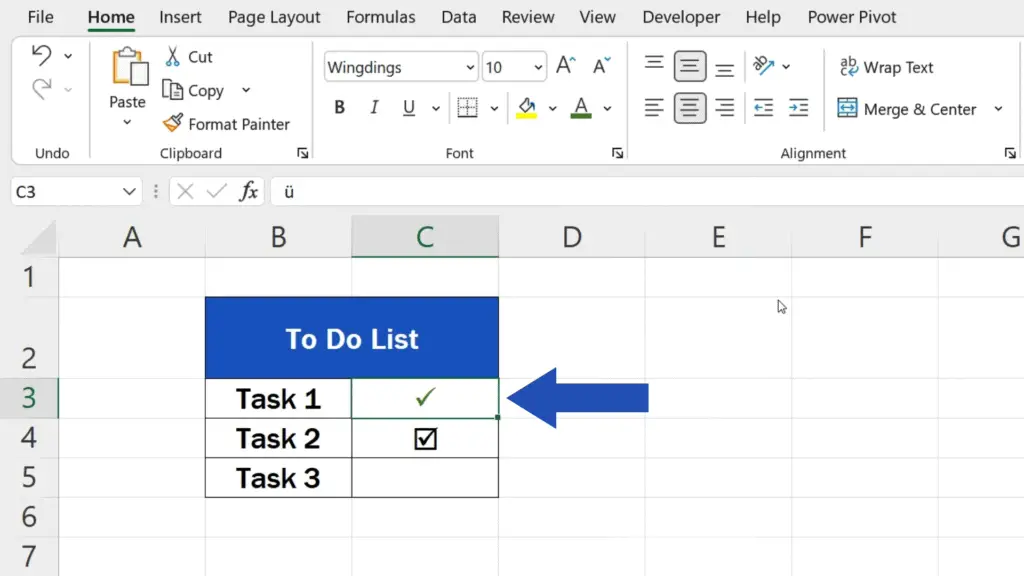
We can set the alignment of the check marks within the cells as needed. Select the cells with the symbols and here, in the Home tab, click on the alignment option you want to use. We’ll align the check marks so that they appear in the centre of the cells.
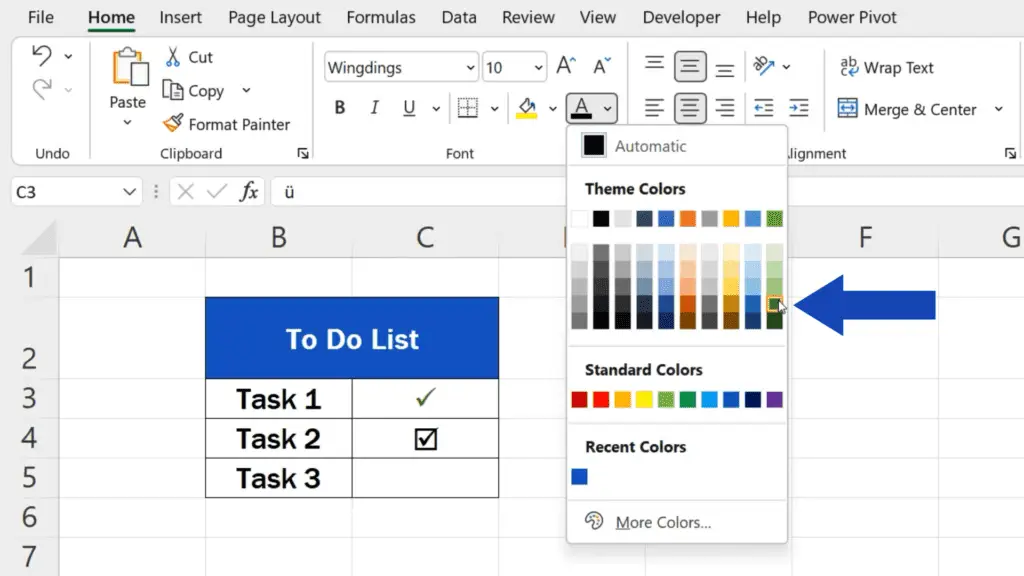
The colour of the symbols can also be adjusted according to what we need.
Simply click on the symbol, go to the Font section in the Home tab and select the right colour. We’ve picked this dark green, so we’ll click on our selection and the check mark shows in the colour we’ve chosen.
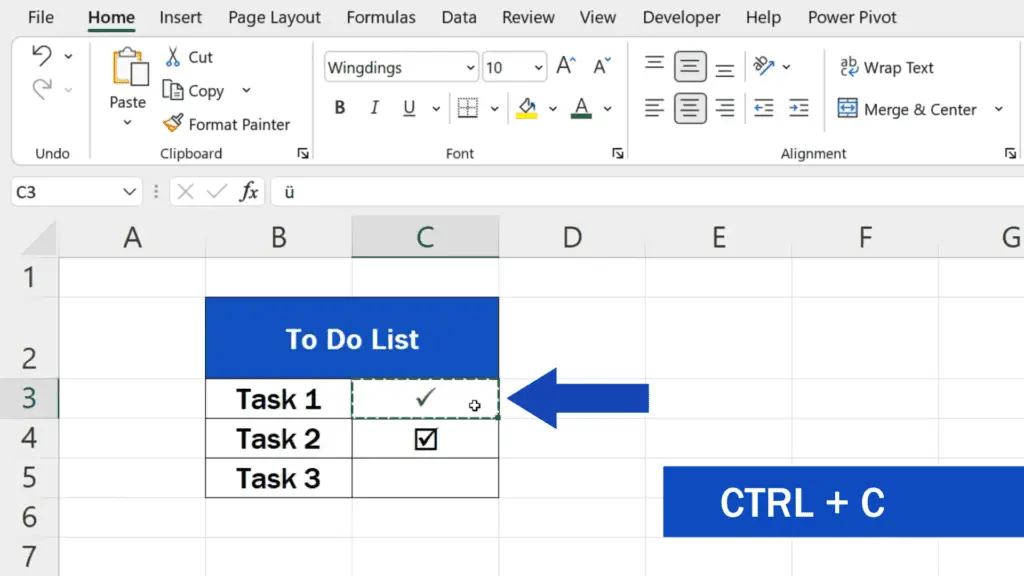
To copy the symbols to other cells is an easy task to do. You can follow the regular hot key – have the symbol selected, press the Control button and C, then go to the target cell and to paste, press the Control key and V, and that’s it!

To learn how to add an active checkbox so that you could add a tick with a click in Excel, check out the tutorial you can find in the list below.
Don’t miss out a great opportunity to learn:
- How to Insert a Symbol in Excel
- How to Insert a Checkbox in Excel (Quick and Easy)
- How to Insert Bullet Points in Excel (Quick and Practical Solution)
If you found this tutorial helpful, give us a like and watch other tutorials by EasyClick Academy. Learn how to use Excel in a quick and easy way!
Is this your first time on EasyClick? We’ll be more than happy to welcome you in our online community. Hit that Subscribe button and join the EasyClickers!
Thanks for watching and I’ll see you in the next tutorial!

 How to Subtract a Percentage in Excel
Welcome! Today we’re going to talk about the simplest way how to…


