How to Subtract a Percentage in Excel
Welcome!
Today we’re going to talk about the simplest way how to subtract a percentage in Excel. We’ll be going through a step-by-step guide that you’ll be able to use immediately when calculating discounts, rebates or in any situation where you need to subtract a percentage from a specific sum.
Ready? Let’s start!
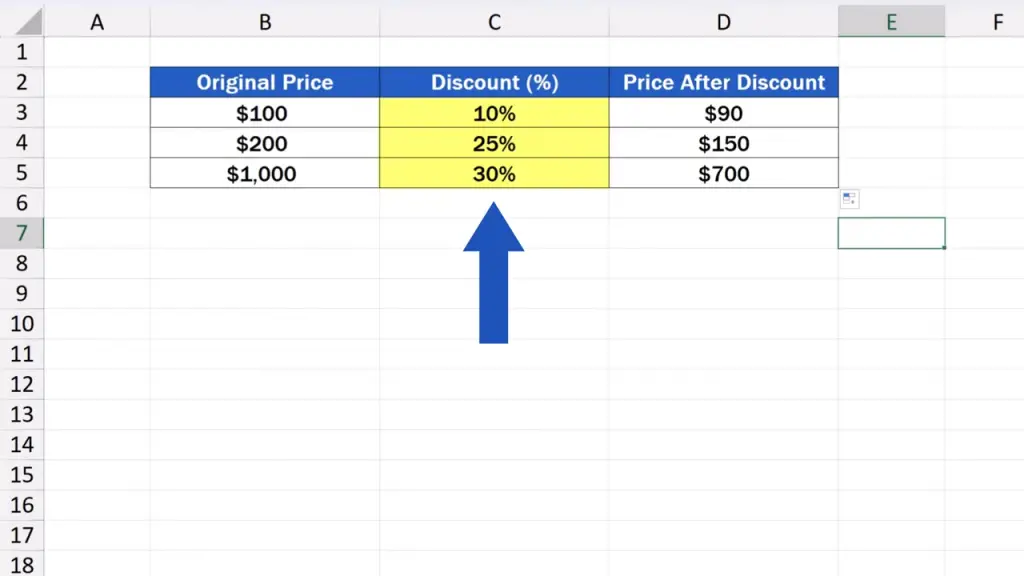
To learn how to subtract a percentage in Excel, let’s have a look at this simple example. In this data table, there’s a column containing an original price.
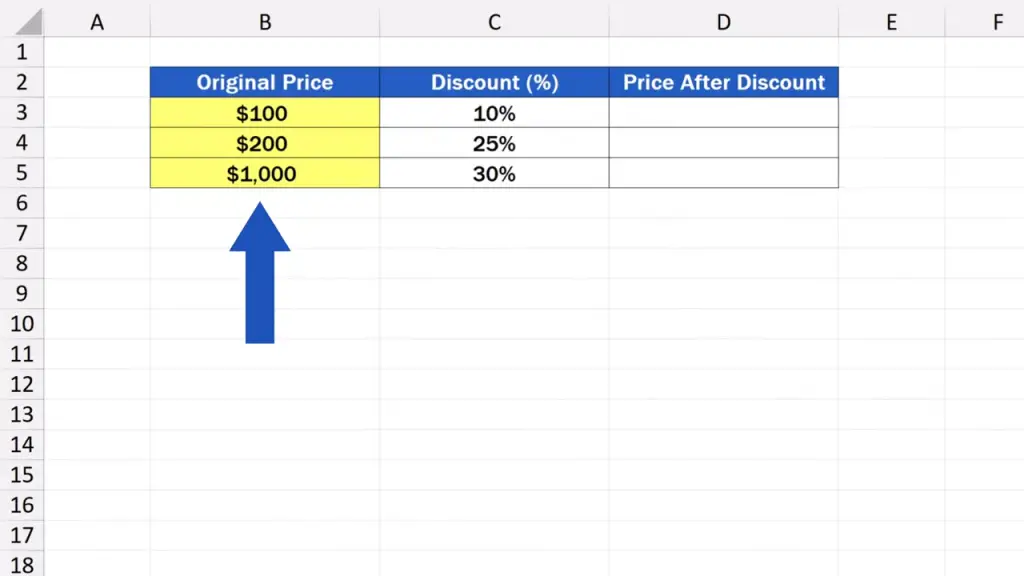
Right next to it, there’s a column that stores the information on a discount, which is different in each row.

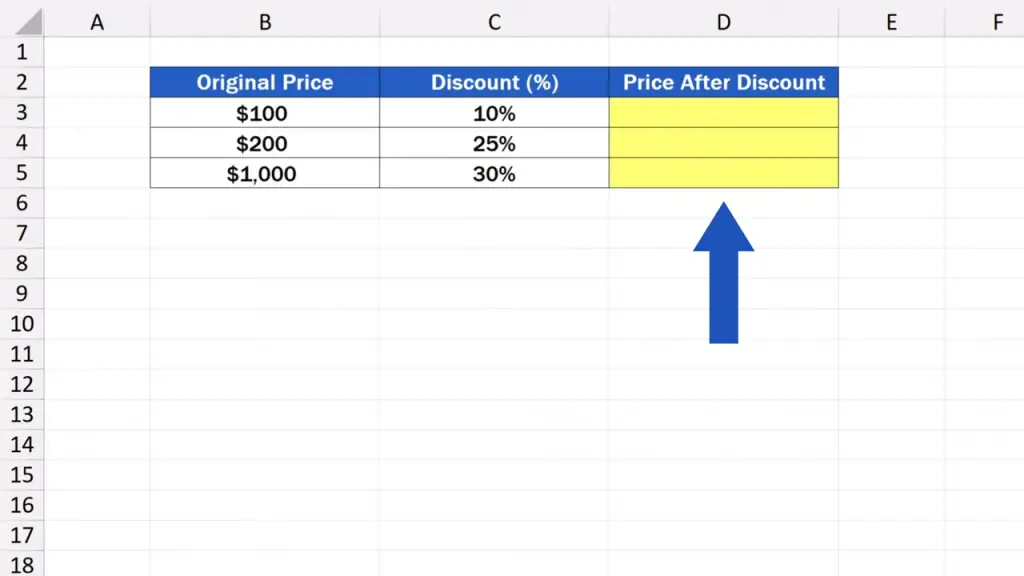
Our aim is to calculate the exact price of a product after the discount in the second column has been applied, and we want to display the discounted price in the third column, ‘Price After Discount’.
Let’s see how to do that.
How to Subtract a Percentage in Excel Using a Formula
First, let’s click on the cell where we want to show the result. In our data table, it’s the cell D3.
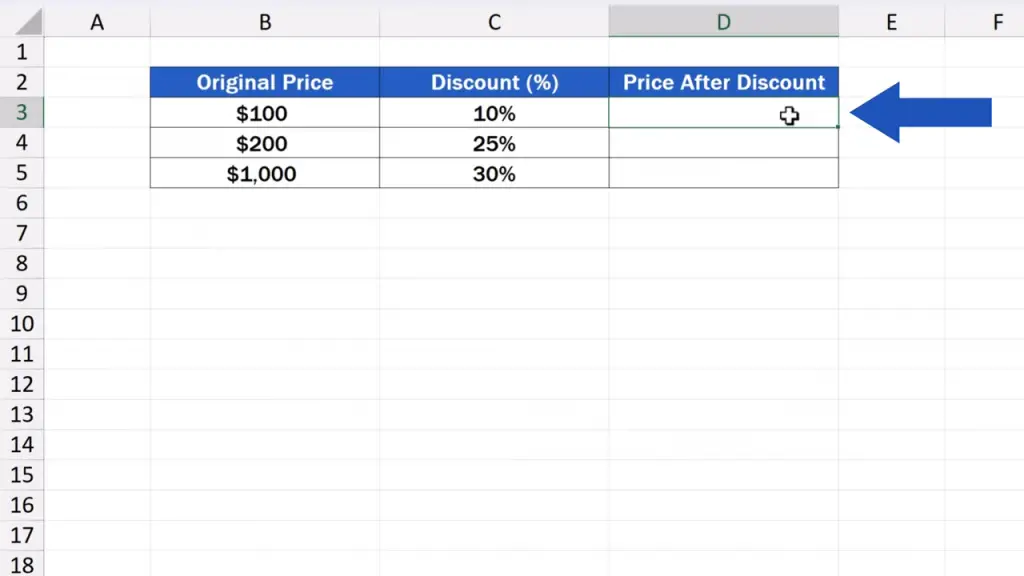
Then we enter the equal sign and carry on writing the formula: B3 minus, here comes an opening bracket, B3 again, then an asterisk for multiplication, C3, and a closing bracket.
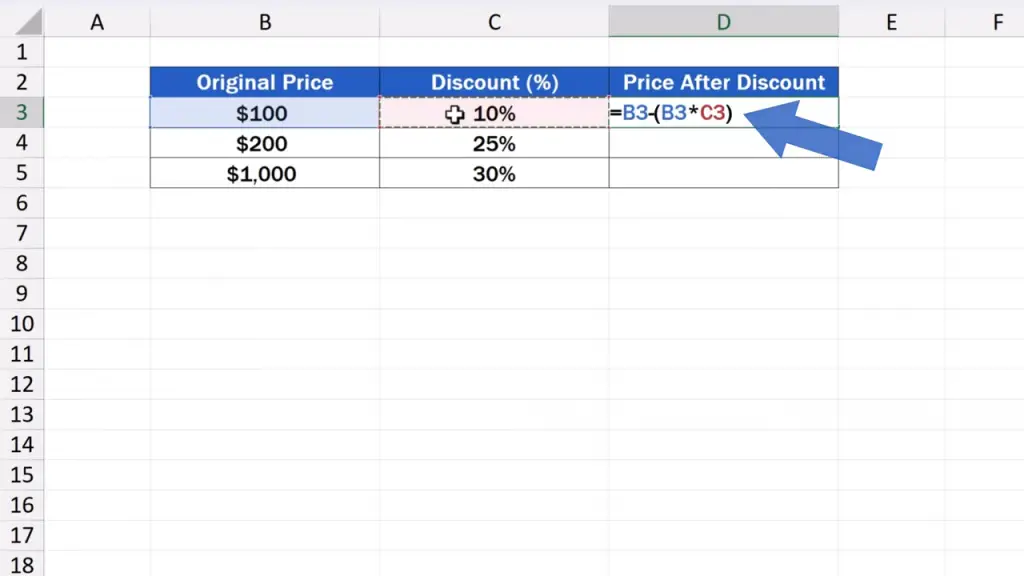
This formula instructs Excel to subtract the sum of the discount stated in C3 from the original price in B3. The calculation of the discount is processed in brackets in a way that Excel multiplies the original price in B3 with the discount stated in percentage in C3.
Now, we just hit ‘Enter’, and we’ve got the result! If we take the original sum 100 dollars and subtract the discount of 10%, we’ll get the price after discount that equals 90 dollars.
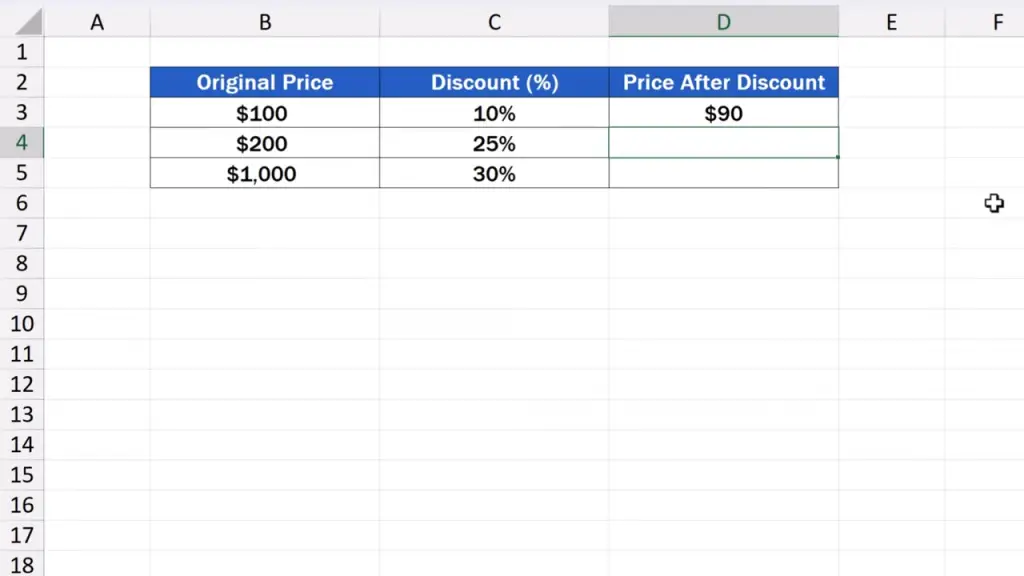
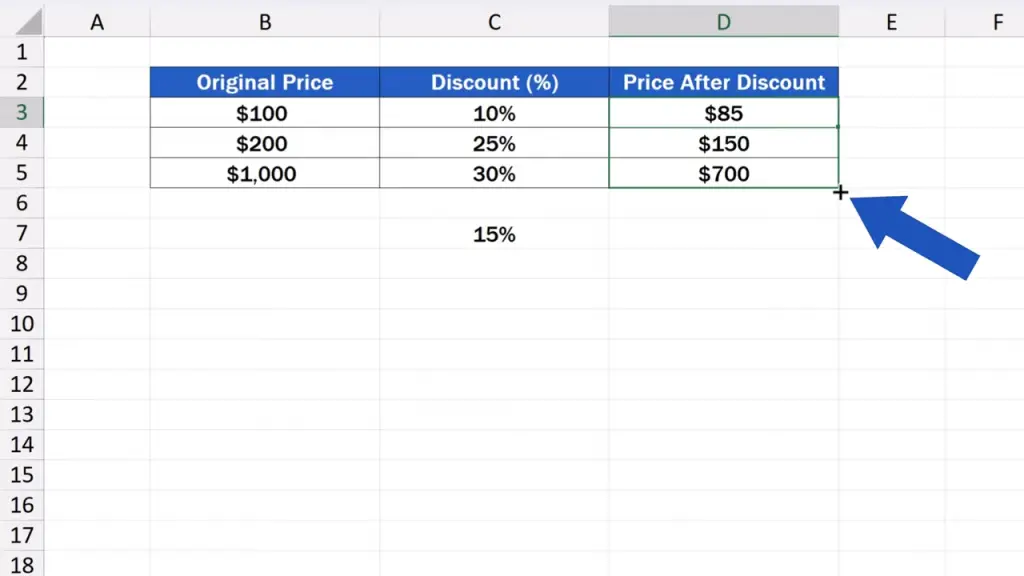
The same calculation works for the rest of the rows in the data table. We can simply copy the formula to the rows below by clicking on the cell D3, then hovering with the cursor over the bottom right-hand corner of the cell to see this plus sign.
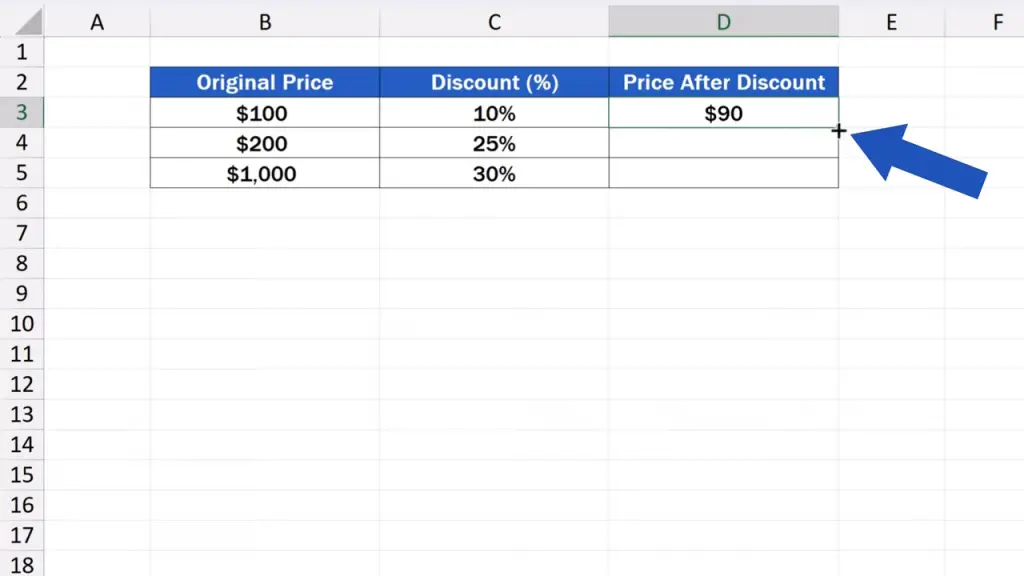
Then we click on the left mouse button and drag the corner downwards.

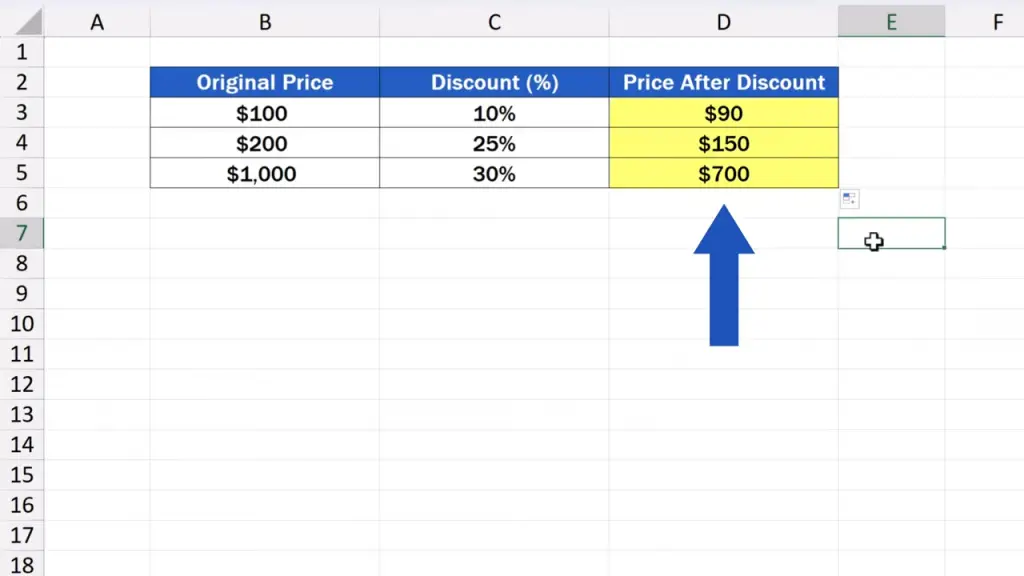
The formula gets copied to the rest of the rows below and the third column’s been populated with the prices after the discount.
How to Format Discount Values as Percentages
And here’s one more important detail to remember!
To make everything work, make sure the numbers in the column ‘Discount’ have been formatted correctly, as percentage.
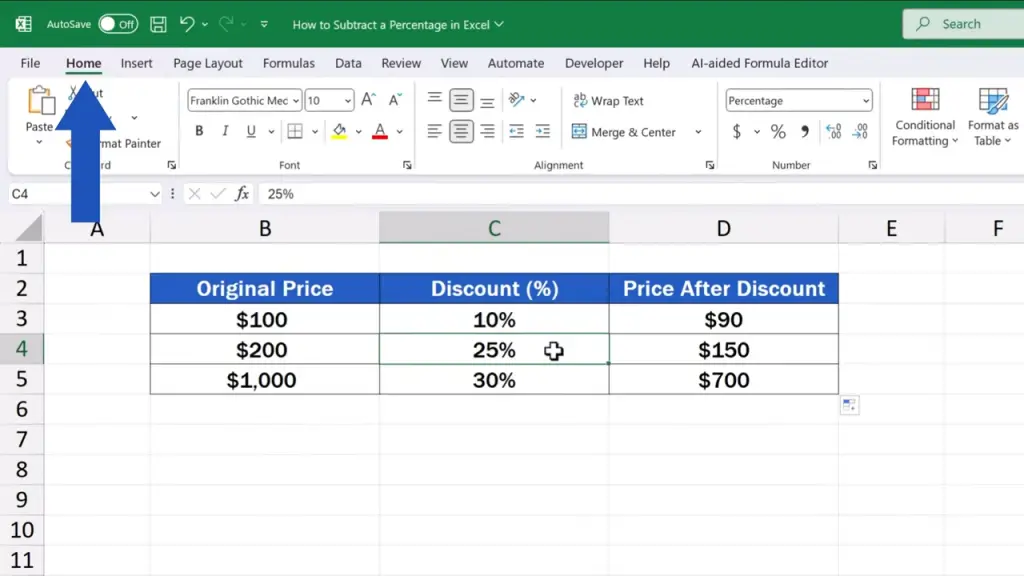
To do that, just click on a cell containing a percentage, then go to the ‘Home’ tab
and click on the percentage button.
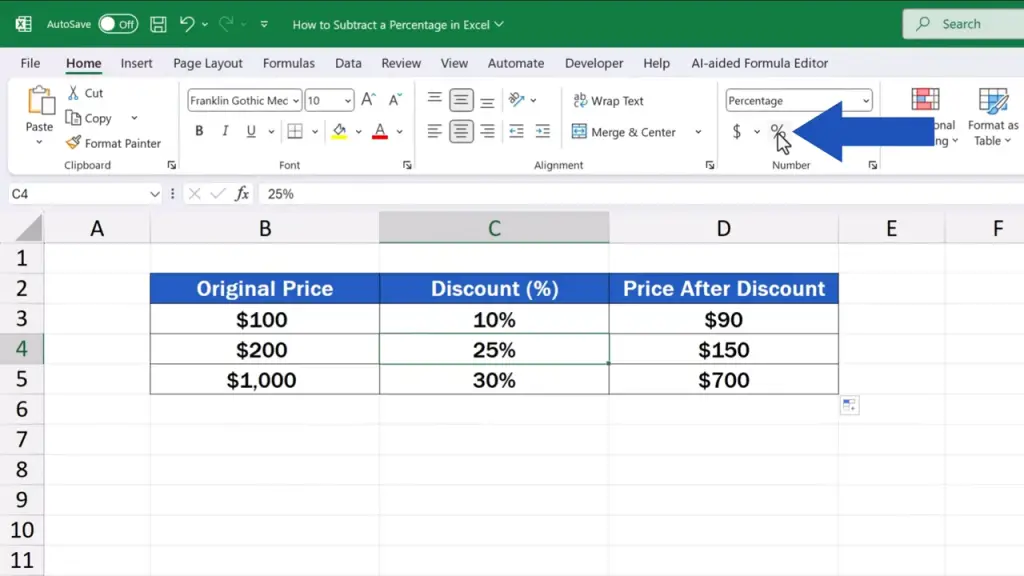
This way you’ll make sure that the number 25 will be treated as 25%, not just a simple figure 25.
But you must keep in mind that the cells should ideally be formatted before you start entering the data, and that’s because if the value already is in the cell, Excel treats it as a whole number. Therefore, if the cell already contains the number 25, after formatting the number as Percentage, Excel multiplies it by 100 and the spreadsheet shows 2500%.
Remember that ‘percentage’ means a ratio, and the discount of 25% should be expressed mathematically as the decimal value 0.25.
How to Subtract a Fixed Percentage Using Absolute Reference
And here’s a little trick that might come quite handy:
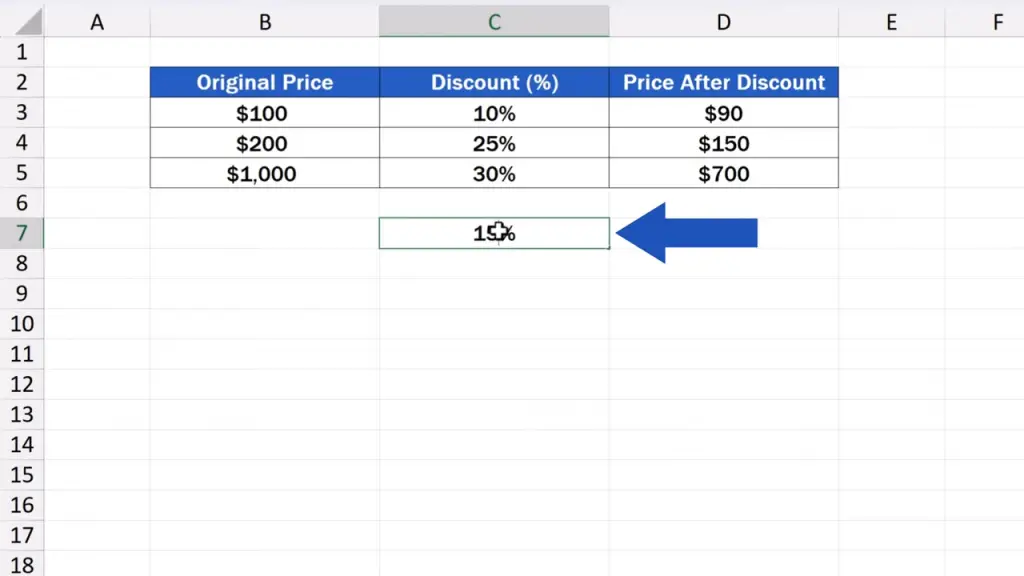
If the discount we want to subtract doesn’t vary, let’s say it’s 15% in each case, we can store this value in one cell, it could be C7 here, for example.
Now, we need to modify the formula slightly, so we rewrite it like this: we start with the equal sign again, then carry on with B3 followed by a minus followed by the expression B3 times C7 in brackets.
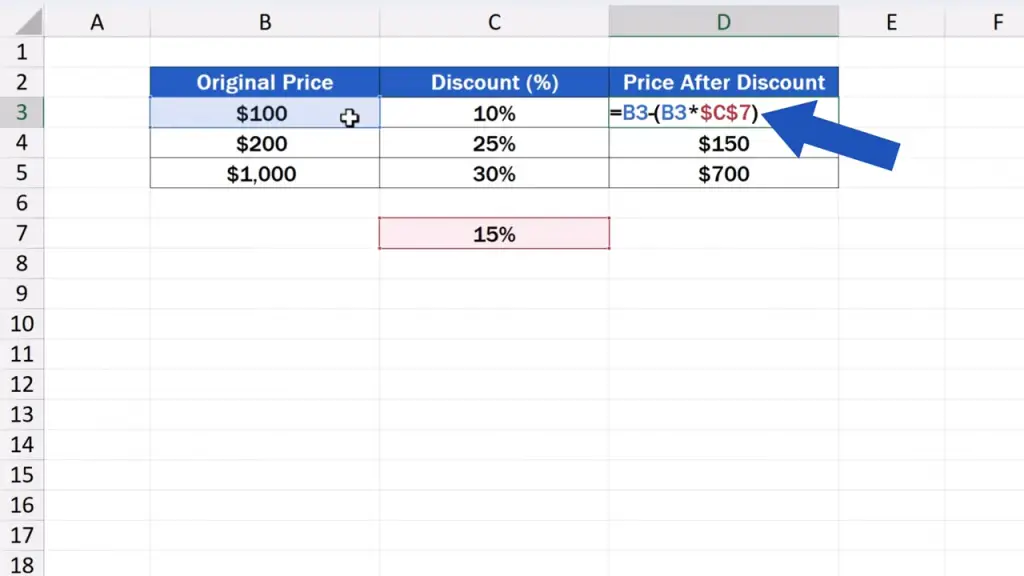
However, we’ve got to put a dollar sign in front of ‘C’ and another one in front of ‘7’, here.
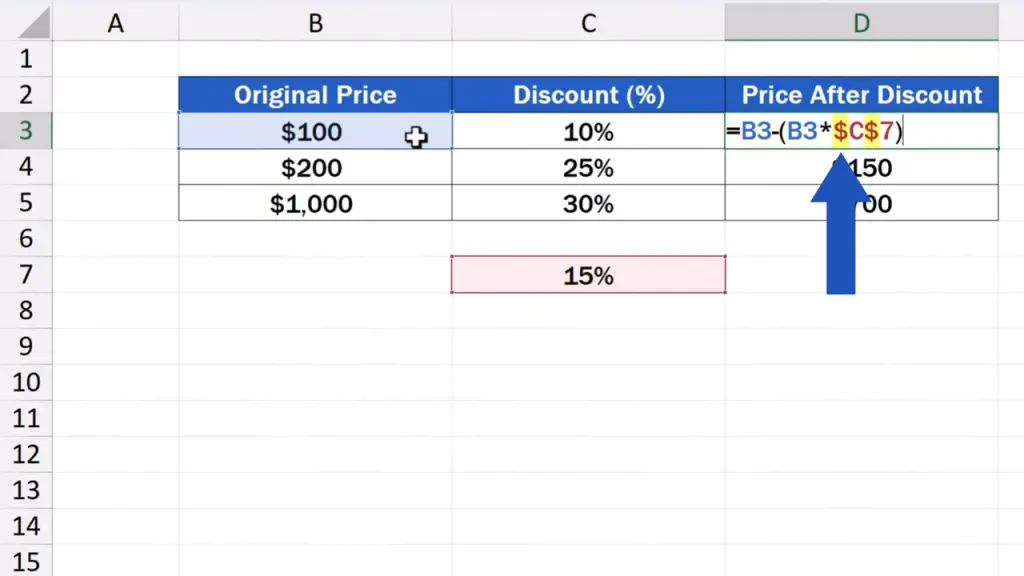
The dollar sign ensures that when copied, the formula will always take the value stored in the cell C7 for the calculation.
We can press ‘Enter’ now and that’s it! Again, we can drag the cell corner down to copy the formula to the rest of the rows and check that the reference to the cell C7 stays in the formula in each row.
If interested, you can learn more about this dollar lifehack called the Absolute Cell Reference in Excel in a separate video tutorial titled ‘How to Use Absolute Cell Reference in Excel’ by EasyClick Academy. The link to the video is in the description below.
To better manage other percentage calculations, make sure to check out the whole series of video tutorials called ‘How to Calculate Percentage in Excel’ by EasyClick Academy. You can find the link in the description below, too.
And now it’s your turn! Tell us more about your work with percentage calculations in Excel! What do you work with most often – discounts, VAT or something else? We’re looking forward to reading your comments in the comments section below!
Don’t miss out a great opportunity to learn:
If you found this tutorial helpful, give us a like and watch other tutorials by EasyClick Academy. Learn how to use Excel in a quick and easy way!
Is this your first time on EasyClick? We’ll be more than happy to welcome you in our online community. Hit that Subscribe button and join the EasyClickers!
Thanks for watching and I’ll see you in the next tutorial!