How to Use Flash Fill in Excel (And Save a Lot of Time)
Today we’ll be talking about how to use Flash Fill in Excel. This little miracle among functions can recognise a pattern and based on this, fill in missing data automatically, so you won’t have to enter them manually nor use complicated formulas. Flash Fill will do it for you making it a real time-saver.
Let’s see how it works!
First of all, it’s important to note that Flash Fill is only available in Excel 2013 and later. So, if you’ve got the right version of Excel, let’s have a look at what the function can do and how it can help.
How to Join the First Name and the Surname with Flash Fill
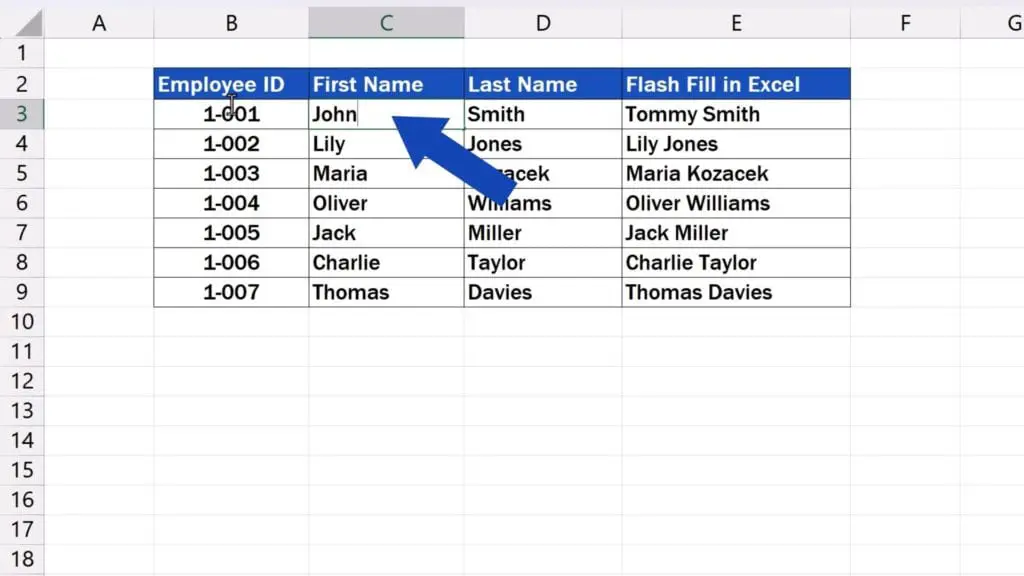
Let’s say we need to join the first name and the surname of employees. We click into a target cell and type the exact format of the name as we want it to appear. Here we’ll type in ‘Tommy Smith’.
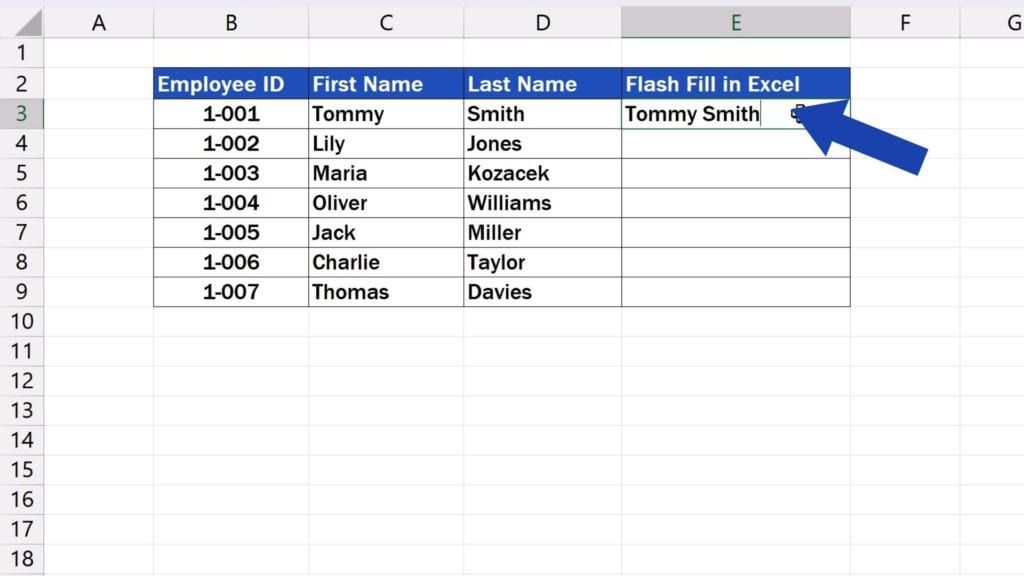
Then we press Enter.
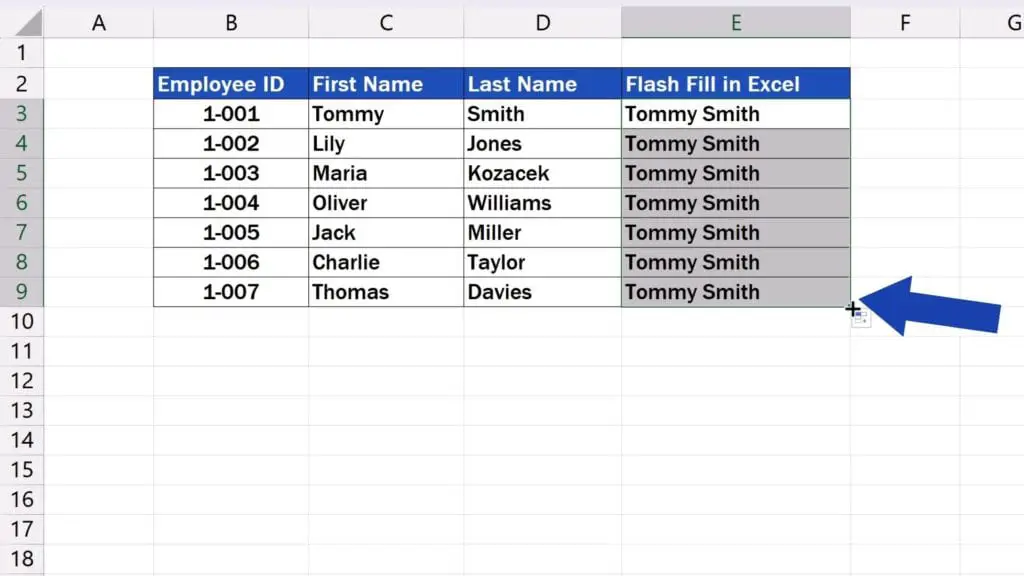
Next, we click on the cell and drag its bottom right-hand corner down through the rest of the rows.
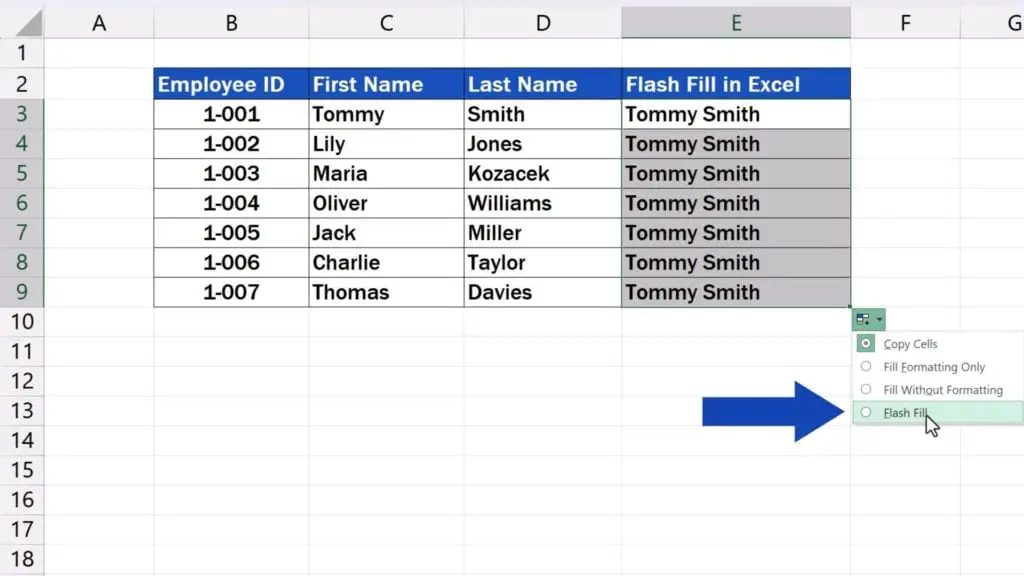
Now, we just click here on the button that appears at the bottom of the highlighted field and select the option ‘Flash Fill’.
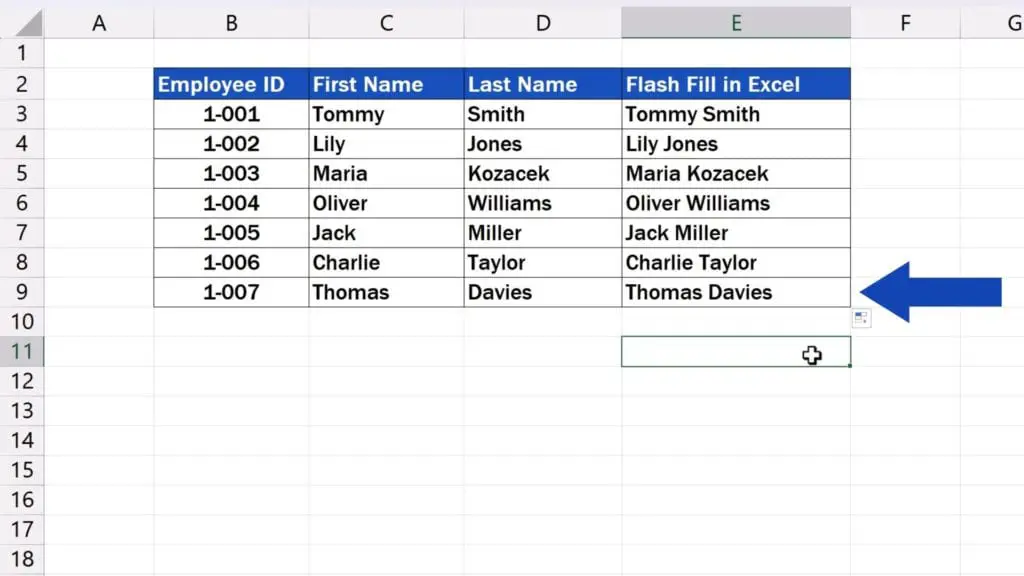
And that’s it.
Excel has recognised the pattern we want to follow when filling in the missing data and joined the first names and surnames into full names for each row. Just as we wanted.
Before we move on to see other ways how to use Flash Fill, it’s important to note that the result you get is not dynamic. That means that if I use Flash Fill and decide to make a change in the source data later, the change won’t be reflected in the target cell.
If we change ‘Tommy’ to ‘John’ here, the full name in the target cell won’t change and it’ll stay as it was first entered – ‘Tommy Smith’. So, this must definitely be taken into account when working with Flash Fill.

But if you’d like to join data dynamically, you’re welcome to watch another tutorial by EasyClick Academy titled How to Concatenate in Excel, where you’ll learn how you can concatenate quite huge amounts of data. The link to the tutorial is in the list below.

Flash Fill Function – Keyboard Shortcut
But let’s focus on Flash Fill now and have a look at another example of how to use this function – a keyboard shortcut to make your life a little bit easier.
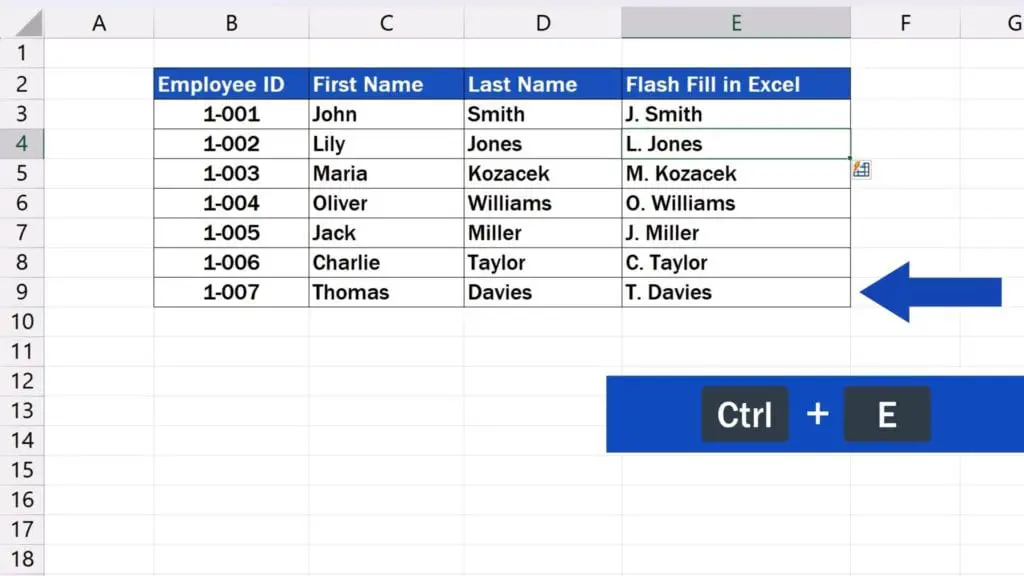
Let’s say we want to join the names in the table in the format: the initial letter of the first name and the full surname. Like this.
So, we’ve got the target format of the name, we can press Enter and use the shortcut Ctrl + E.
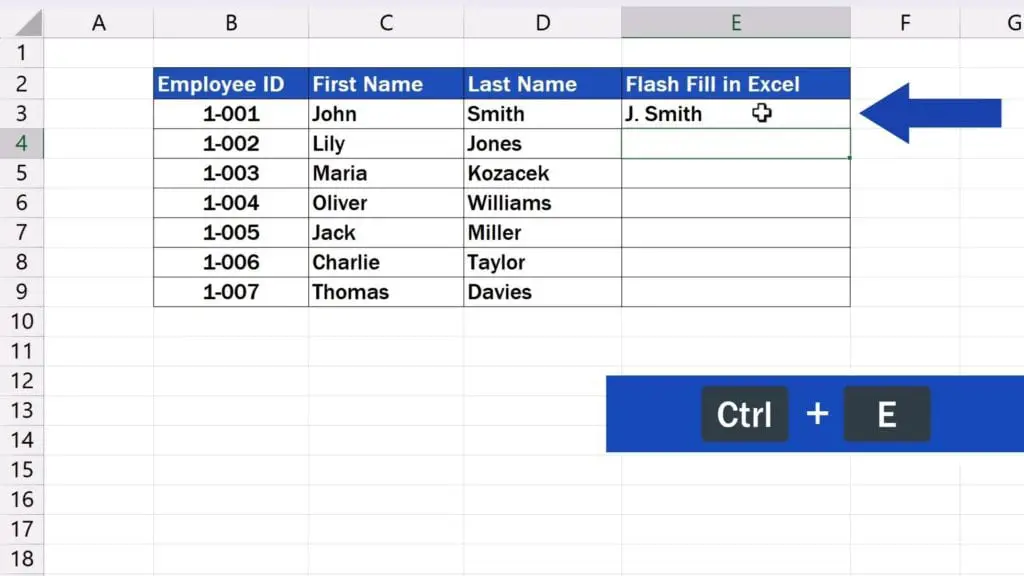
As soon as we hit the keys, Excel will fill in the missing data in the rest of the rows according to the format we’ve defined.
Where to Find Flash Fill Up On The Ribbon.
We can now delete the last column of the table and see where to find Flash Fill up here on the Ribbon.
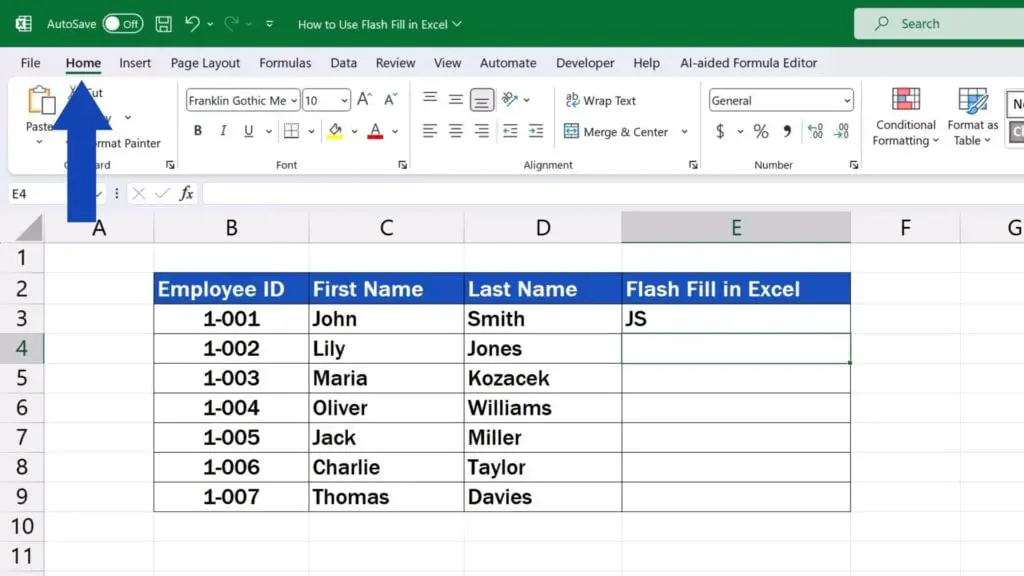
Again, we’ll use a specific example to do that. Now we want only the initials from both first names and surnames. We type ‘JS’ in the first target cell and press Enter.
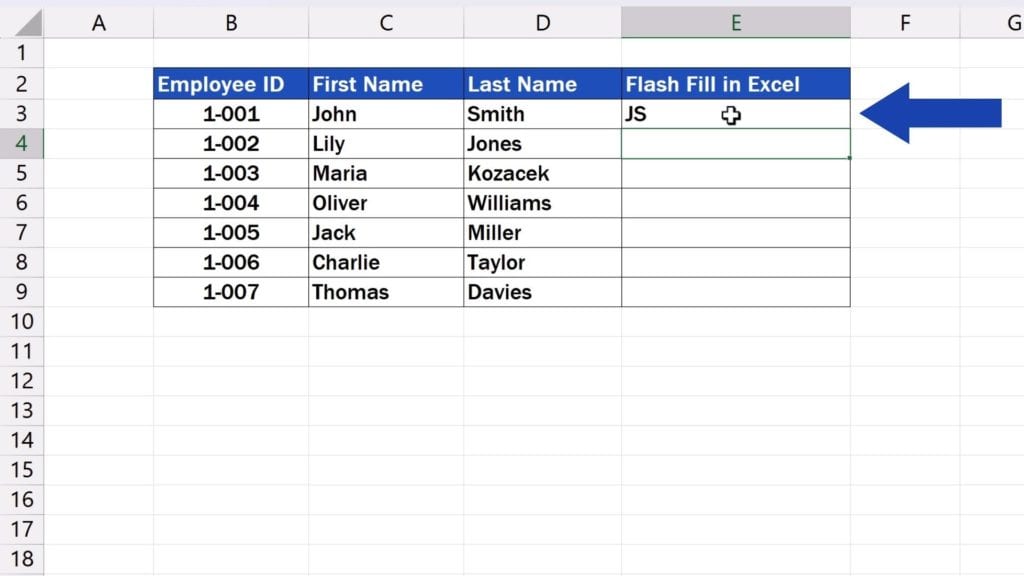
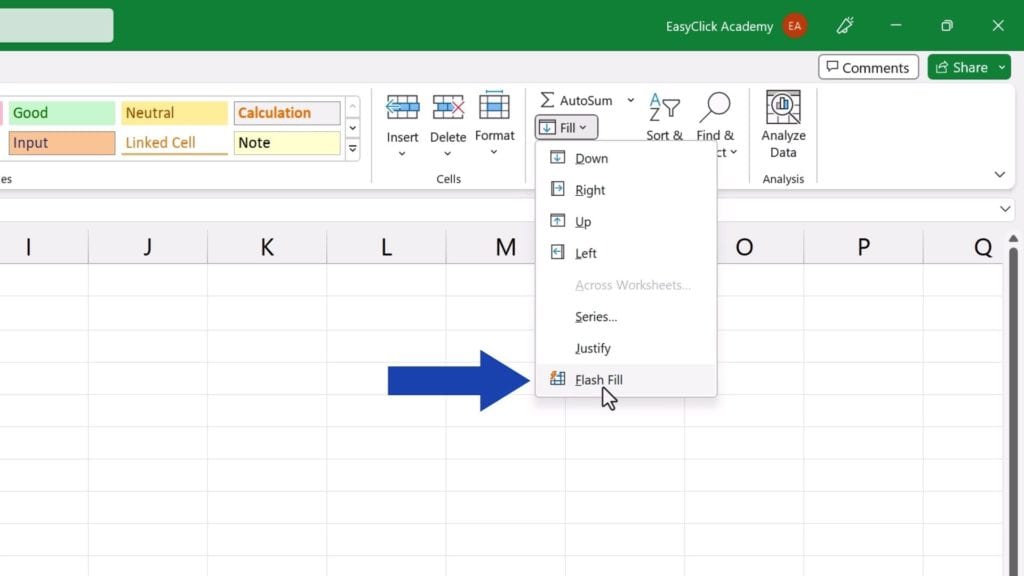
Then we go to the Home tab and find the button ‘Fill’ where we select ‘Flash Fill’ from the options.
And here we go again! Excel has filled in the missing data following the defined pattern.
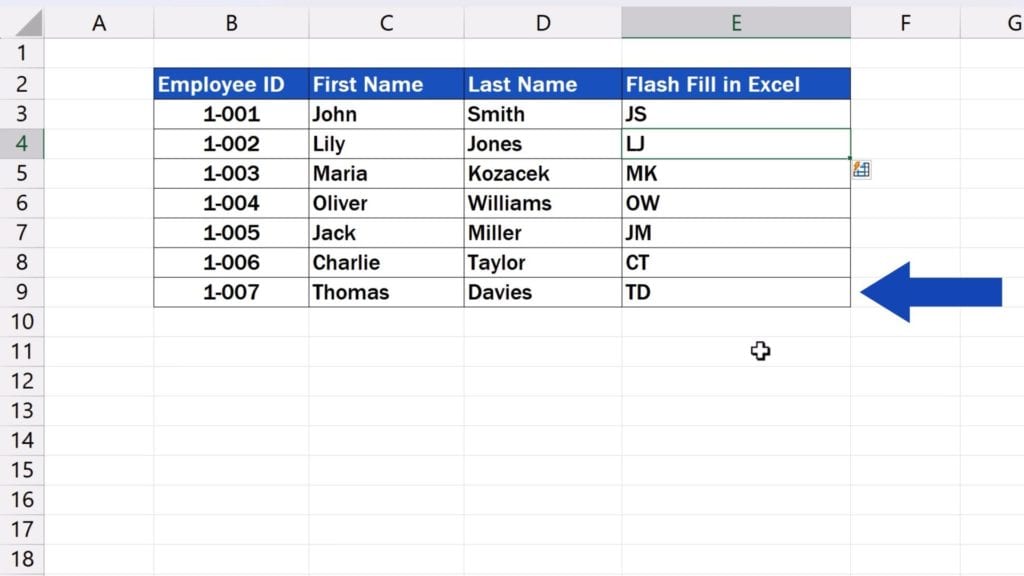
It’s easy! Just specify the format in which you need your data to appear in the table and Flash Fill will help you fill them in immediately.
But that’s not all for today.
What to Do When Flash Fill Doesn’t Do What You Want it to Do
We’re also going to cover a problem scenario and to have a look at what to do when Flash Fill doesn’t do what you want it to do.
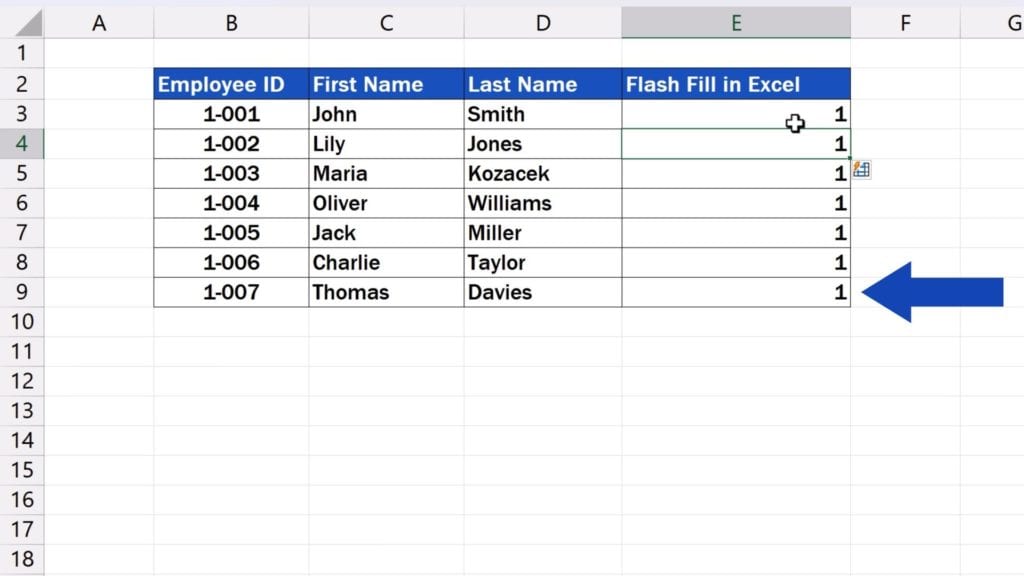
Let’s say we want to assign the last digit from the ‘Employee ID’ to each of the names.
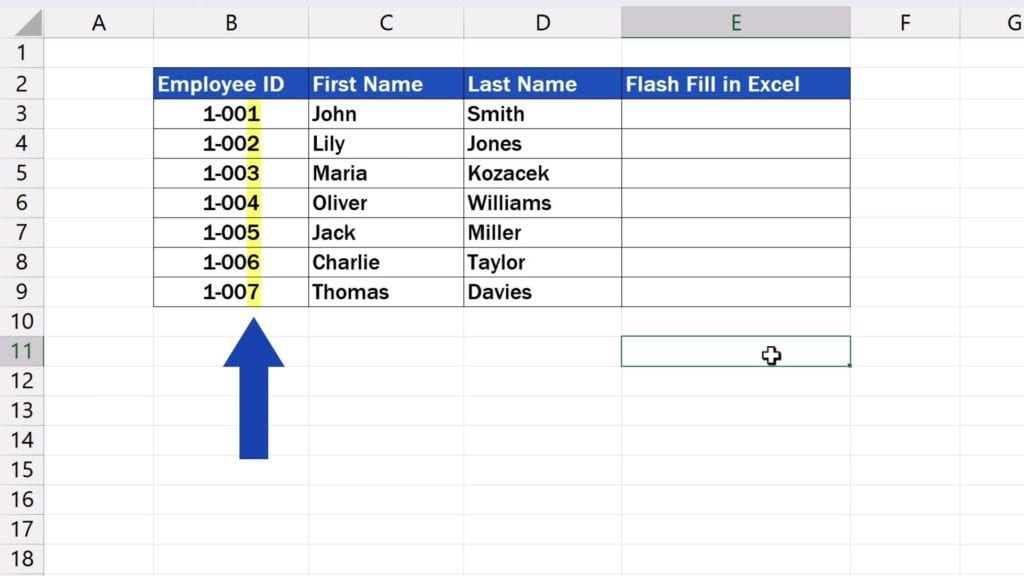
So, we’ll type ‘1’ into the first target cell, press Enter and use the shortcut Ctrl + E. But Excel filled in all rows with the number 1! It followed a pattern, but not the pattern we wanted it to follow. Flash Fill did not identify the last digit of the employee ID as the desired information, but the first one. And that one is the same for everyone.
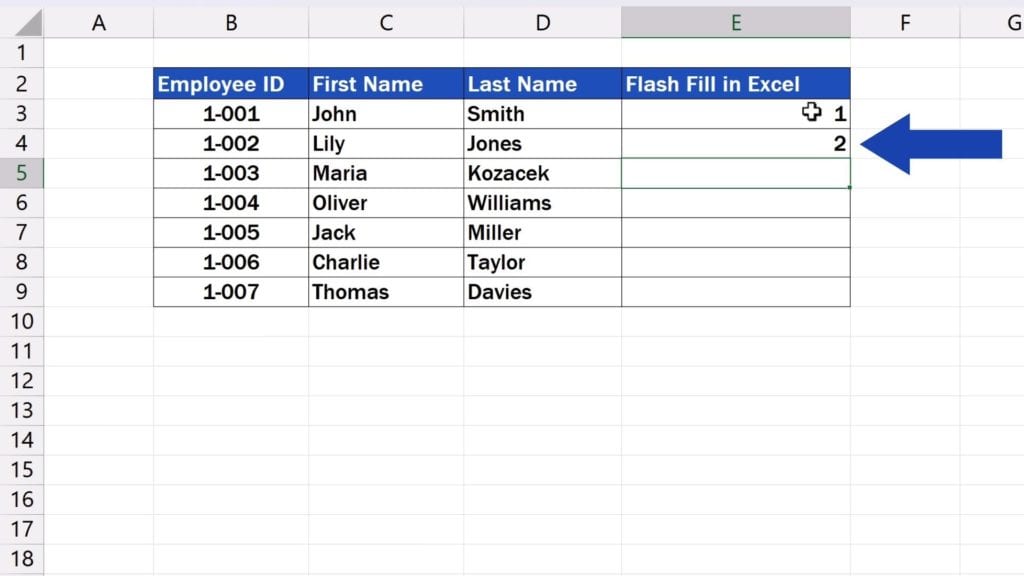
If something like this happens, we just need to be more specific and provide Excel with more information to recognise the pattern we need to apply. So, instead of filling in just one cell, we fill in two or three rows.
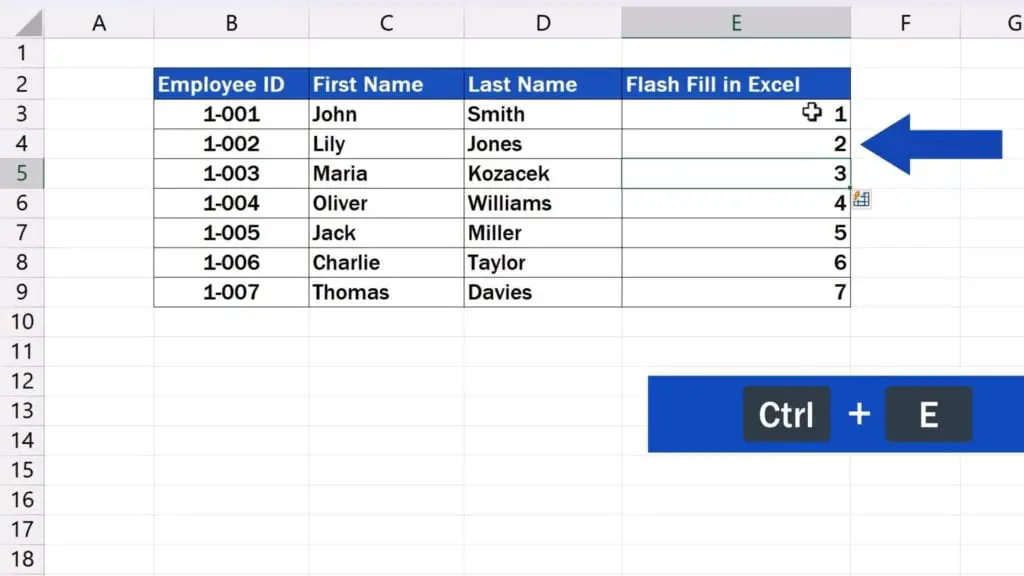
Let’s delete the data here and let’s type ‘1’ in the first target cell and ‘2’ in the second target cell to make sure we provide enough information on the pattern we want Excel to follow. Then we press Ctrl + E and here we go!
Now the data in the last column look alright.
So, what do you think? Can Flash Fill save you a lot of time?
If yes, give us a Like and share with us your ideas how Flash Fill can make your life easier at work. Leave us a note in the comments section below. We’ll be happy to hear from you.
Don’t miss out a great opportunity to learn:
- How to Concatenate in Excel (Quick and Easy)
- How to Separate Names in Excel
- How to Combine First and Last Name in Excel
If you found this tutorial helpful, give us a like and watch other tutorials by EasyClick Academy. Learn how to use Excel in a quick and easy way!
Is this your first time on EasyClick? We’ll be more than happy to welcome you in our online community. Hit that Subscribe button and join the EasyClickers!
Thanks for watching and I’ll see you in the next tutorial!

 How to Subtract a Percentage in Excel
Welcome! Today we’re going to talk about the simplest way how to…


