How to Add a Header in Excel (Text, Picture, Page Numbers, and More)
Have a look with us today at how to add a header in Excel! We’ll be talking about how to insert a text, a picture or page numbers into the header of an Excel document.
Ready to start?
Would you rather watch this tutorial? Click the play button below!
How to Display Header in the Sheet
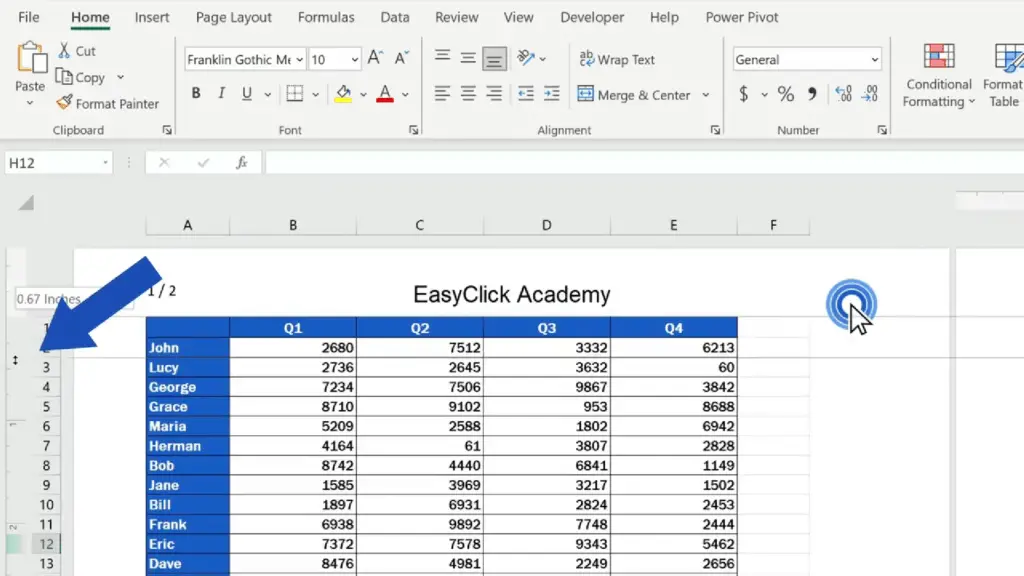
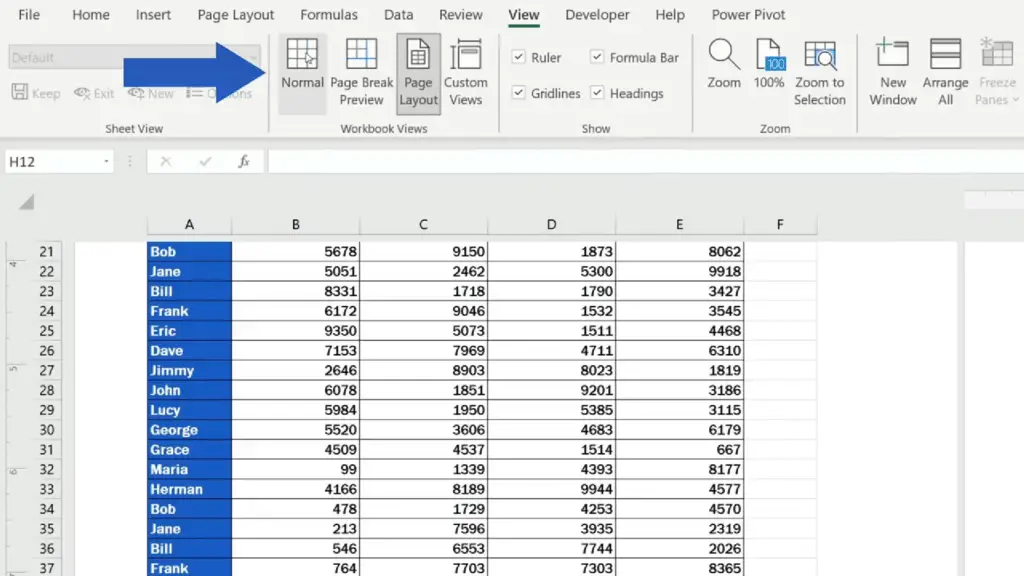
First of all, we need to display the header in the sheet, so we’ll go to the View tab and click on ‘Page Layout’.
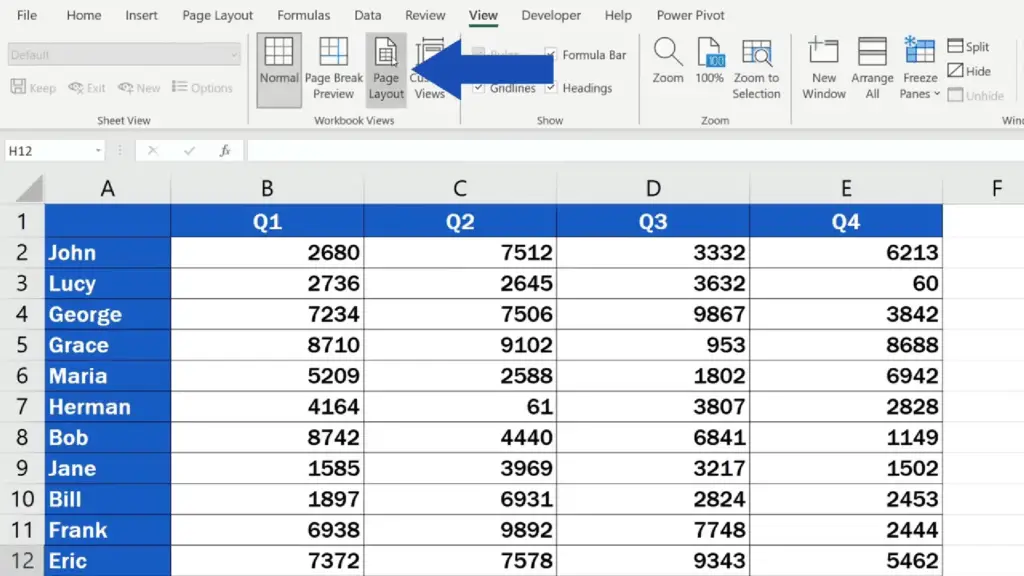
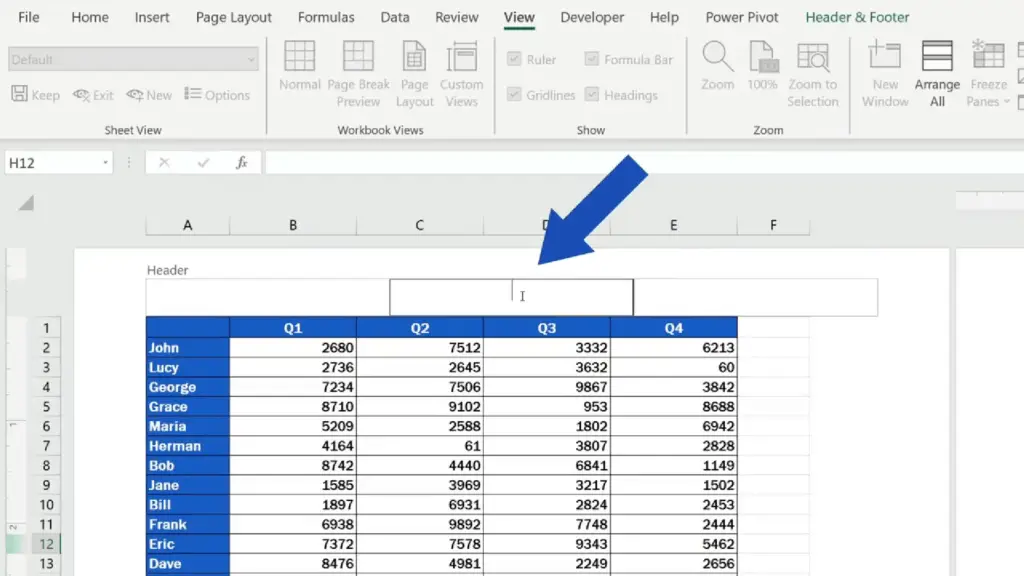
Then we click anywhere at the top of the document to see these three sections. This is the place where we can insert various elements in the header.
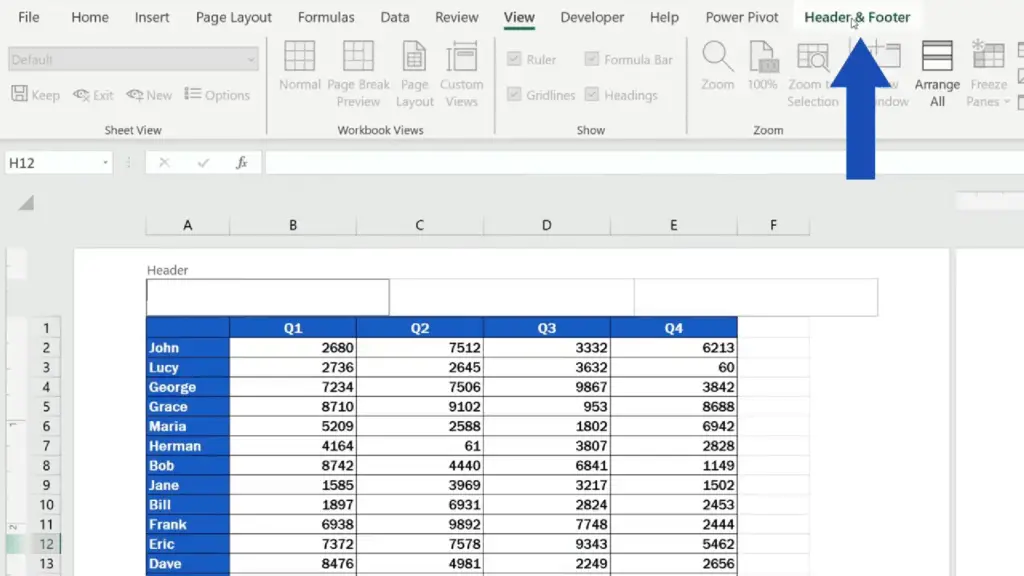
How to Add Page Numbers to the Header
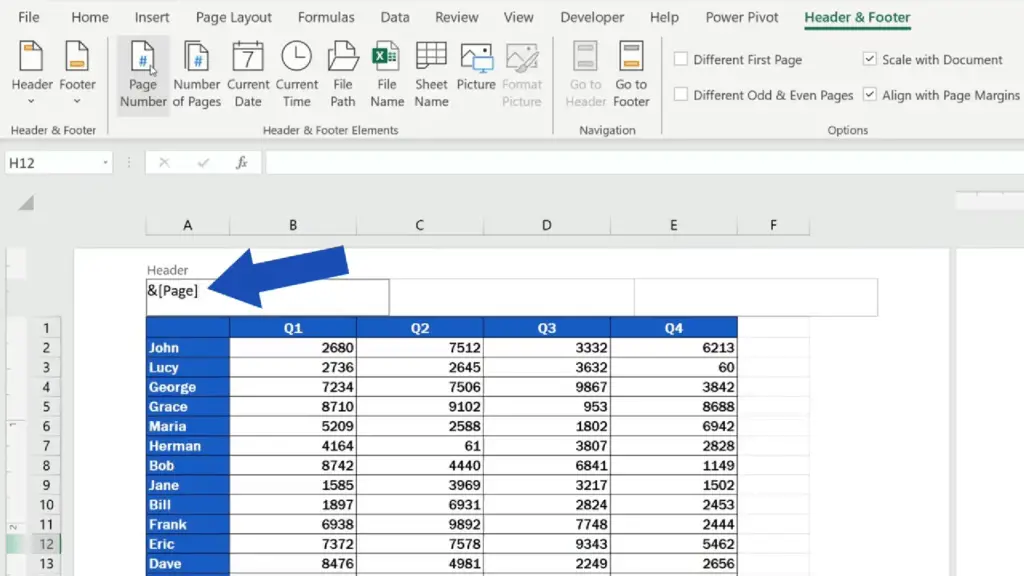
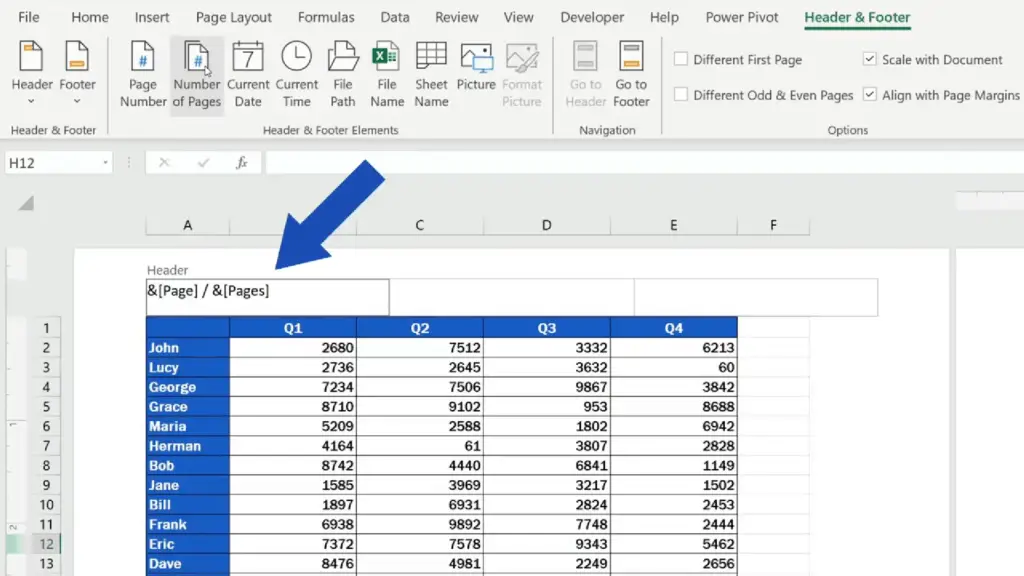
Let’s say we would like to insert page numbers in the left part of the header. Click into the selected header section, then go to the Header & Footer tab on the Ribbon and select ‘Page Number’.

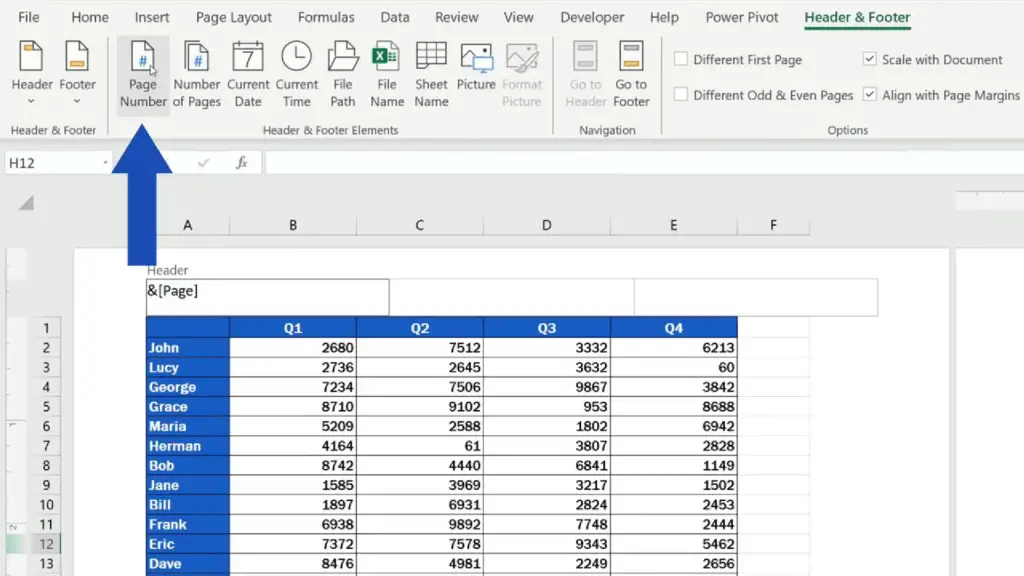
Excel uses this code for page numbers, so if we now click anywhere within the document area, the header shows the number of the page there.
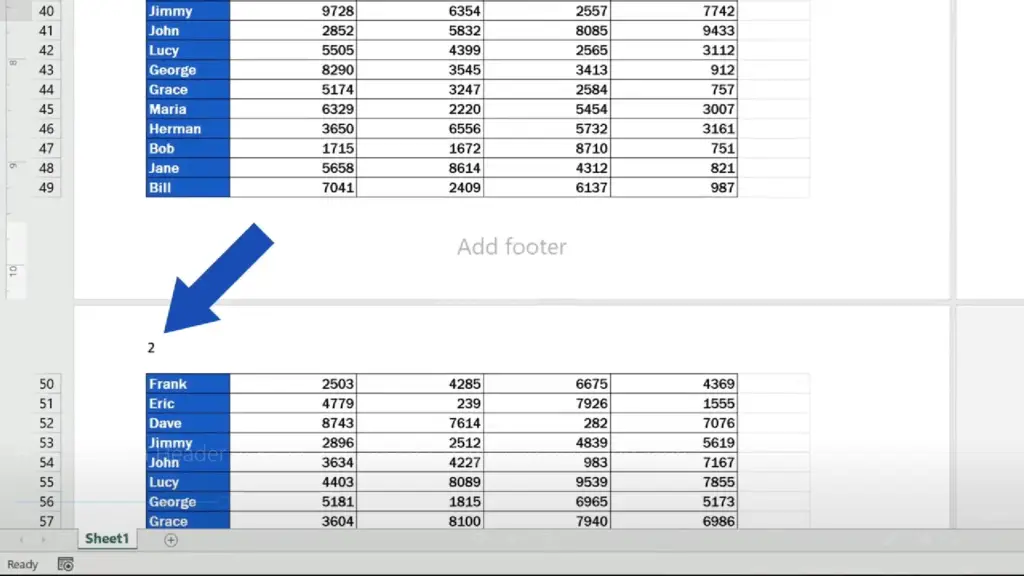
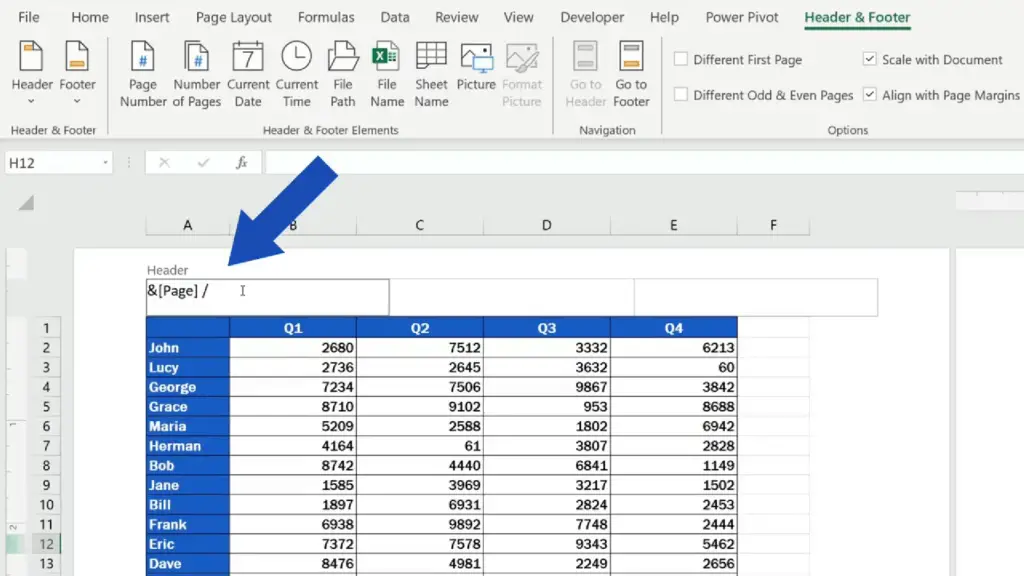
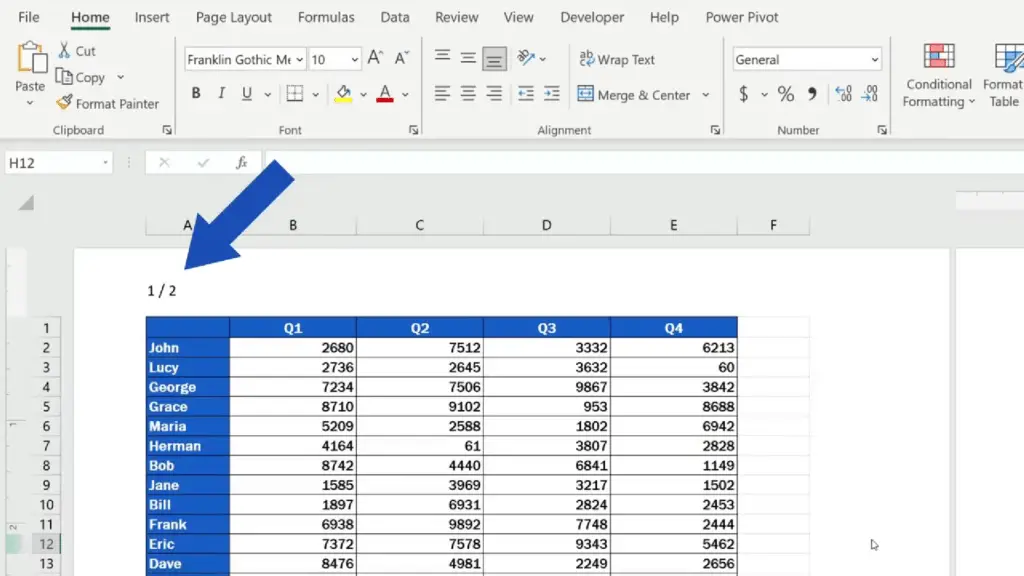
To add a total page count to the page numbers, simply click into the header again, type in a forward slash to separate the two numbers and then click on ‘Number of Pages’.
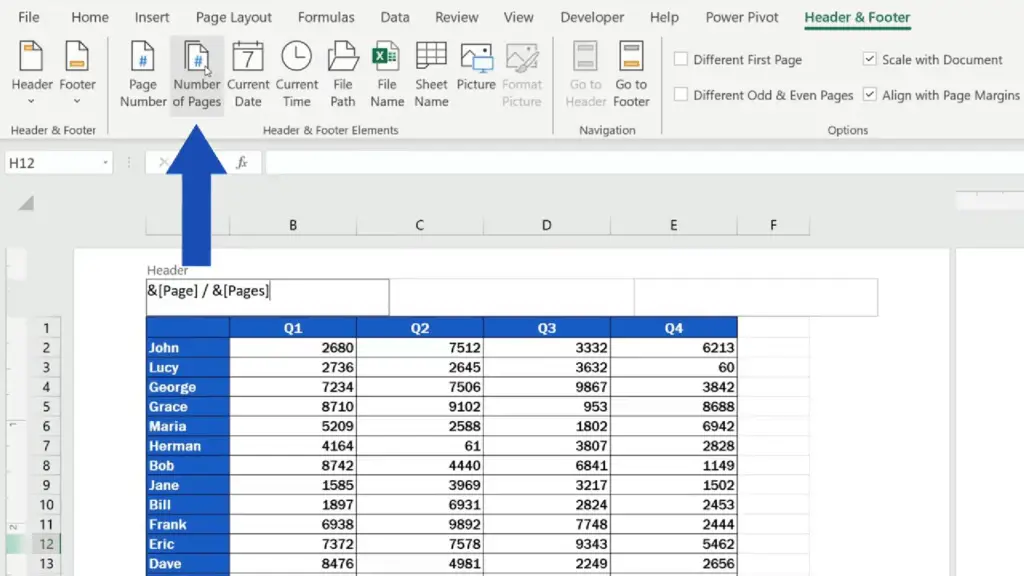
Again, we can see a code here, but once we click outside the header area, what shows after the page number is the number of pages separated with a slash – just as we wanted.
We can use the same way to insert, for example, ‘Current Date’, ‘File Path’, ‘File Name’ or the ‘Sheet Name’.
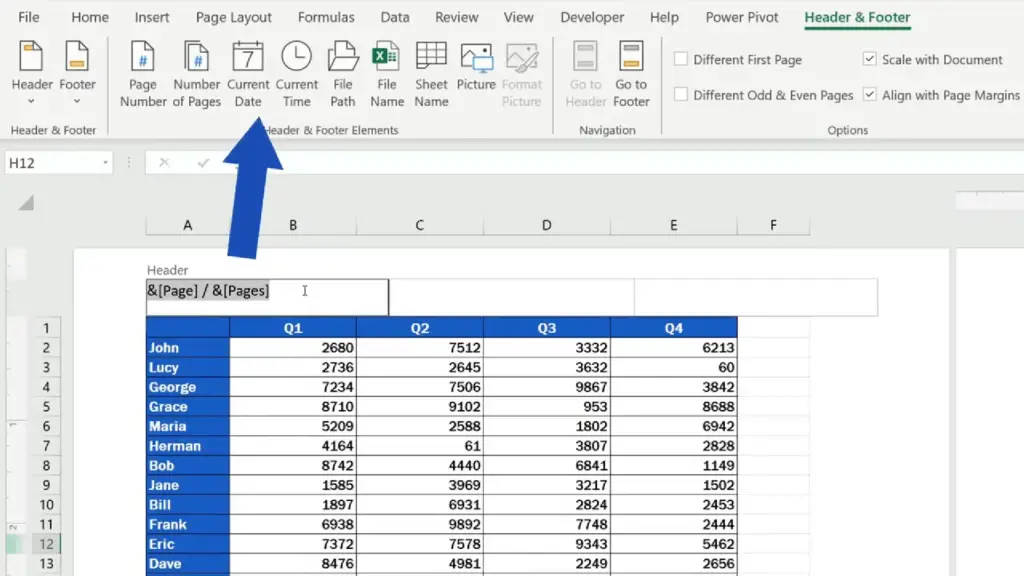
Let’s carry on and have a look at how to insert a picture, because there are a couple things that are worth mentioning about that.
How to Add Picture to the Header
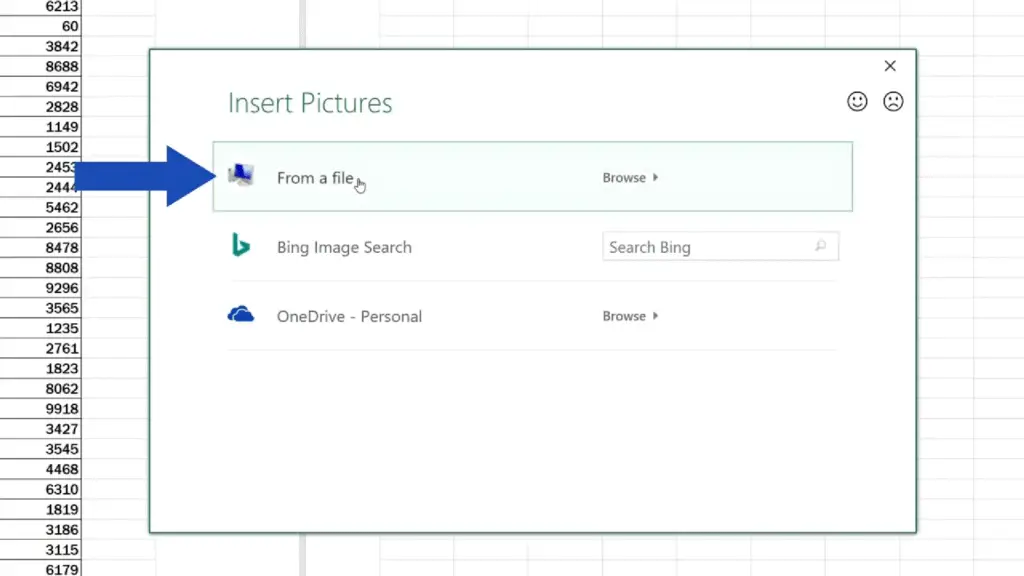
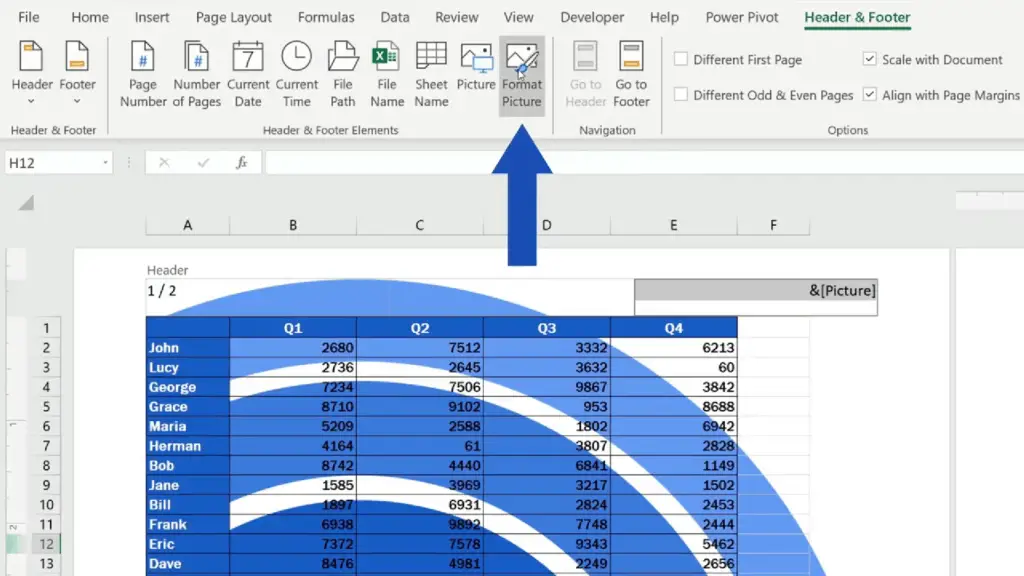
Imagine we want to add a logo into the header section on the right. Let’s click there, go to ‘Header & Footer’ and there we click on ‘Picture’.
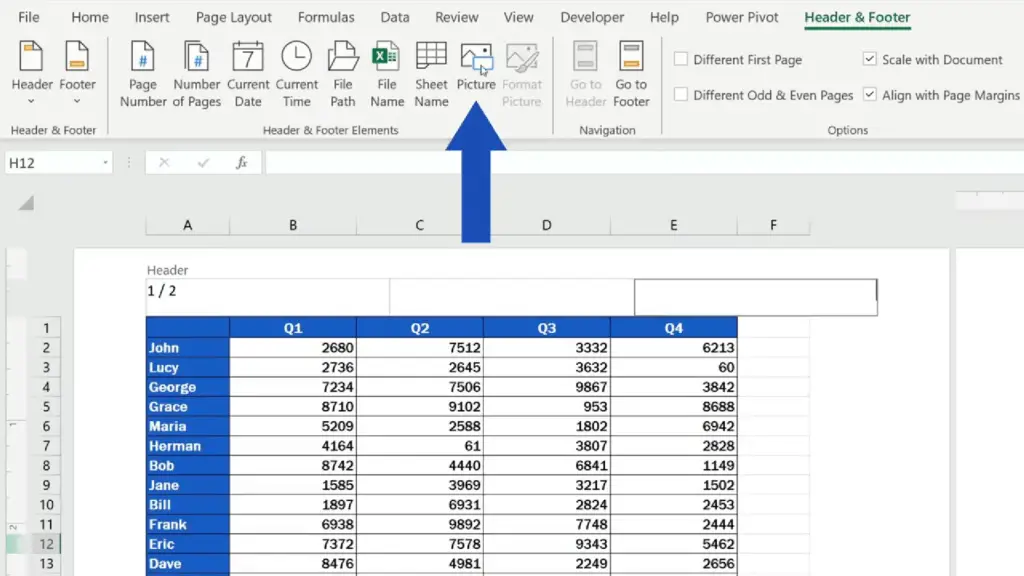
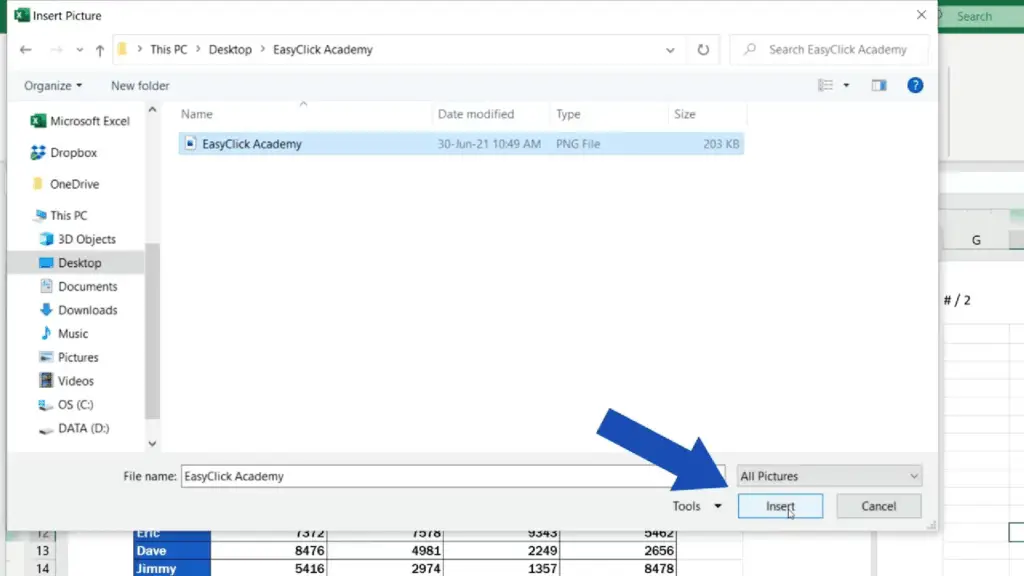
Excel will show several options of locations which we can browse to add the picture. Here we’ve got the logo ready on our computer drive, so we’ll select the first option and find the folder where the picture’s been prepared. We’ll click on it and confirm with the ‘Insert’ button.
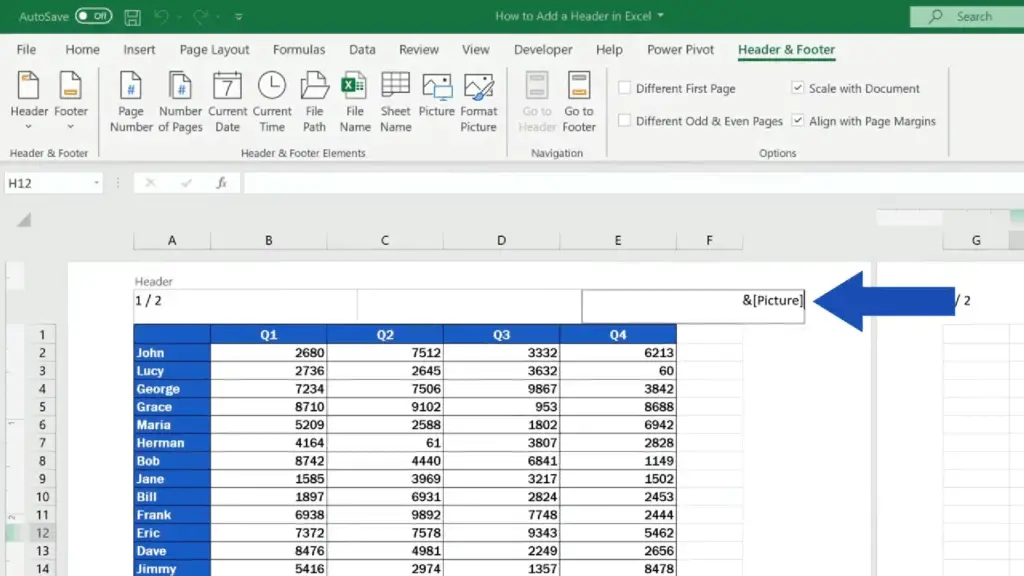
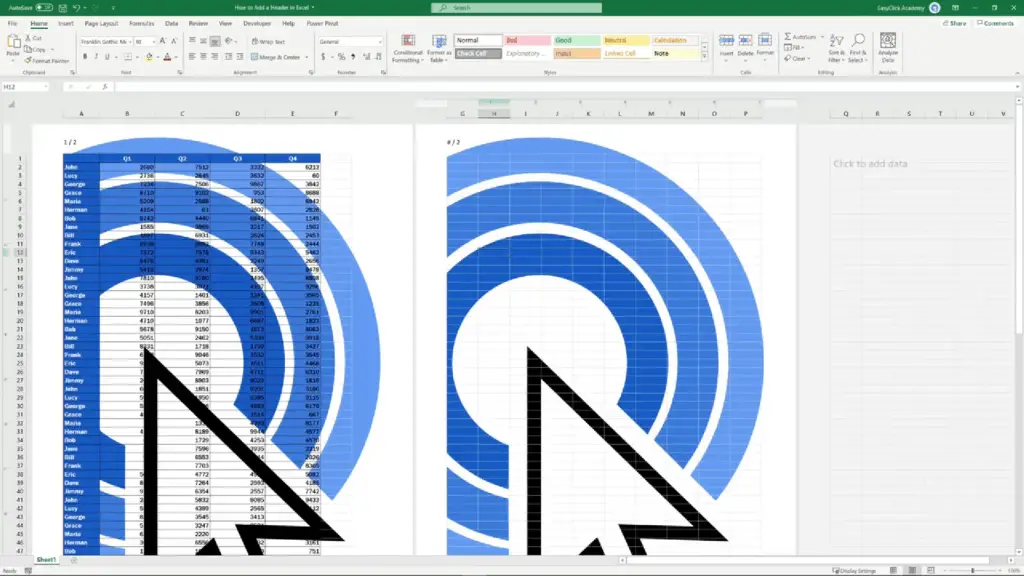
Again, we can see a code in the header and again, we click anywhere into the document area to see the picture we’ve just inserted, which is obviously way too big.
But that’s no problem at all because we can format it just as we need.
Click on the right section of the header again, go to the tab ‘Header & Footer’ and choose the option ‘Format Picture’.
You’ll see this window where you can find all you need to make changes to the inserted picture.
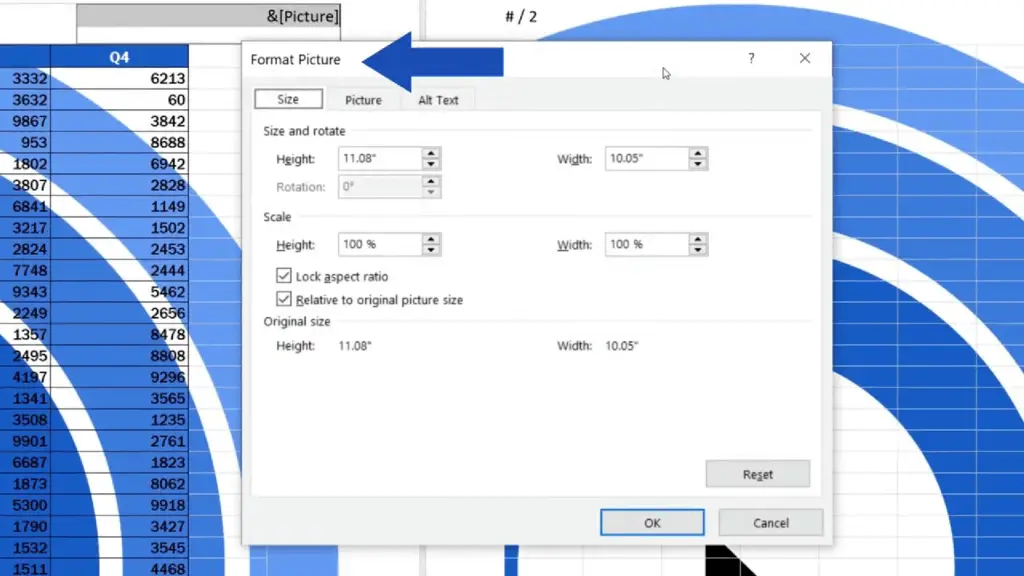
In this case, we’ll focus on its size. We can change it through specifying the exact numbers for its height and width or by changing the percentage under the section ‘Scale’. Now we’ll use the Scale option and we’ll set the height to 5%.
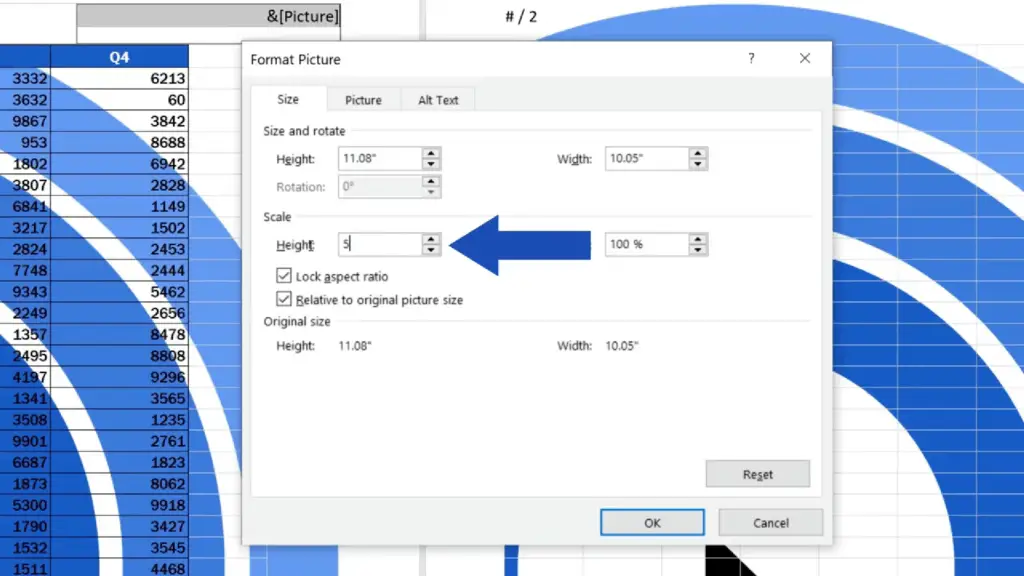
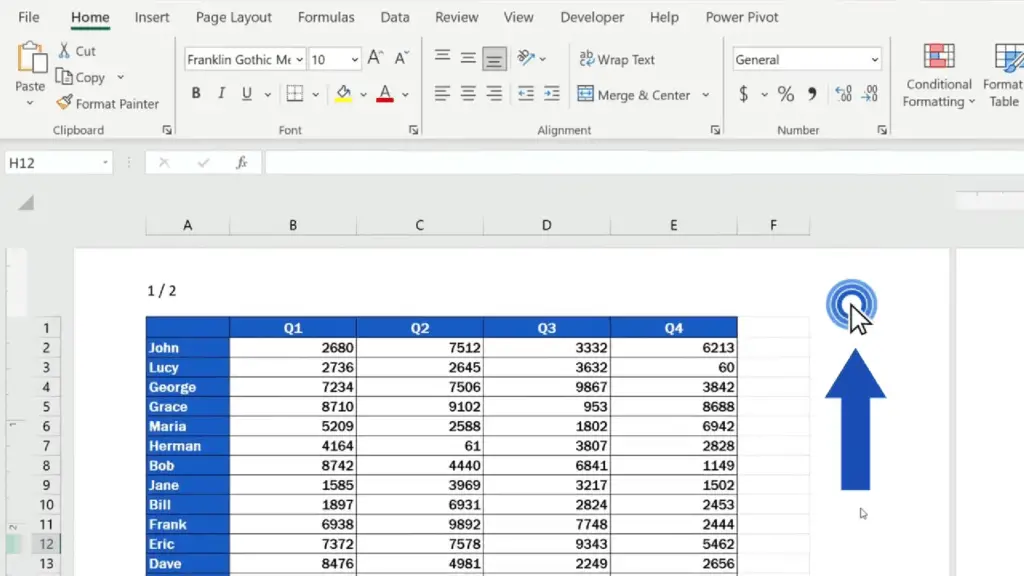
When we click on OK, the picture will appear resized as needed.
And here we go – let’s give it a try with text, too, which is nothing difficult.
How to Add Text to the Header
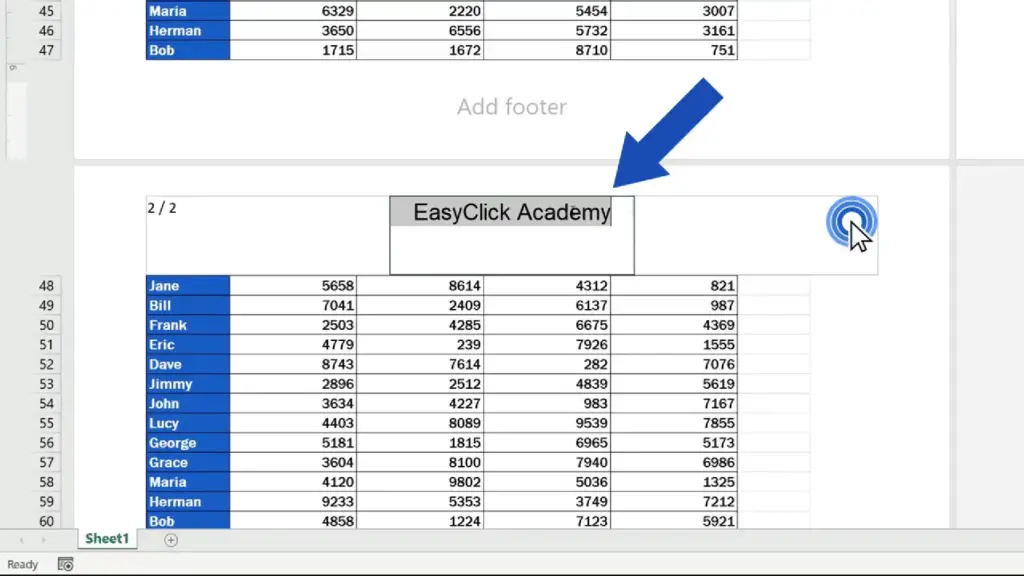
Click on the header part where you need to insert the text – here we’ll type in ‘EasyClick Academy’ and that’s it!
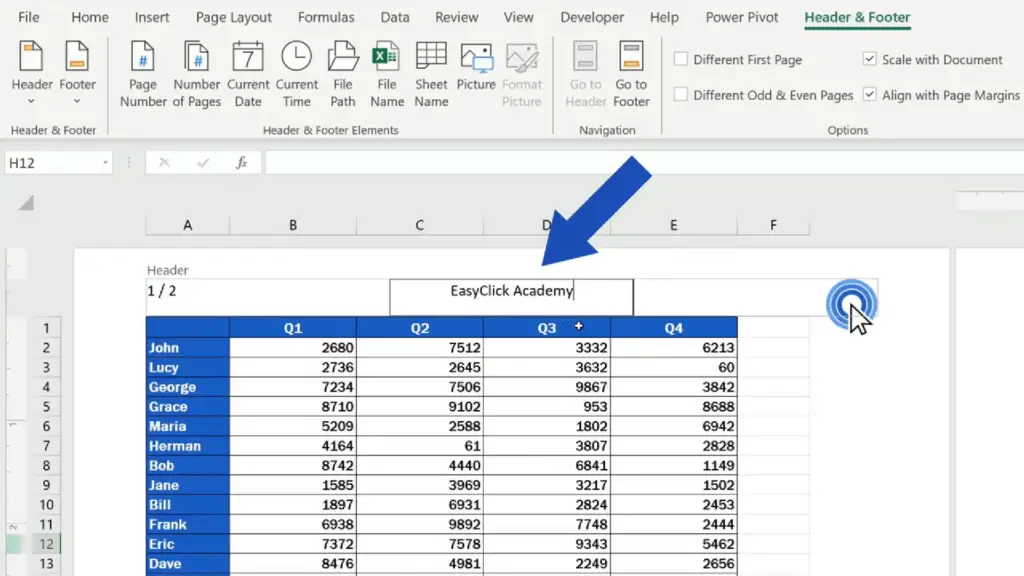
Now click anywhere in the spreadsheet and the text will show in the header of the document.
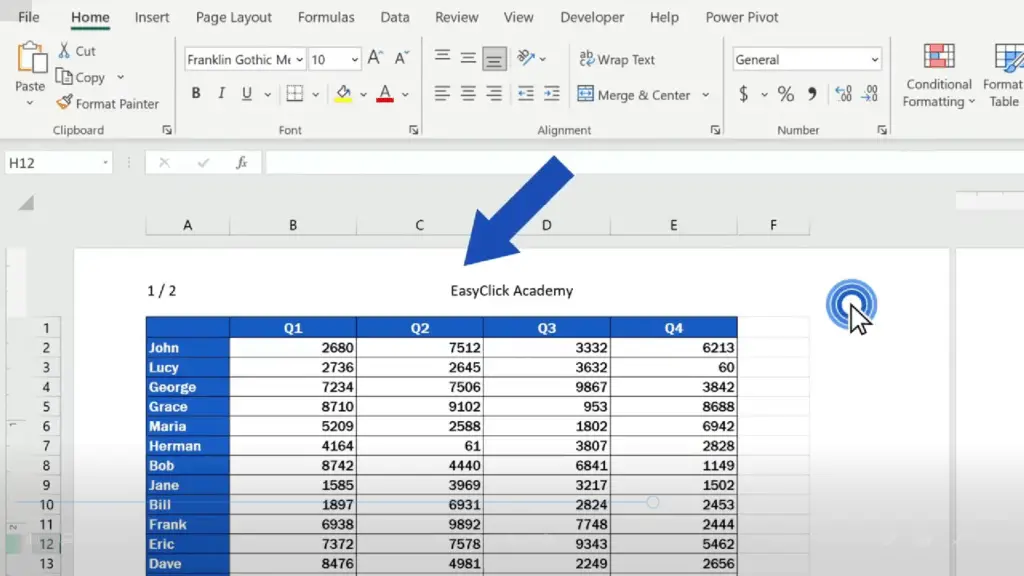
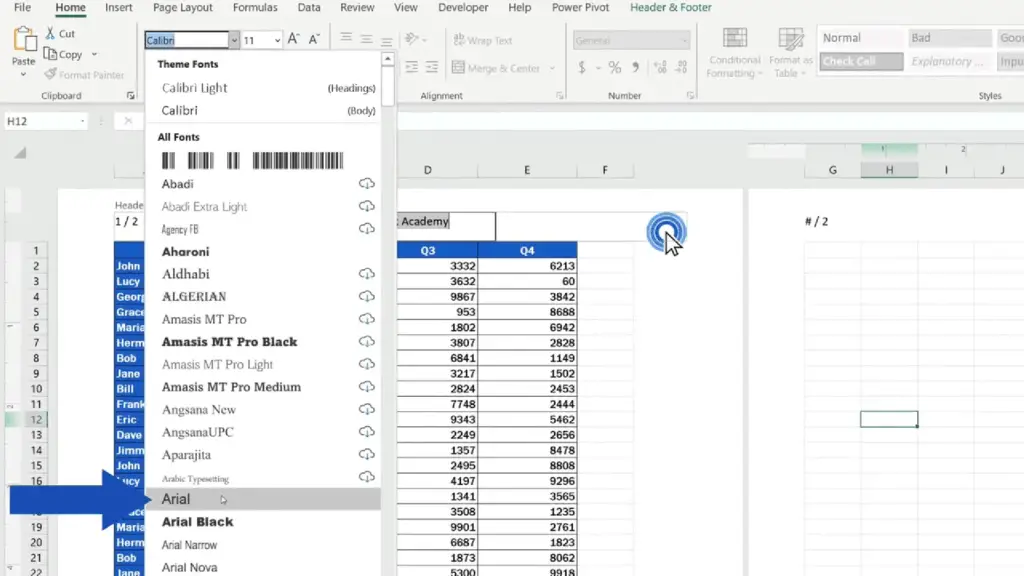
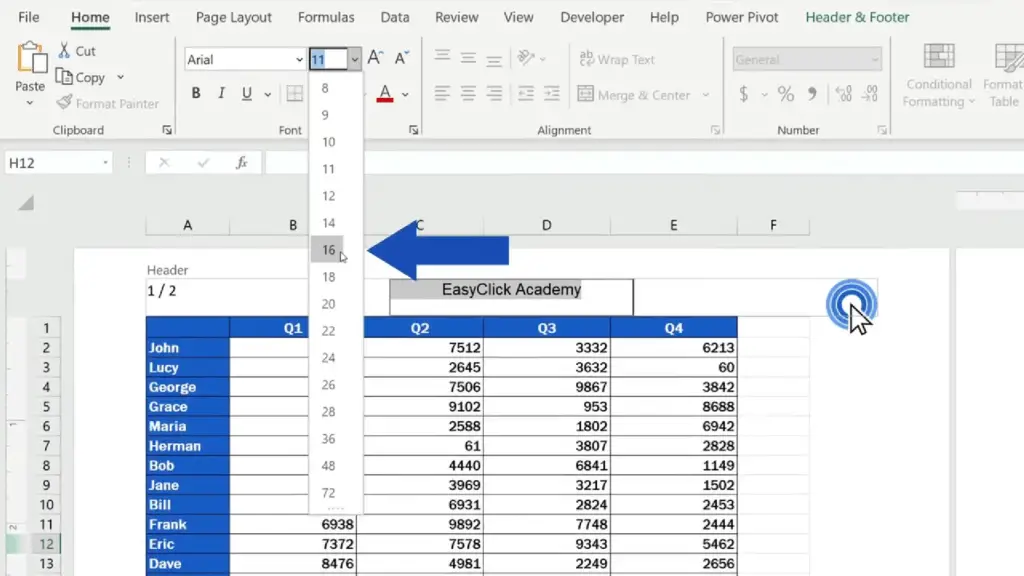
Of course, you can adjust the font type, size and colour of the text in line with the document style. Here we’ll change the font type and its size.
We’ll highlight the text, go to the Home tab and we’ll change the font to Arial and set the size to 16. Great!
If any of the inserted elements overlaps the document area, like in the case of the logo here, the border of the header can be easily moved here, on the left.
And let’s have a look at a few more interesting tips
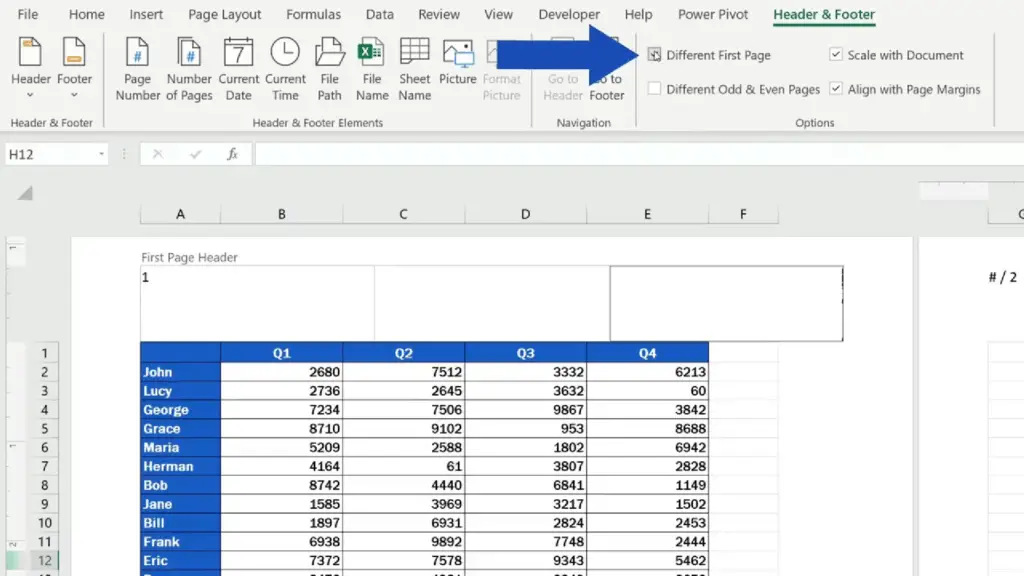
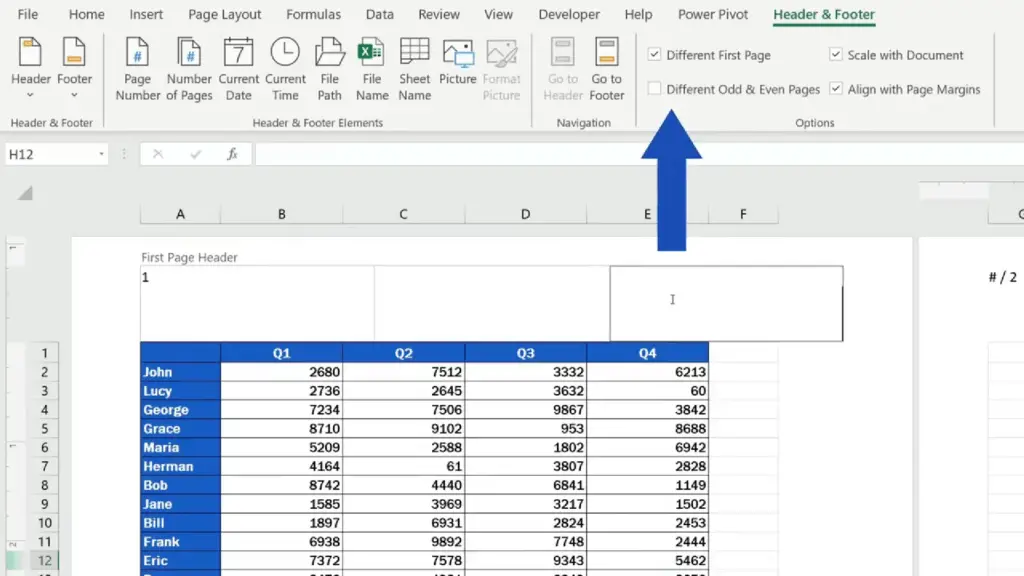
How to Add Different Header on the First Page
If you need to have a different header on the first page of the document, it can be done in a quick and easy way.
Click into the header, open ‘Header & Footer’ and select ‘Different First Page’, which allows you to modify the header on the first page and, at the same time, this will not affect the headers on the rest of the pages.
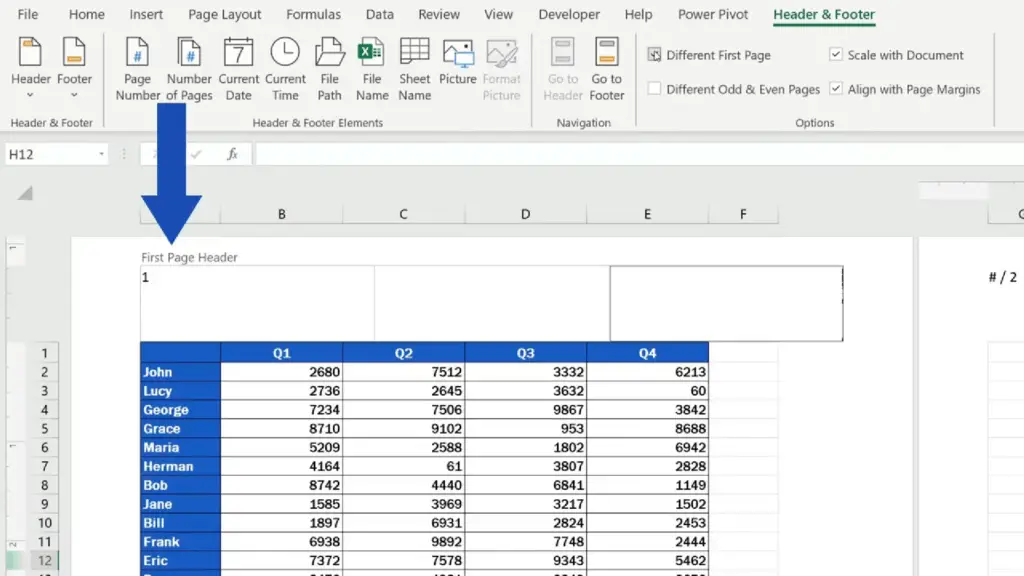
In addition, this section contains other useful options, for example, you can set ‘Different Odd & Even Pages’, through which you can basically make the headers on the odd pages different from the headers on the even pages.
And of course, you can remove any element from the header anytime.
How to Remove Any Element From the Header
Simply click on it and delete it. For example, the text ‘EasyClick Academy’ – we’ll select it, press Delete and that’s all it takes!
All these little tricks work well with the footer of the document, too.
After you’re done with the header, you can return to the regular view through the View tab, selecting the view ‘Normal’.
Don’t miss out a great opportunity to learn:
- How to Insert a Watermark in Excel (Picture or Text)
- How to Convert an Excel File into PDF
- How to Insert a Checkbox in Excel (Quick and Easy)
If you found this tutorial helpful, give us a like and watch other tutorials by EasyClick Academy. Learn how to use Excel in a quick and easy way!
Is this your first time on EasyClick? We’ll be more than happy to welcome you in our online community. Hit that Subscribe button and join the EasyClickers!
Thanks for watching and I’ll see you in the next tutorial!

 How to Subtract a Percentage in Excel
Welcome! Today we’re going to talk about the simplest way how to…


