How to Convert an Excel File into PDF
This tutorial is about how to convert an Excel file into PDF conveniently, directly in Excel, so that you wouldn’t need to install any new software on your computer.
You can conveniently convert your data into a PDF file directly in Excel. And there’s more than one way to do it. Today, we’re gonna go through the quickest one.
Sounds interesting? Let’s have a look!
Would you rather watch this tutorial? Click the play button below!
Quickest Way How to Convert an Excel File into PDF
First, we need to access the File menu located on the horizontal bar at the top of the screen.
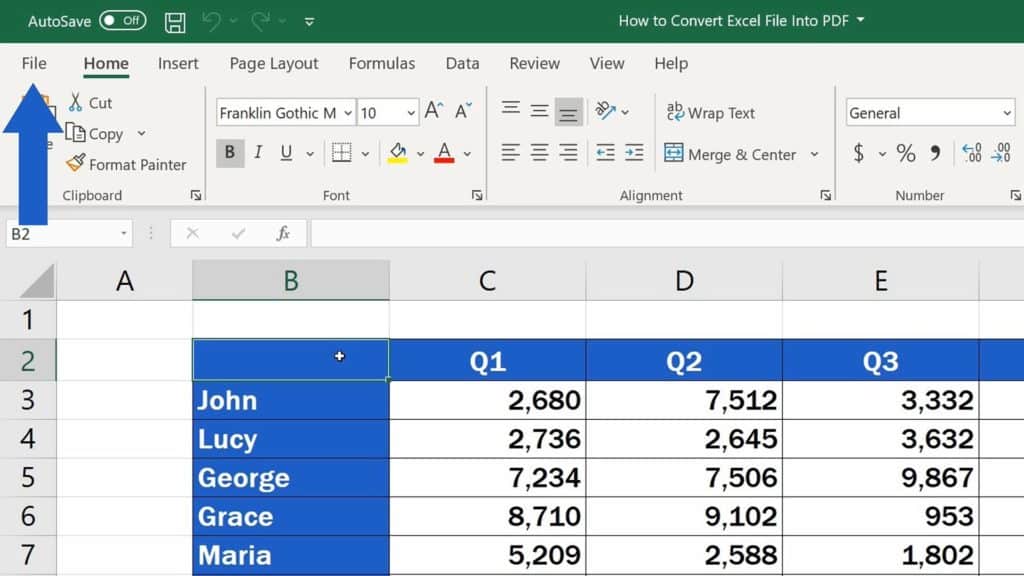
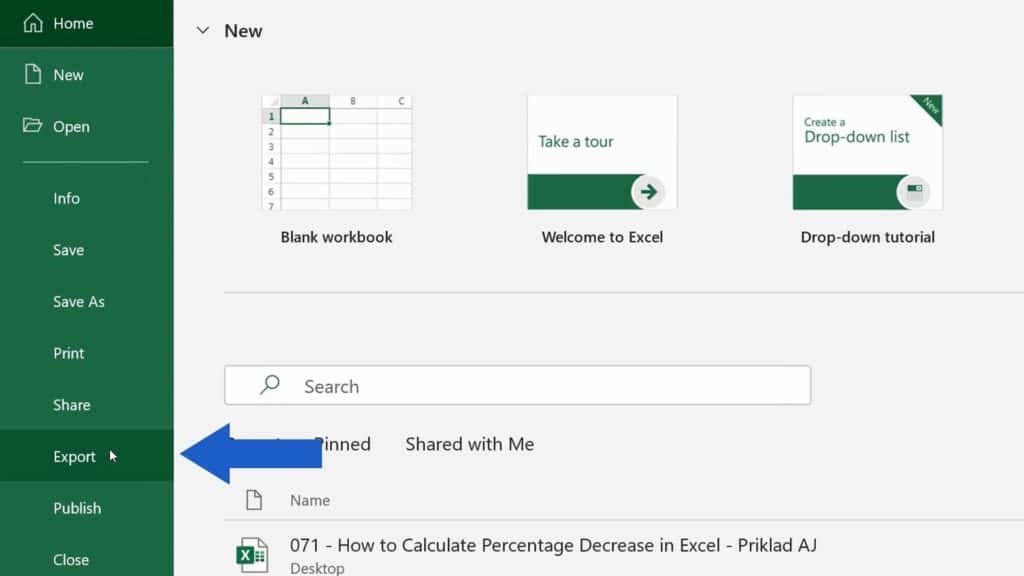
So, click on ‘File’ and select ‘Export’.
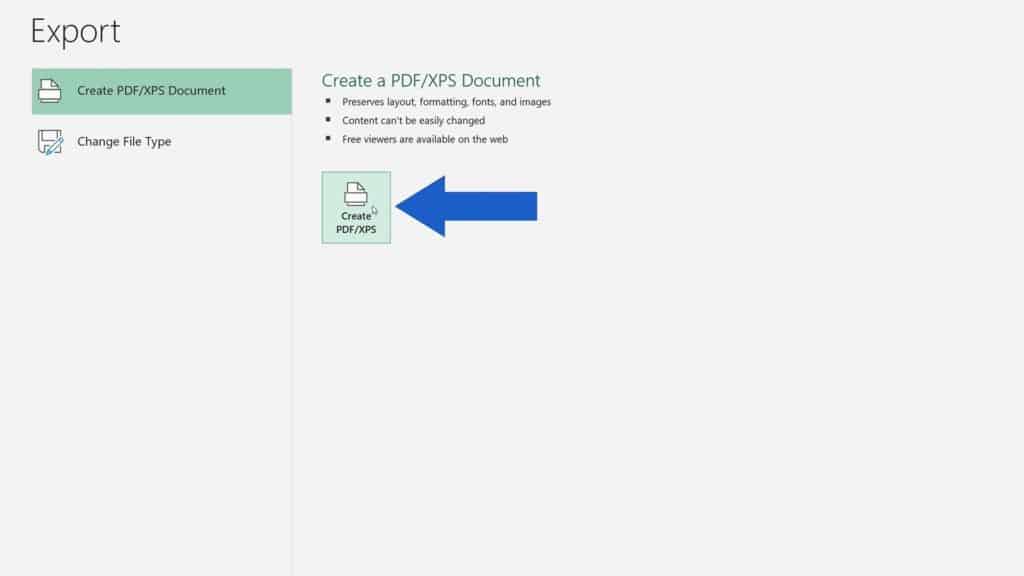
Then click on the button ‘Create PDF/XPS’.
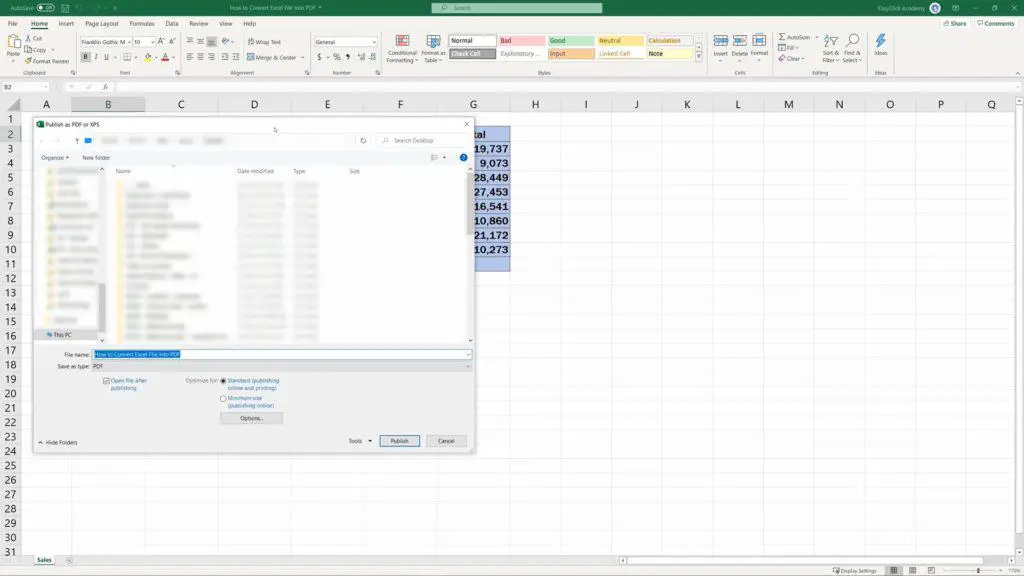
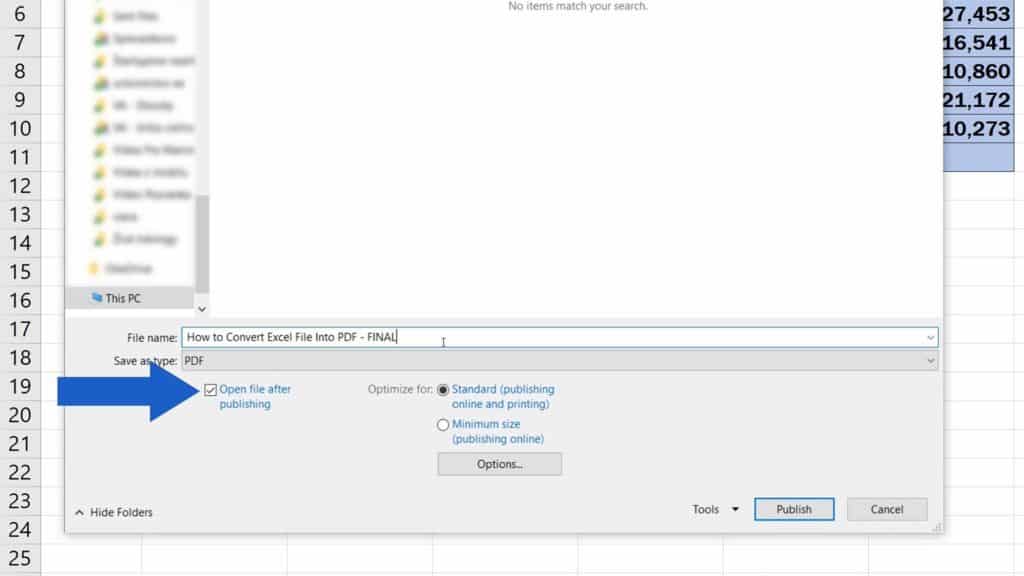
Here, you’ll get asked where you want to save the PDF file you’re about to create. Choose a location on your computer, amend the file name as needed, and let’s have a look at some more advanced settings that are available when creating a PDF.
Advanced Settings Available when Creating PDF
Ideally, you’ll keep this ‘Open file after publishing’ box selected – Excel will open the PDF file immediately after it’s been created and you can check easily whether everything looks fine in it.
You can also optimise the file through these two options – if you need to print a high-quality document and it doesn’t really matter how large it is, choose the option ‘Standard’.
If you want to keep the file size to minimum, go for ‘Minimum size’.
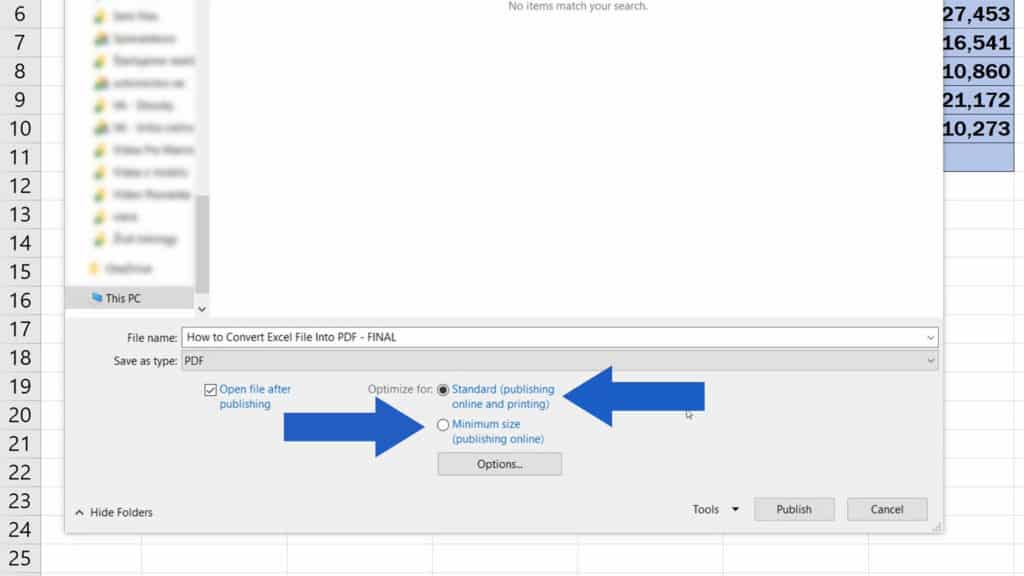
We’ll select ‘Standard’ now, and we’ll move on.
When you click on ‘Options’ below, you can review and set further options.
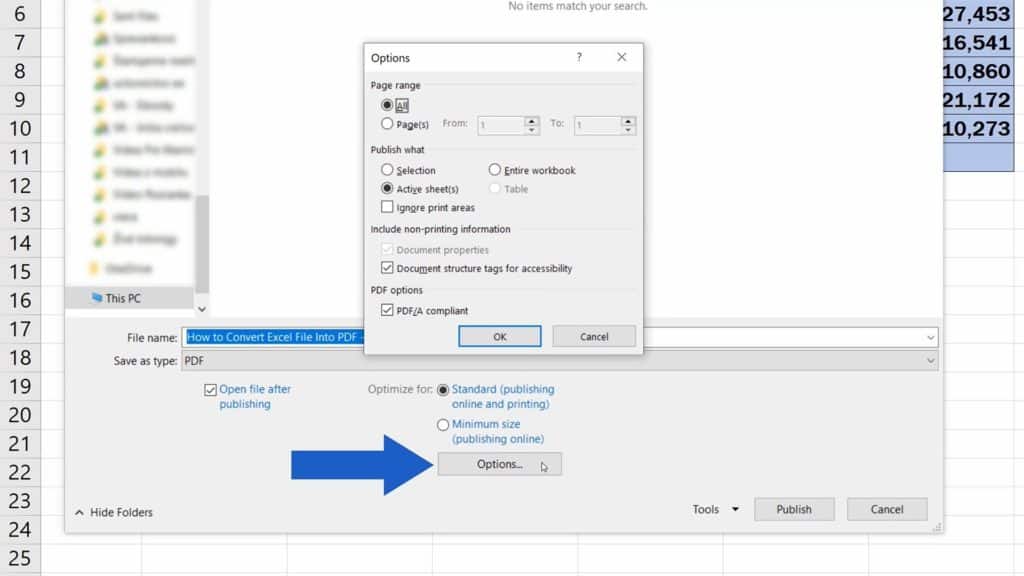
For example, you can choose which pages to include in the PDF – whether there should be all or just a selected range of the spreadsheet.

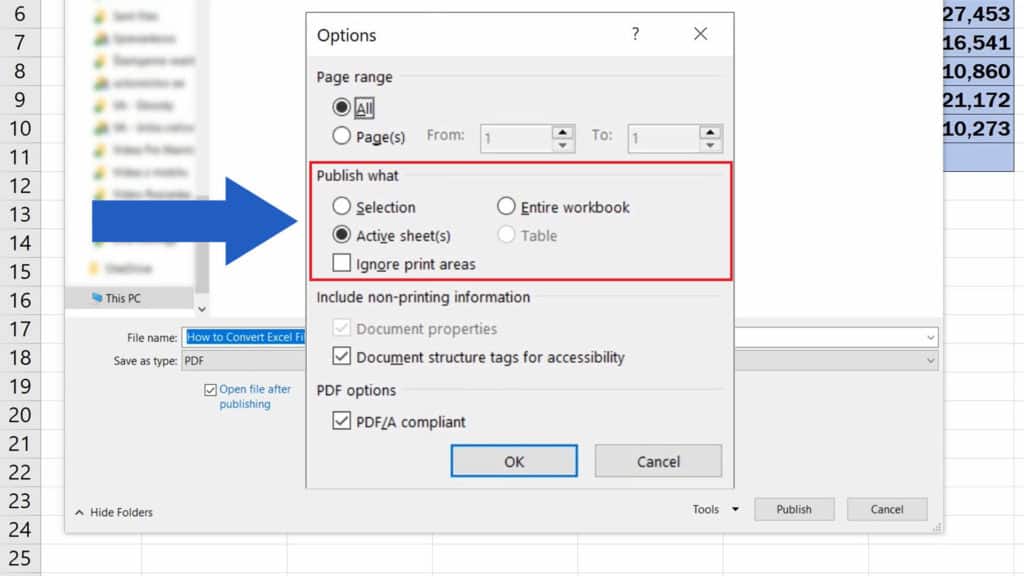
Also, you can specify whether the PDF file should be published from a selection you choose, or from the active sheet or sheets, or even the entire workbook.
If you’ve previously set ‘Print Area’ and you don’t want to use this setting when publishing the PDF file, you can simply ignore it by selecting ‘Ignore Print Areas‘ box below.
Let’s carry on.
If the box ‘Document properties’ is selected, the created PDF will maintain the properties of the source Excel file.
Checked ‘Documents structure tags for accessibility’ box means that the PDF file will make it easier for screen-reading software to read and navigate the document.
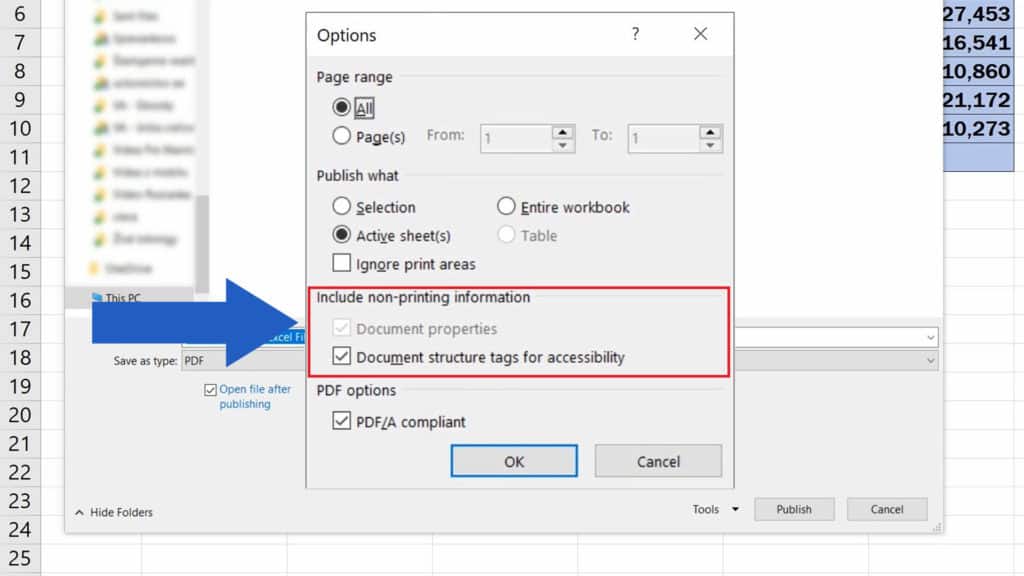
And the last option, ‘PDF/A’, will help you with archiving documents in compliance with ISO standards.

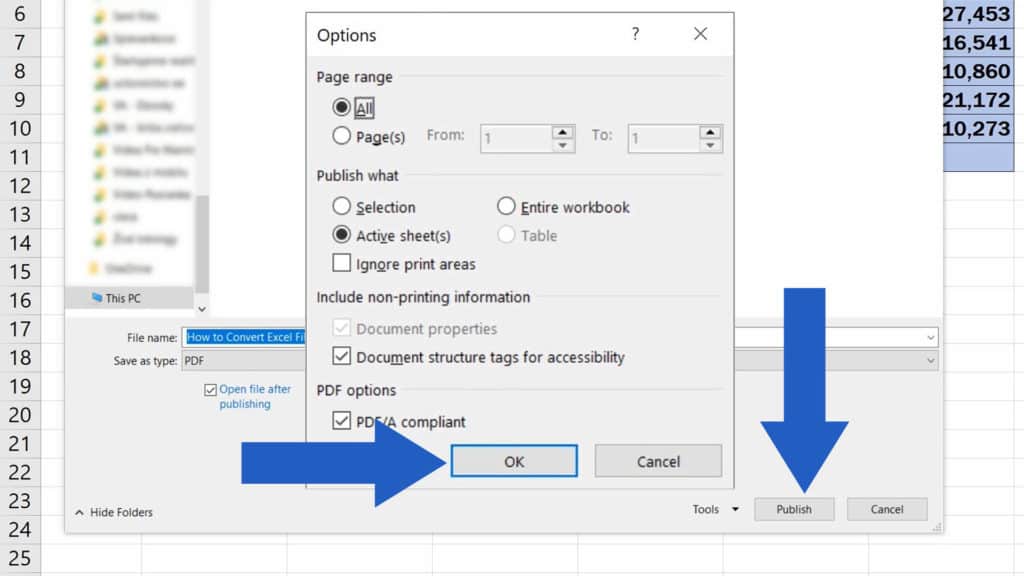
Once you’ve read through all the options and selected the ones you want, click on OK and then on Publish.
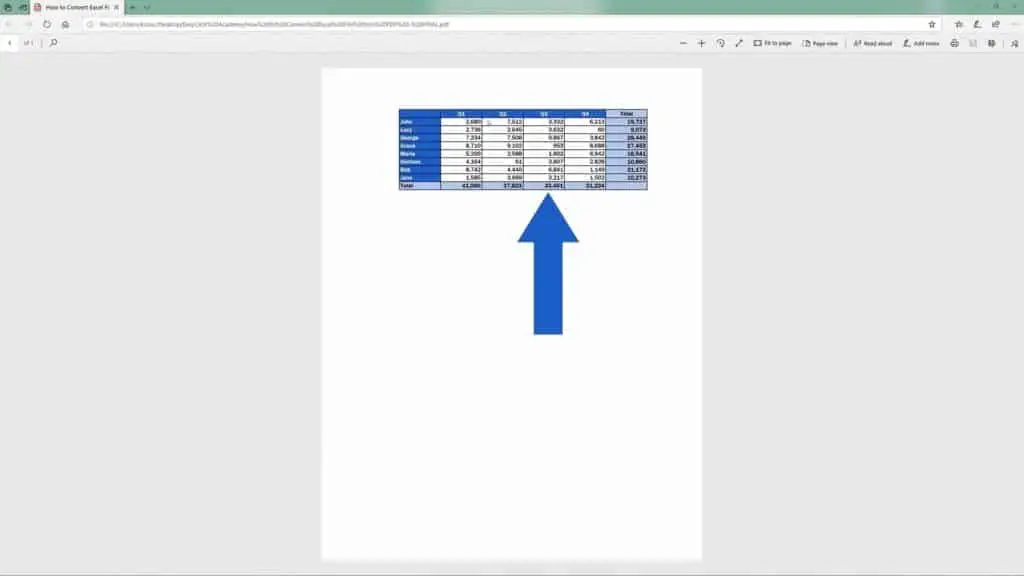
And we’re there! Here’s your PDF file!
And now a little question for you:
Would you be interested to know more about advanced functions? Would you like to know how you could organise a large amount of data on pages of a PDF document and still make it look clear and neat?
Use our survey card in the video or the comment section below to let us know what you think!
We’ll be happy to create a tutorial suited to your needs.
Don’t miss out a great opportunity to learn:
- How to Convert PDF to an Excel File
- How to Protect Excel Sheet with Password
- How to Unprotect Excel Sheet
If you found this tutorial helpful, give us a like and watch other video tutorials by EasyClick Academy. Learn how to use Excel in a quick and easy way!
Is this your first time on EasyClick? We’ll be more than happy to welcome you in our online community. Hit that Subscribe button and join the EasyClickers!
Thanks for watching and I’ll see you in the next tutorial!

 How to Subtract a Percentage in Excel
Welcome! Today we’re going to talk about the simplest way how to…


