How to Convert CSV to Excel (Simple and Quick)
Today we’ll be talking about how to convert a CSV file to an Excel spreadsheet in a quick and simple way.
Let’s have a look now!
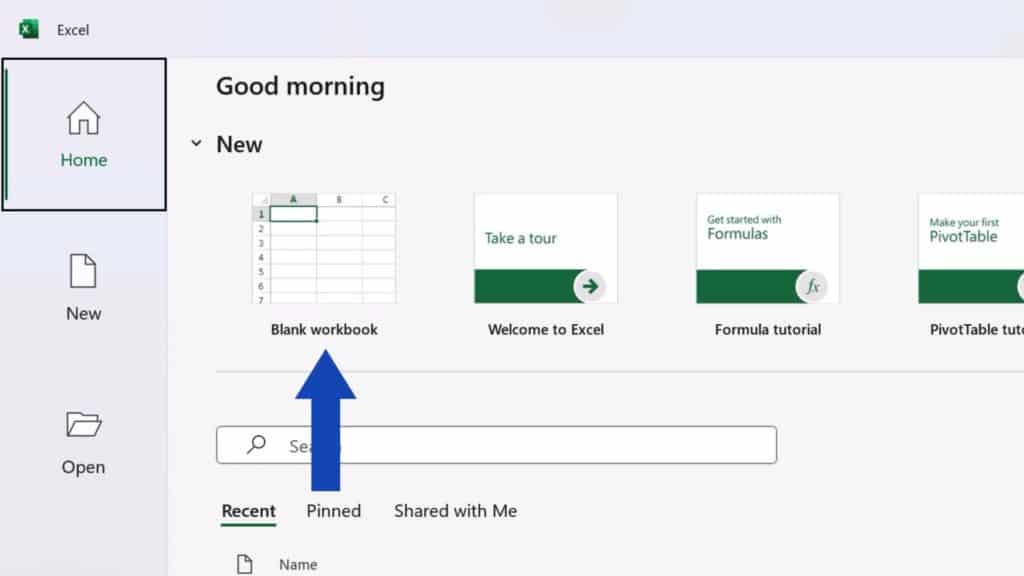
If you need to open a CSV file in Excel, first, open a blank Excel workbook which you’ll fill with the data contained in the CSV.
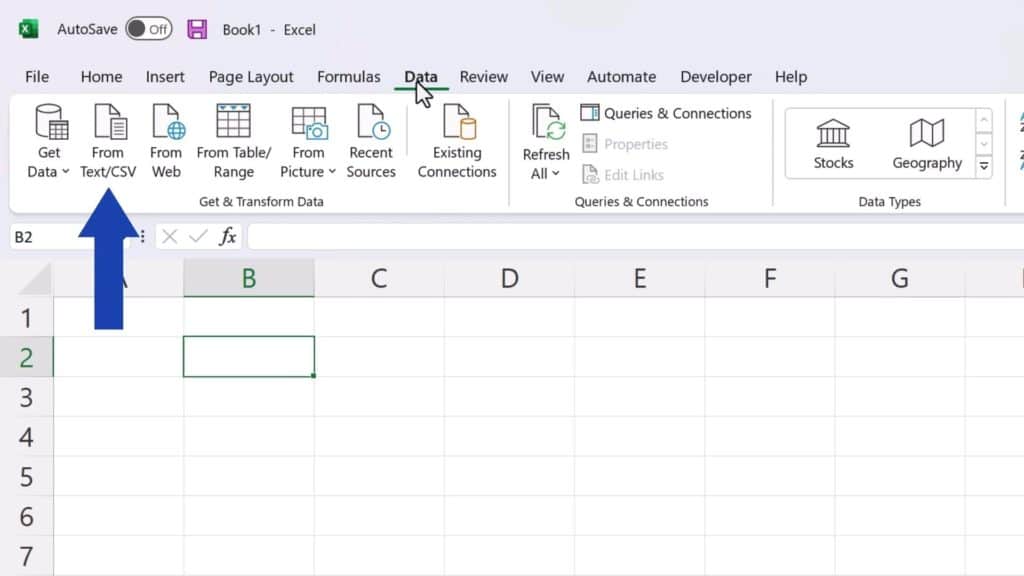
Now go to the Data tab and click on ‘From Text/CSV’.
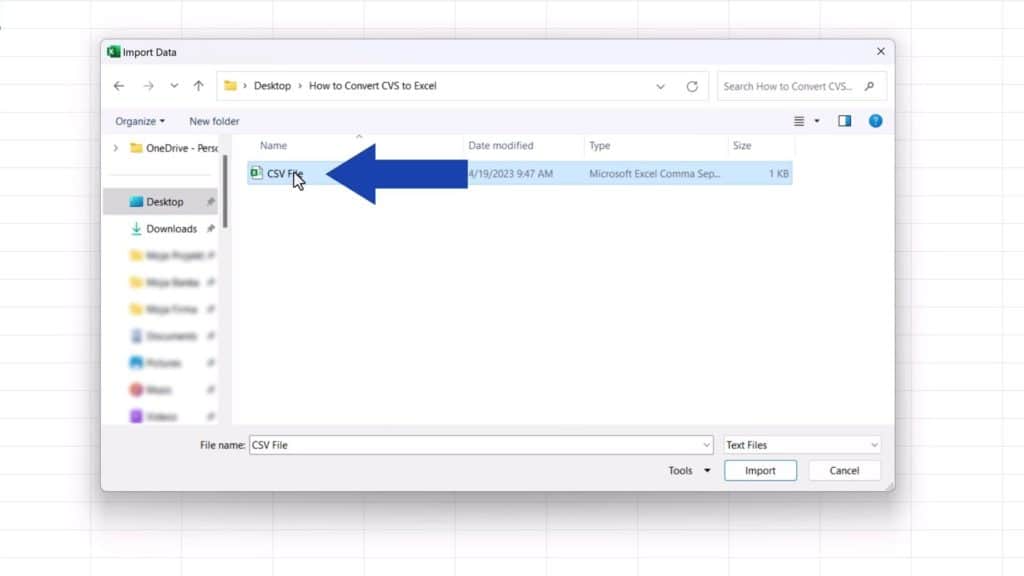
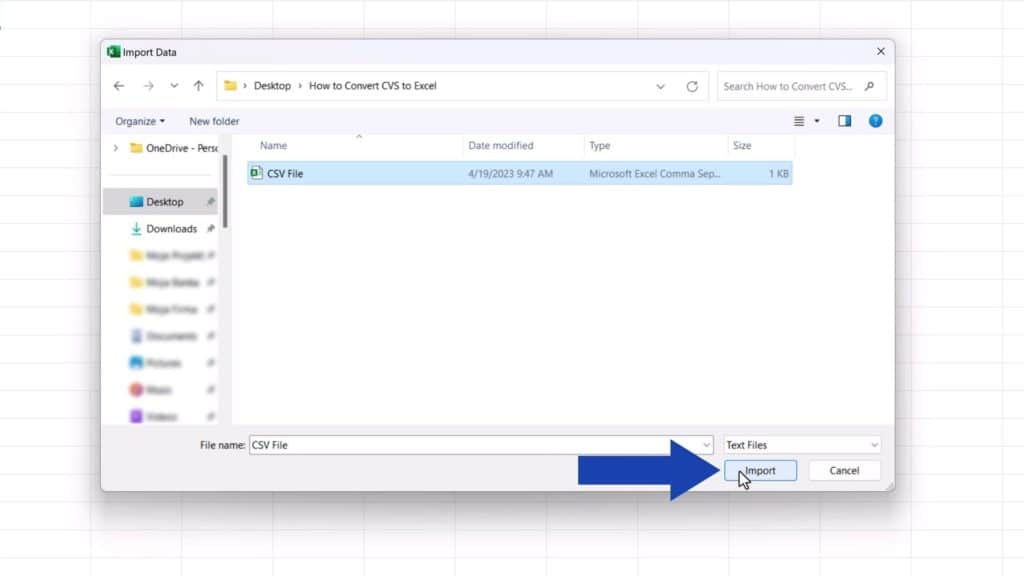
You can now browse for the CSV file you want to open and, once selected, click on ‘Import’.
You’ll see an overview of the data contained in the CSV file.
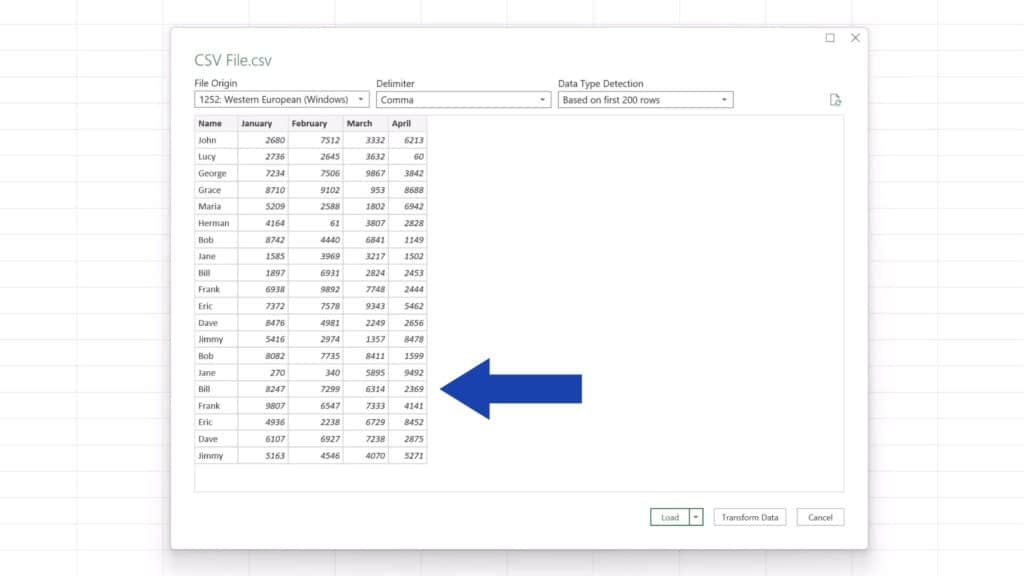
Most of the times, data loads correctly. But if the data you’re working with happen to be placed in columns incorrectly, the most common reason is a symbol that separates values in the CSV file.
How to Set the Correct Separator in CSV File
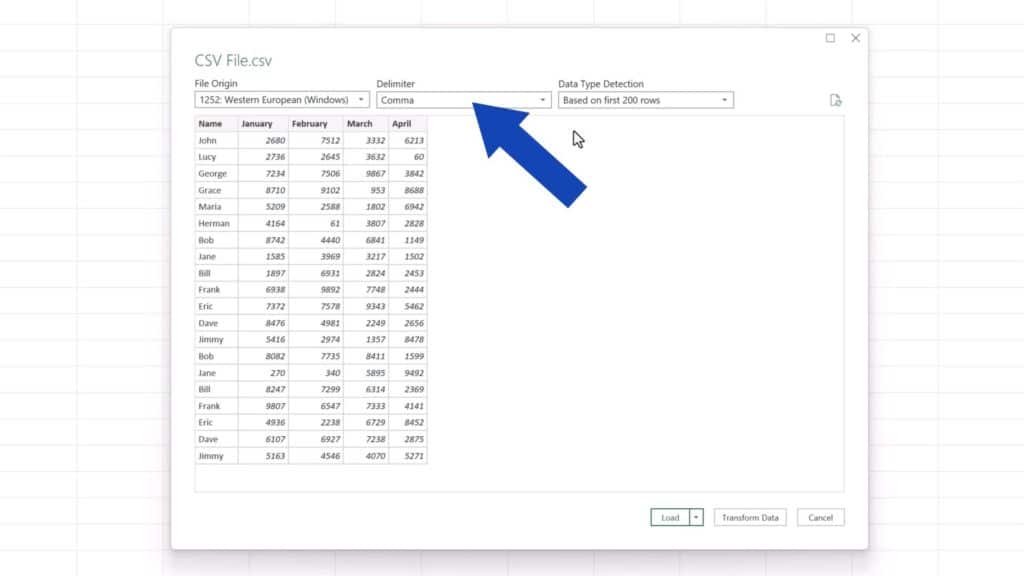
The separator set here is ‘Comma’ and the preview shows data loaded into five neat columns.
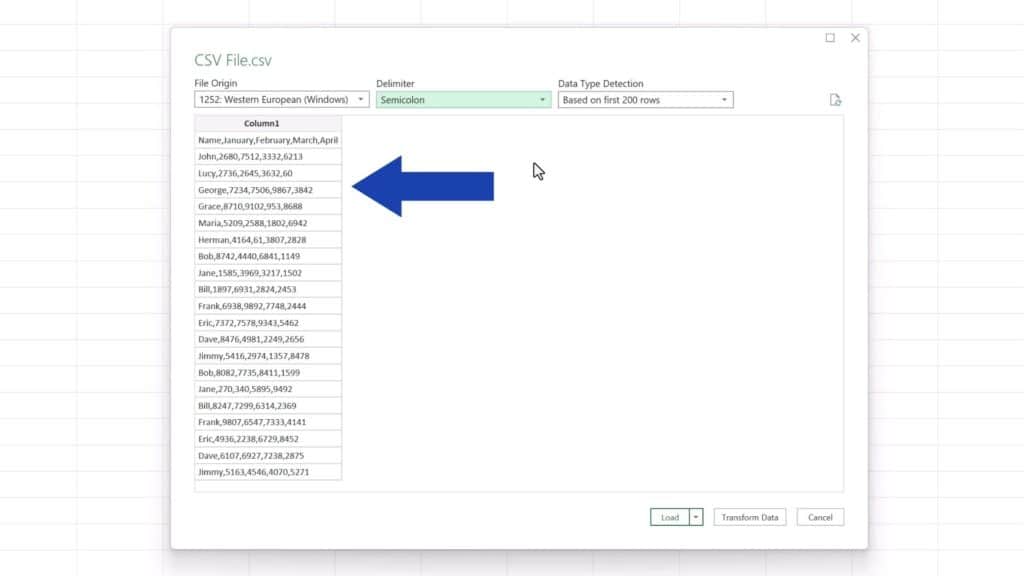
However, if we change the separator to the semicolon, all the data in each row appear in one column only and that looks pretty cluttered.
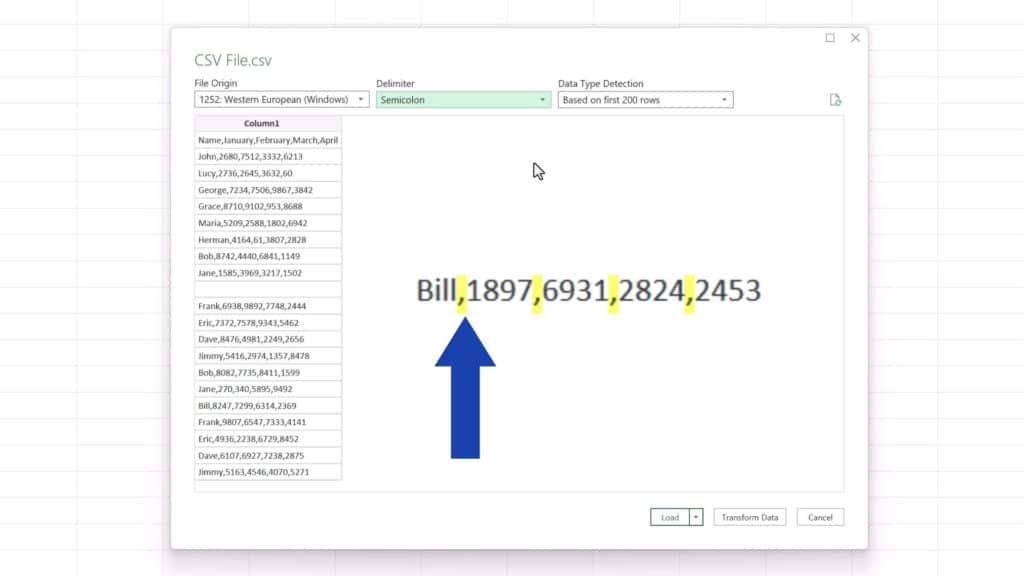
How Data in a CSV File Is Stored
When we have a closer look at how data in a CSV file is stored, we’ll see that it comes in rows and the values in each row are separated with a comma. The comma here works as a separator, also known as a delimiter, which basically means that the value in between two commas will appear in a separate column in an Excel spreadsheet IF the delimiter type is set correctly in Excel and matches the one used in the CSV file. Although the CSV stands for ‘Comma Separated Values’, in fact, the delimiter could be anything. The most common delimiters are the comma or the semicolon among others.
Therefore, since the separator in the source file is the comma, we need to make sure that the delimiter here in this Excel window is set to ‘Comma’.
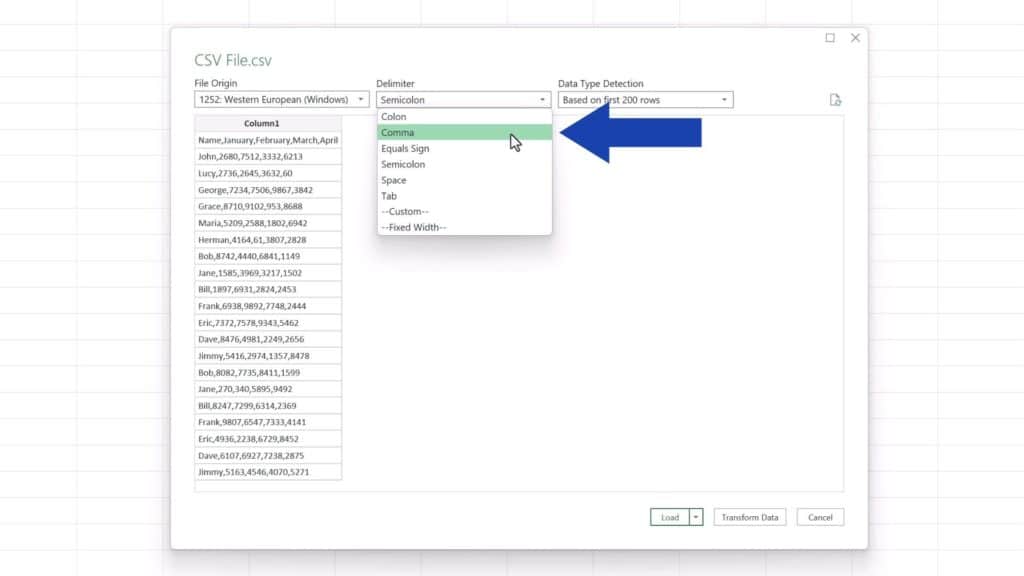
So, make sure to select the correct delimiter, the one that is used in the CSV file you’re working with, to have your data separated and displayed correctly.
And let’s move on!
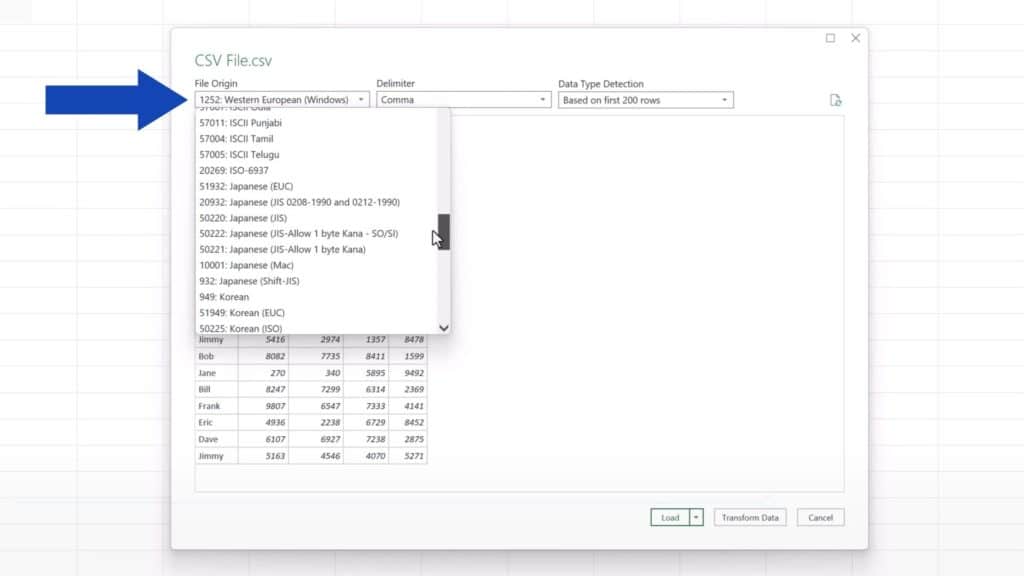
How to Choose a Correct Option Under ‘File Origin’
In addition, we can choose from various options under ‘File Origin’ to make sure Excel will recognise and show all the data from the CSV file correctly. Our settings here will be ‘Western European (Windows)’.
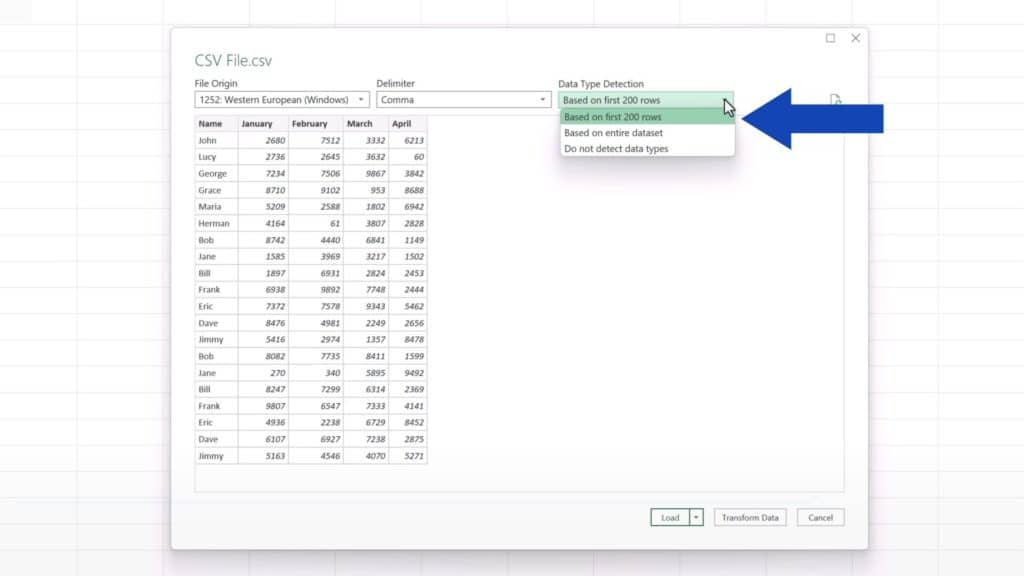
If needed, we can also change the settings based on which Excel detects data types. Generally, the option ‘Based on first 200 rows’ is sufficient and works well.
If you’re done with all the settings, press ‘Load’ and all the data from the CSV file gets loaded into an Excel data table.
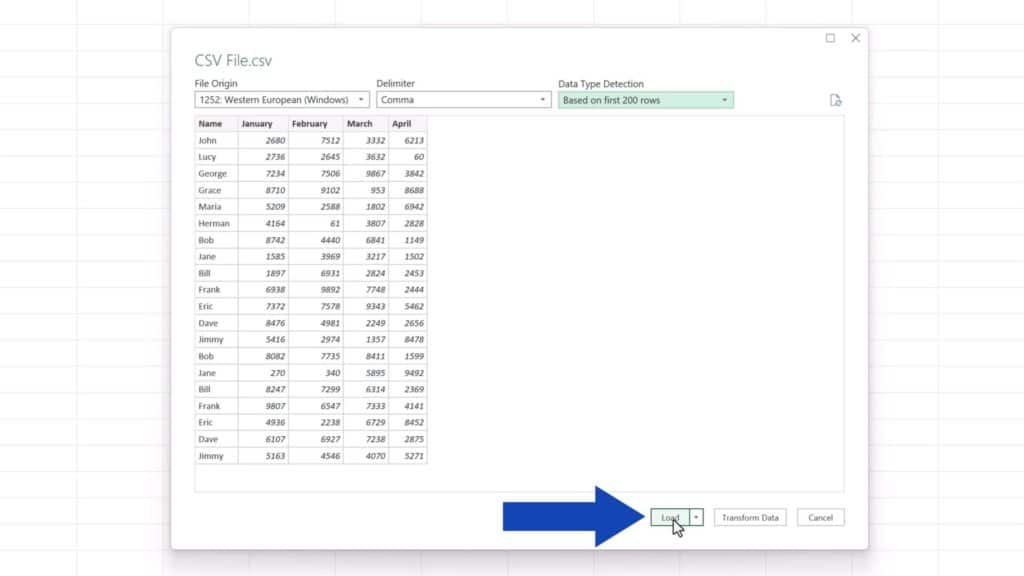
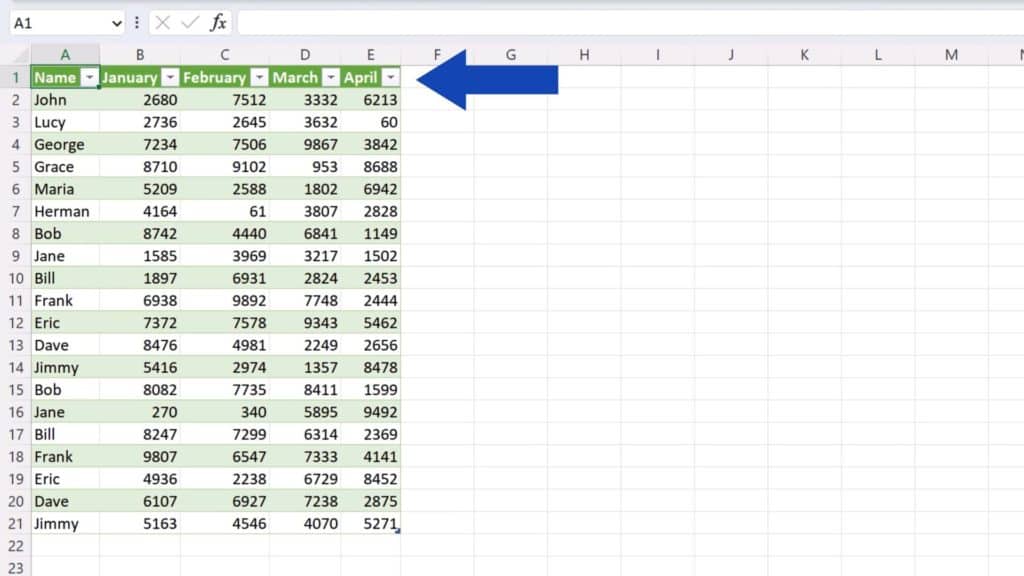
There the data can be modified, formatted, or saved as a standard Excel file.

Don’t miss out a great opportunity to learn:
- How to Convert Excel to Google Sheets (Quick and Easy)
- How to Convert an Excel File into PDF
- How to Convert PDF to an Excel File (Quick and Easy)
If you found this tutorial helpful, give us a like and watch other tutorials by EasyClick Academy. Learn how to use Excel in a quick and easy way!
Is this your first time on EasyClick? We’ll be more than happy to welcome you in our online community. Hit that Subscribe button and join the EasyClickers!
Thanks for watching and I’ll see you in the next tutorial!

 How to Subtract a Percentage in Excel
Welcome! Today we’re going to talk about the simplest way how to…


