How to Set the Print Area in Excel (Step by Step)
Today we’ll be talking about how to set the print area in Excel. Keep watching and print any part of your Excel sheet without a hitch!
Would you rather watch this tutorial? Click the play button below!
How to Change Print Area in Excel
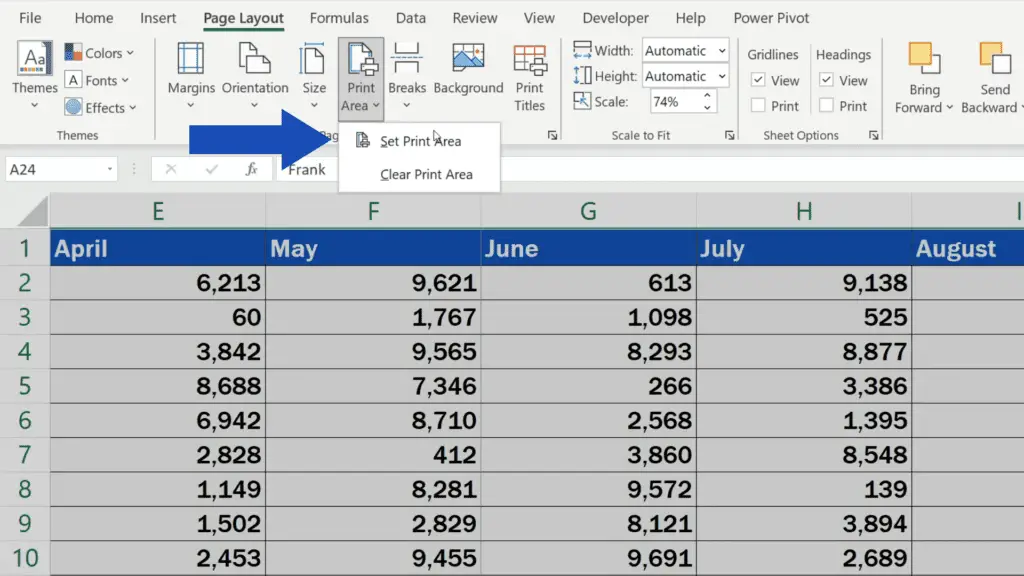
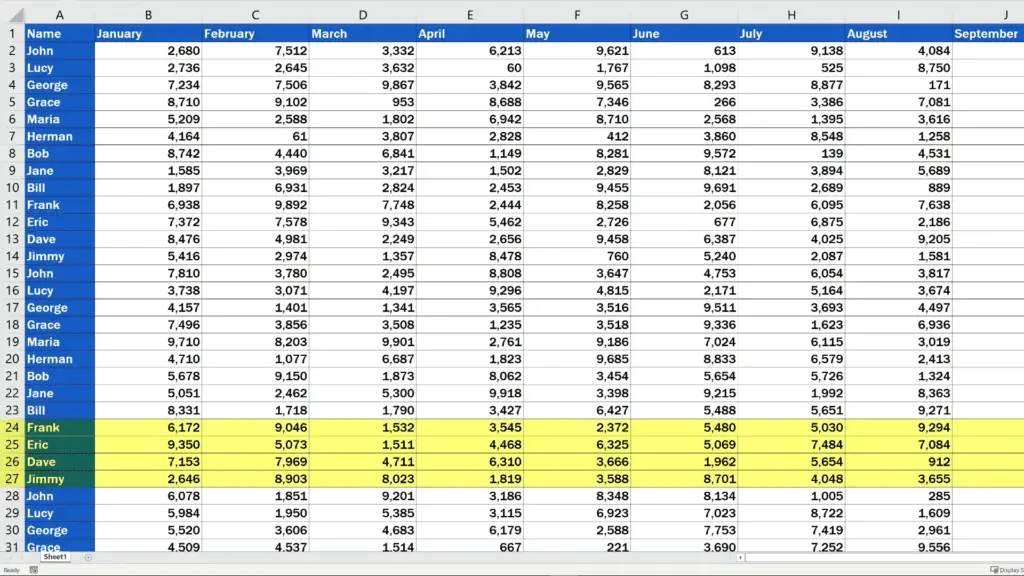
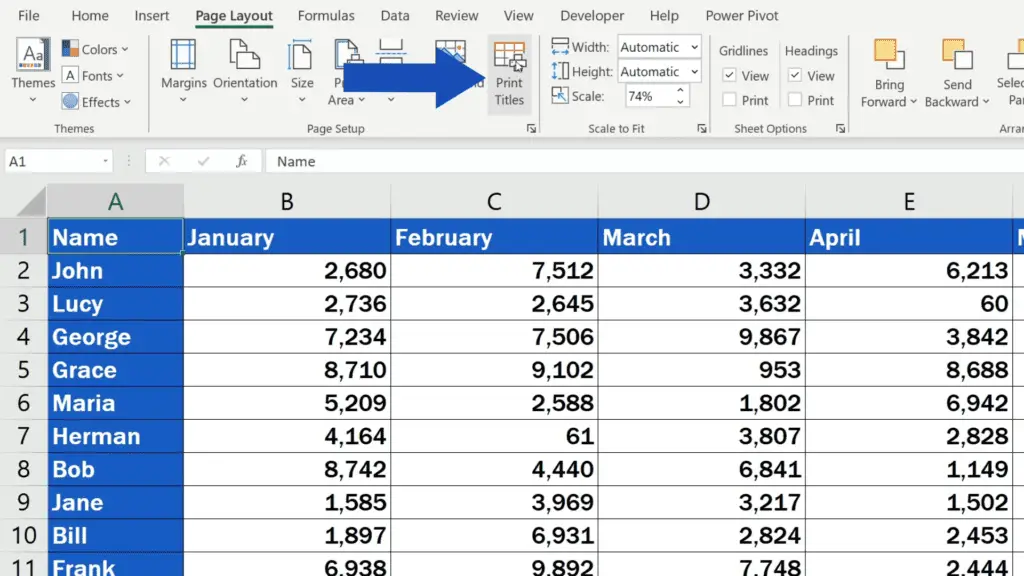
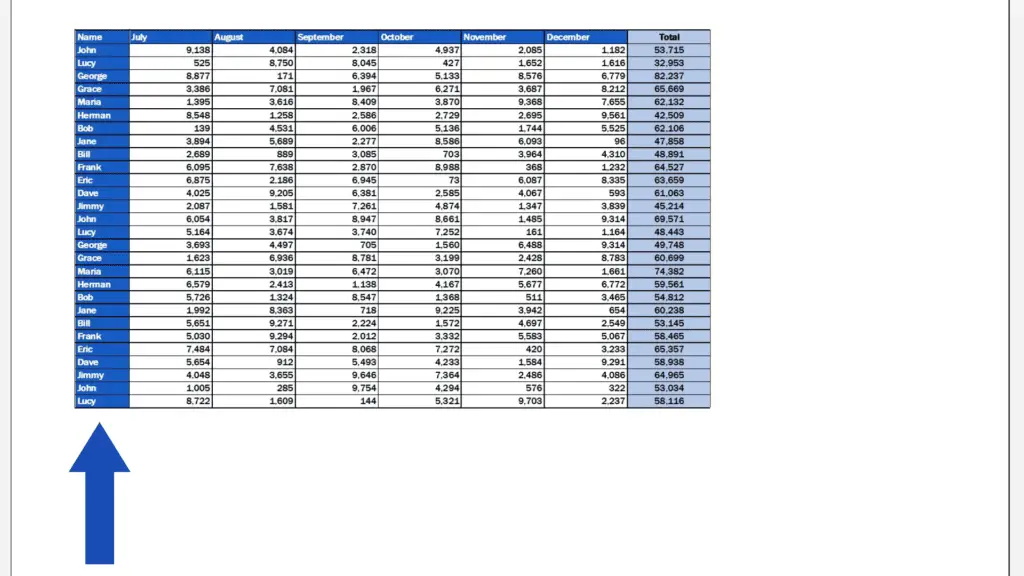
To print selected cells of an Excel spreadsheet, first you need to highlight the area.

Then go to the ‘Page Layout’ tab, click on ‘Print Area’ where you select the option ‘Set Print Area’.
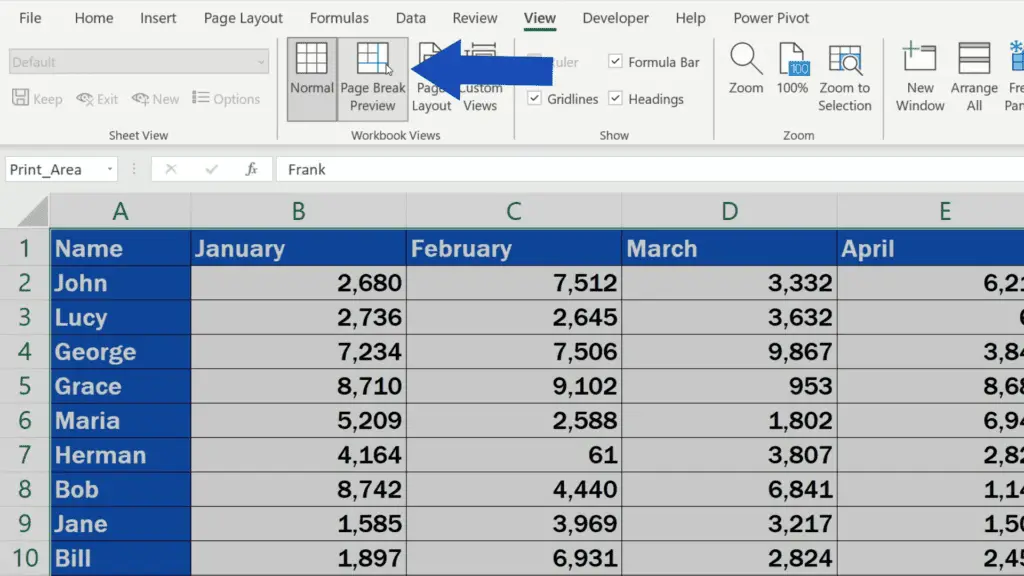
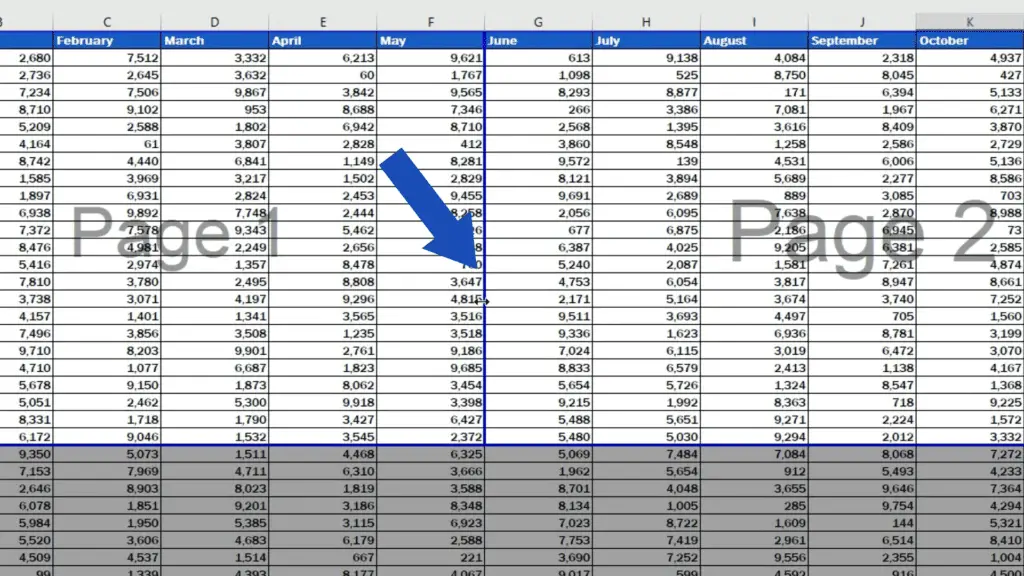
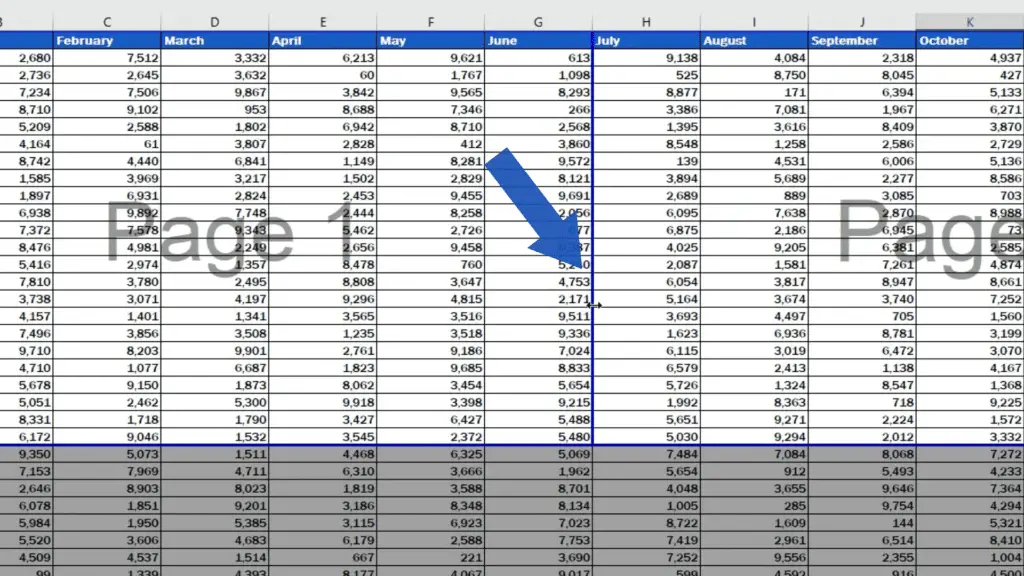
Now if you go to the ‘View’ tab up here and click on ‘Page Break Preview’, you’ll see how the selected area is distributed on pages. Here the data is spread on three pages, but if this is not convenient enough, we can change that.
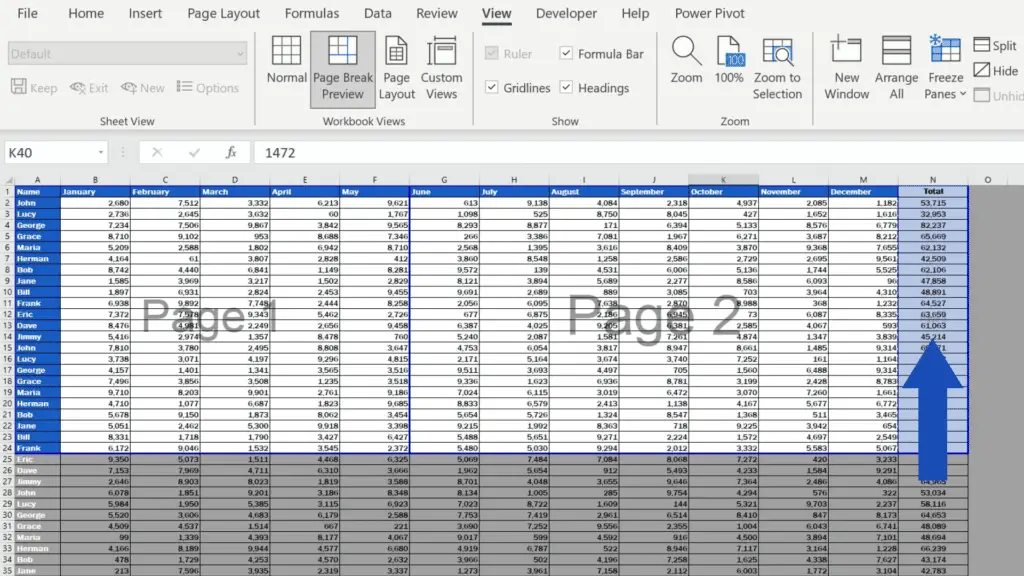
Let’s say we want to include the June figures on page one. Drag and drop this blue line here to move the data for June to the first page. All dividing lines can be adjusted the same way.
How to Adjust Print Area in Excel
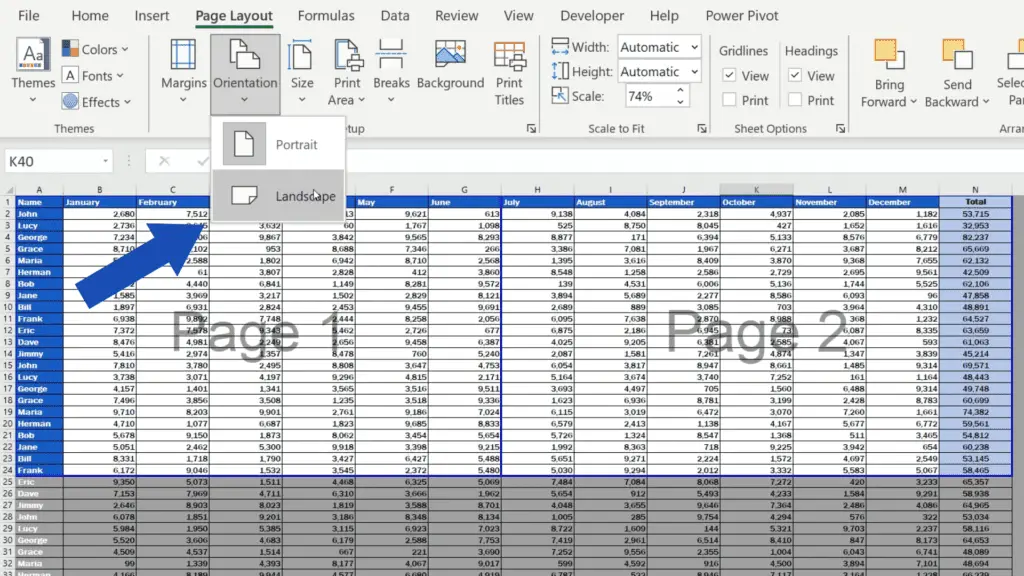
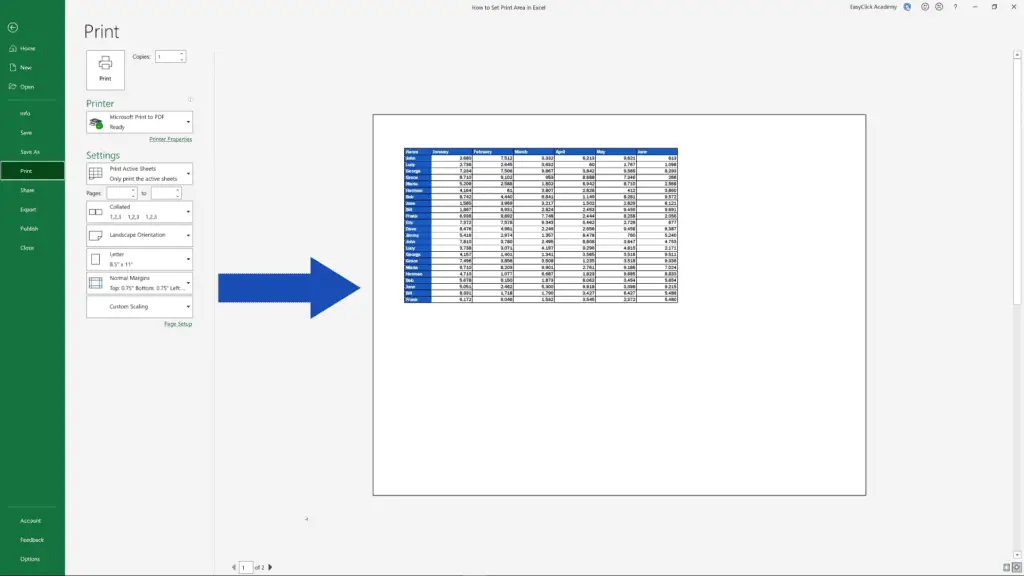
You can also change the page orientation. Go to the tab ‘Page Layout’ and set the orientation to ‘Portrait’ or ‘Landscape’ – depends on which suits you better. We’ll select ‘Landscape’ here.
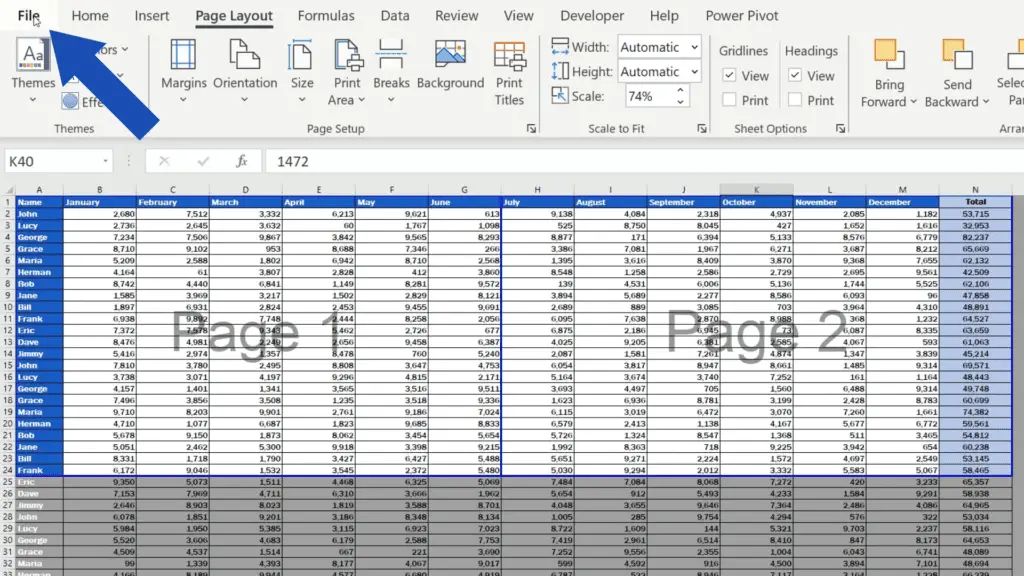
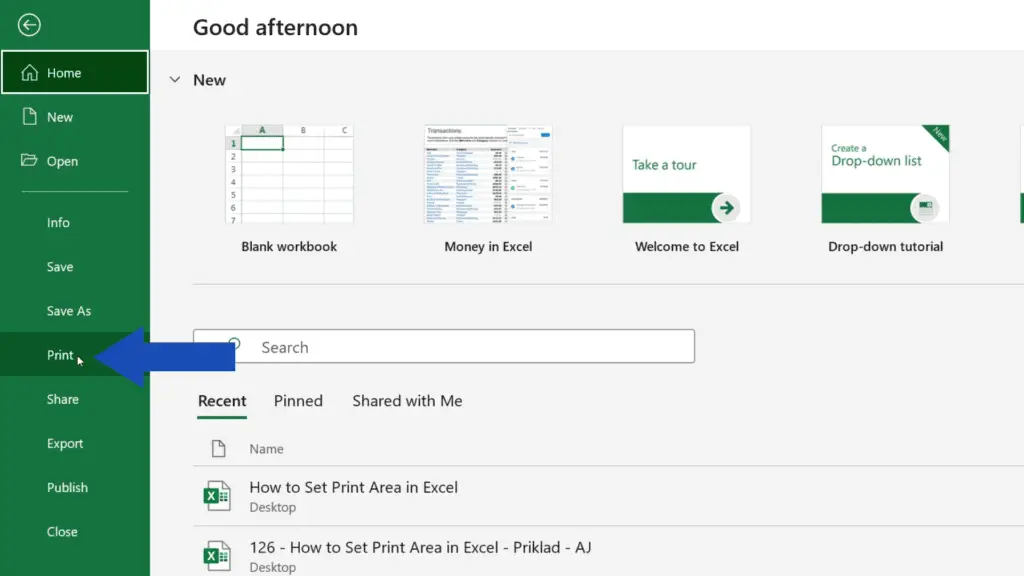
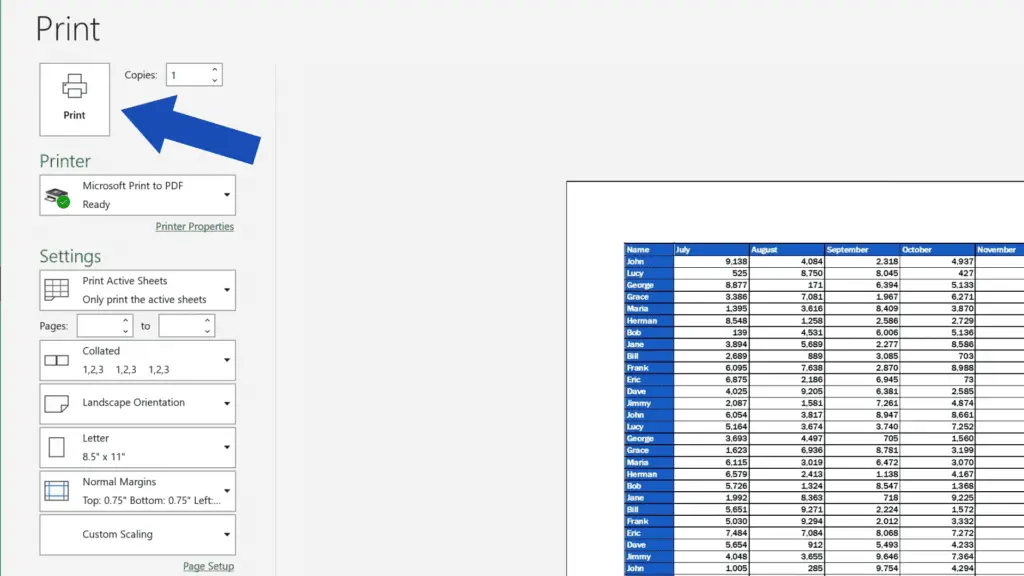
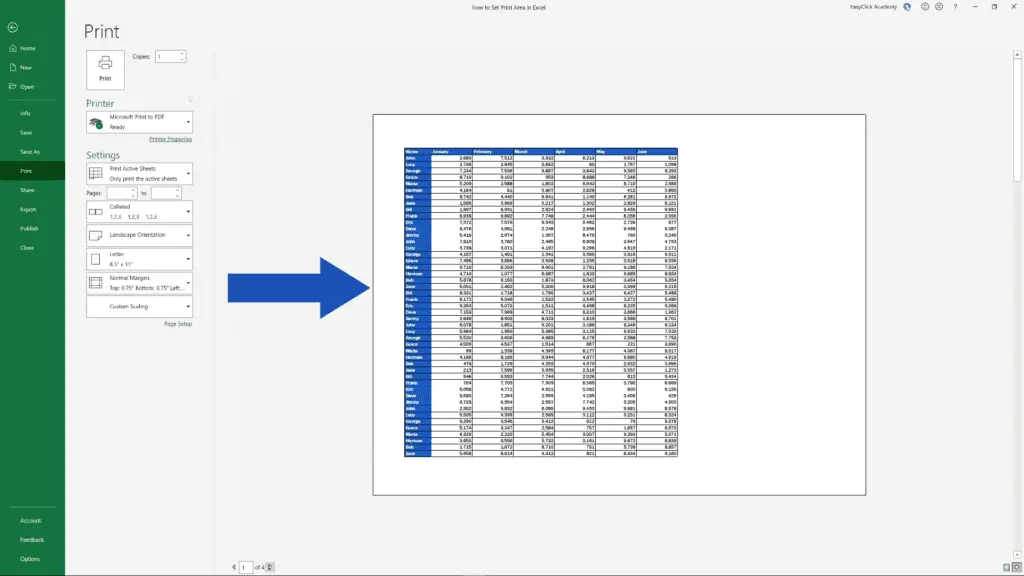
If we now go to ‘File’ here at the top and click on ‘Print’, we see a print preview and it looks exactly as we want it to print.
But let’s move on now and have a look at a couple of more useful tricks, such as how to add more cells with data to the selected print area.
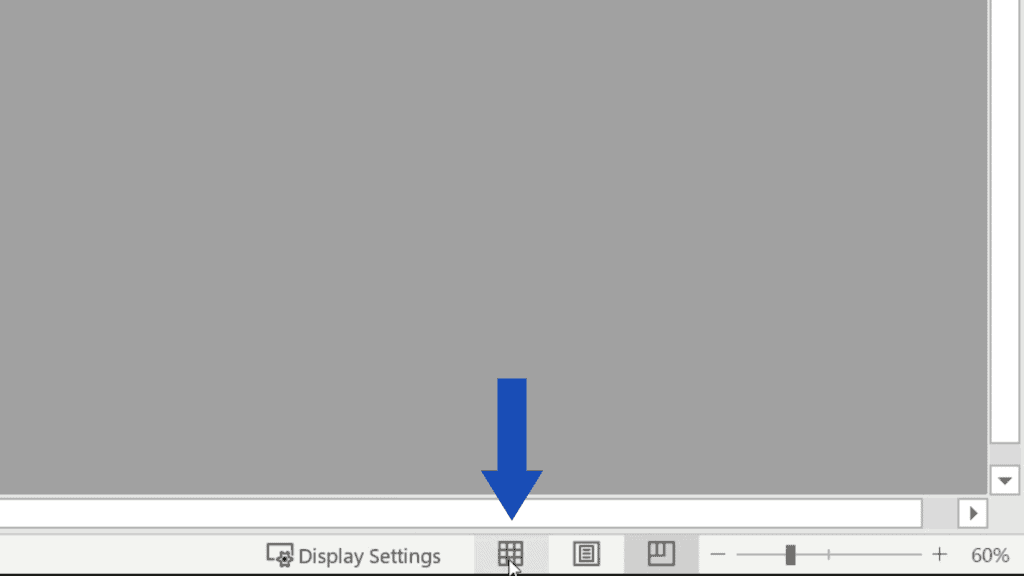
So, let’s go back by clicking on this arrow here in the top left corner and let’s switch to the normal view, but now we’ll do it through this button at the bottom on the right.
How to Add Cells to an Existing Print Area
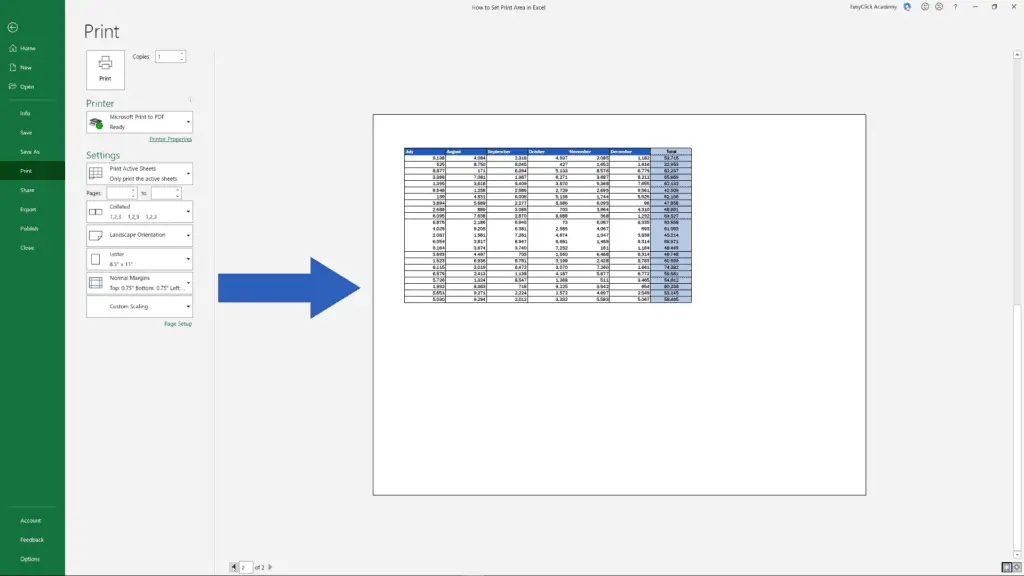
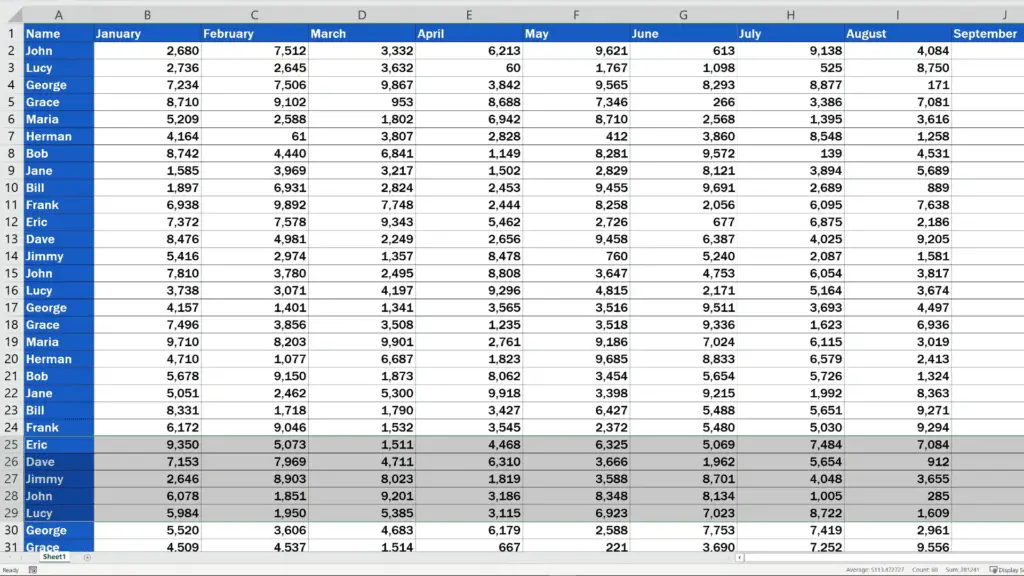
Before we get started with how to add cells to the print area, we need to remember that the last row of the current print area is 24.
If we want to add rows, we can only do so with those which are next to the last row of the selected area, which means we can expand the current print area by adding the rows 25, 26, and so on.
If the originally selected and the added data are not adjacent, Excel will create a new print area.
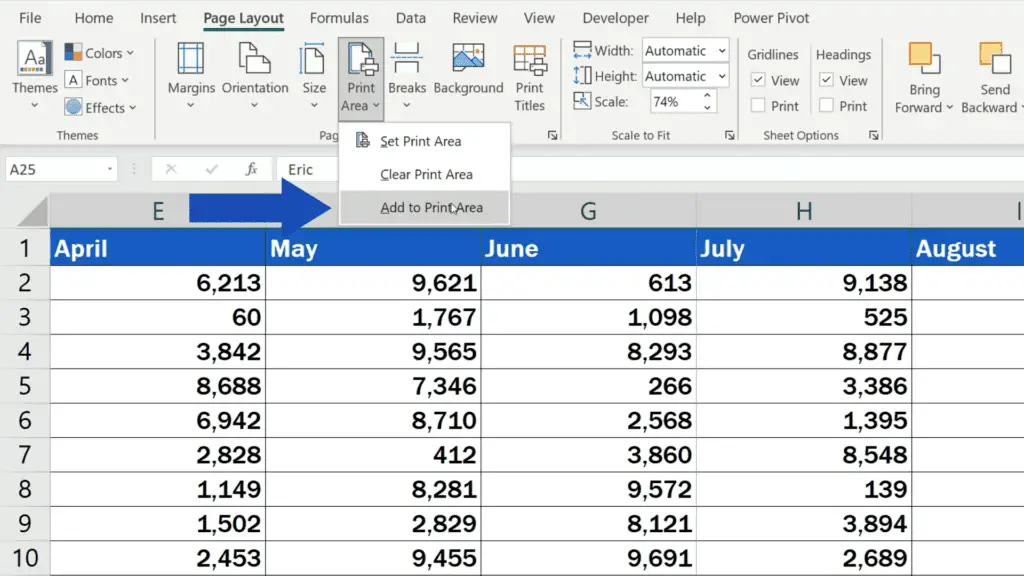
We’ll select the adjacent rows 25 to 29 to expand the print area.
Now, open the ‘Page Layout’ tab and click on ‘Print Area’ and here’s another option – ‘Add to Print Area’. Click on it and that’s it!
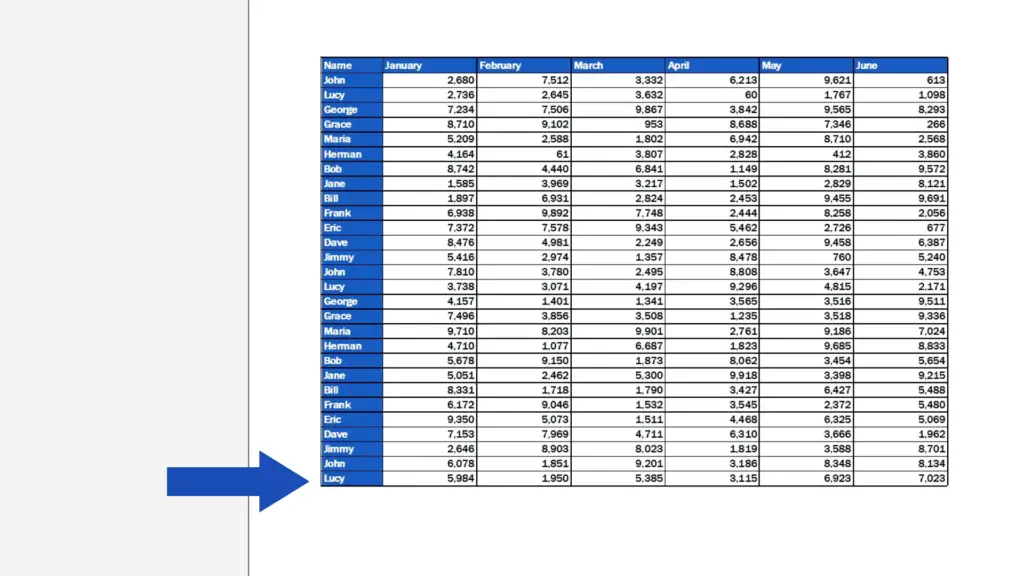
If we now go to ‘File’ and click on ‘Print’ again, it shows the expanded print area.
And that’s not all for today.
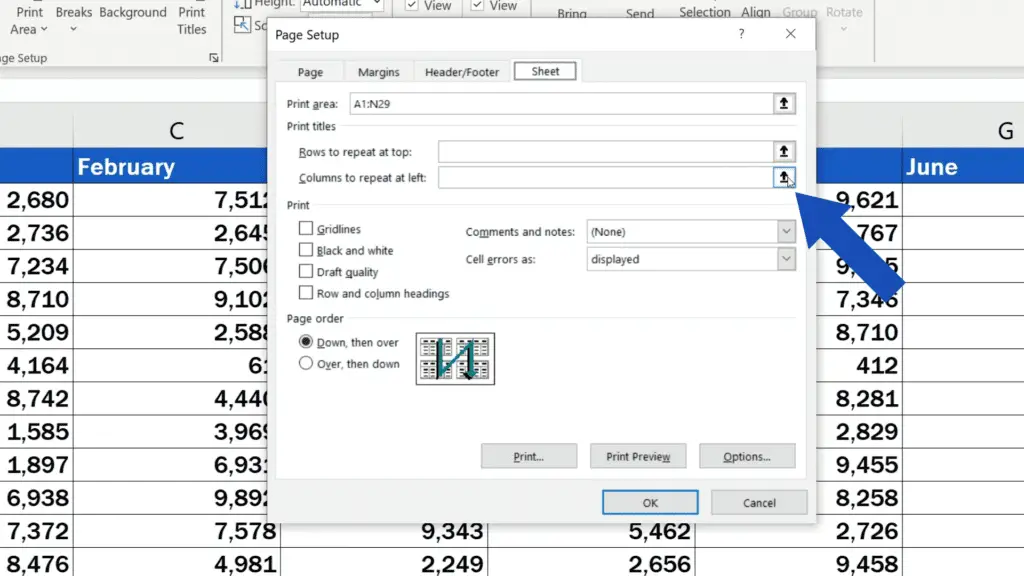
How to Set the Rows or Columns to Repeat
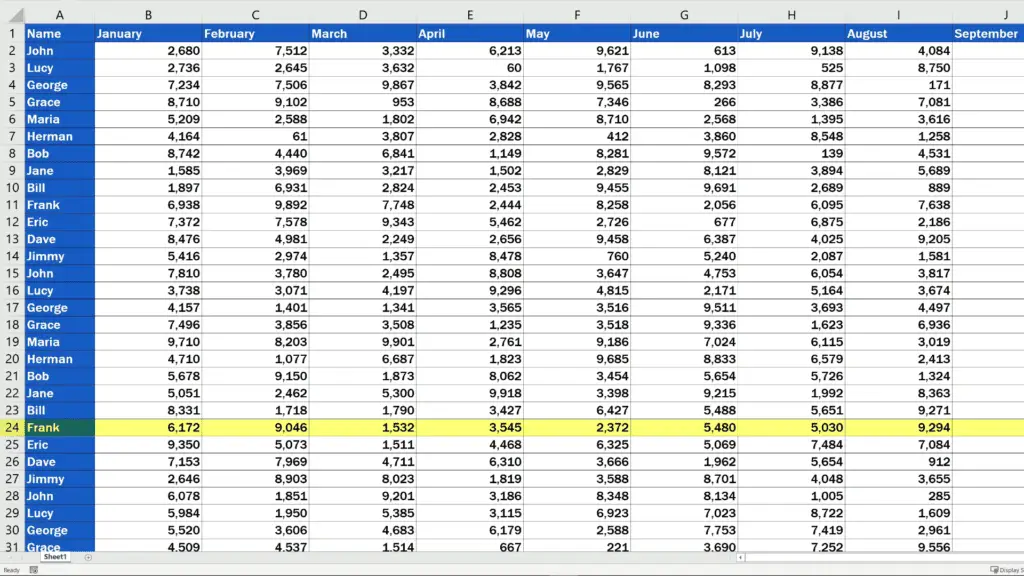
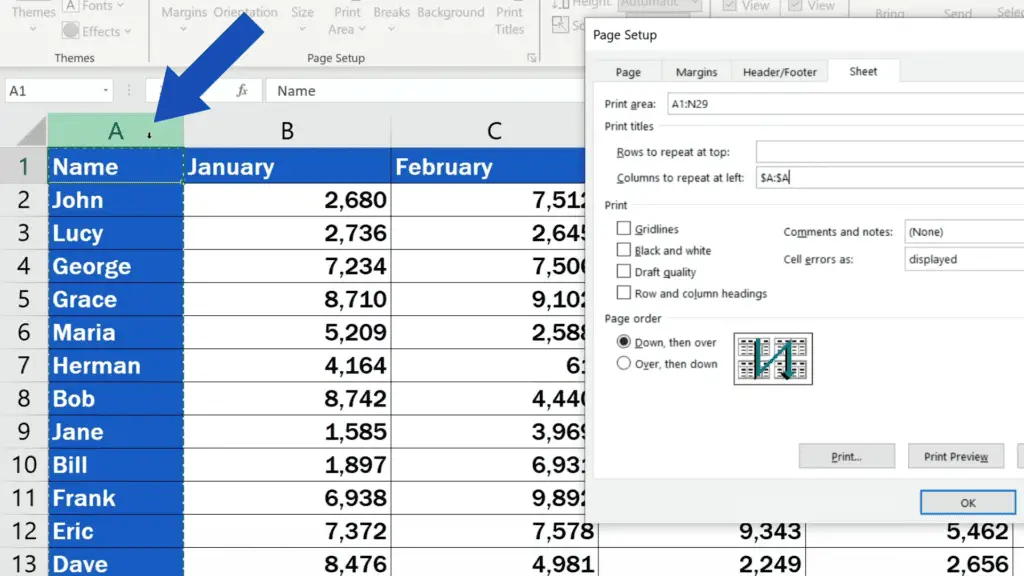
Sometimes you might need certain rows or columns to repeat. For example, the column with the names – it’s included on page one but not on page two, which can make data reading a little bit complicated.
To solve this little problem, go back to the data table by clicking on this arrow, go to the tab ‘Page Layout’ and click on ‘Print Titles’.
You’ll see a window where you can specify ‘Rows to repeat at top’ or ‘Columns to repeat at left’.
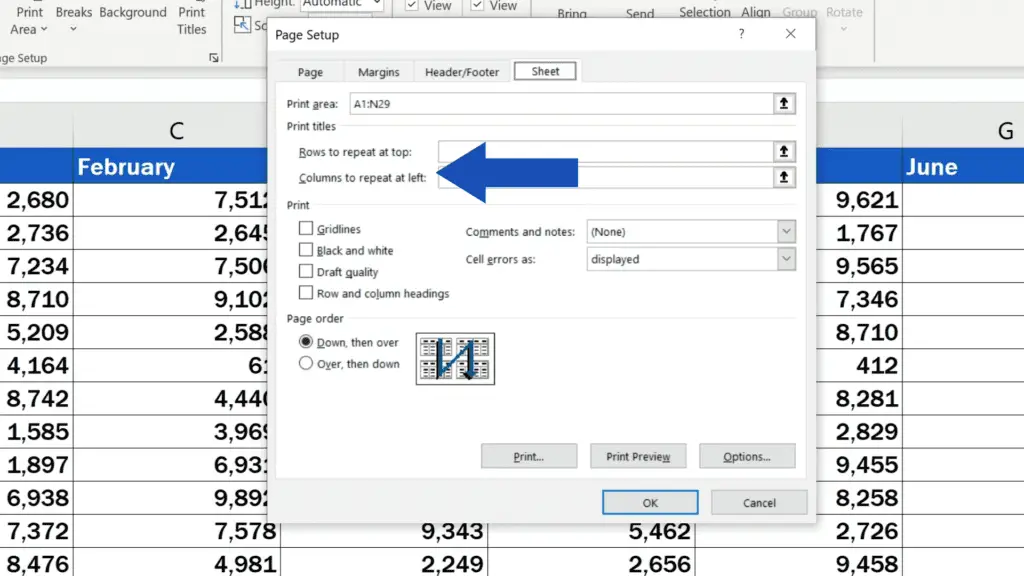
We want to repeat the column with names, so we’ll click on this option, select the column A, and confirm the choice with OK.
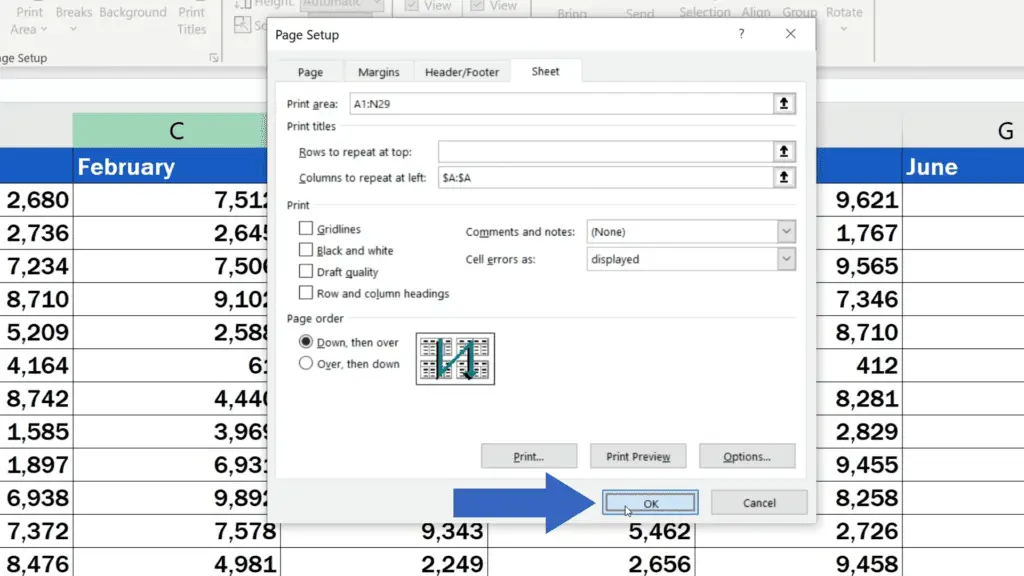
And that’s all it takes!
When we have a look at the print preview, we can see that the column with names shows on both pages, which makes it much easier when it comes to reading the data!
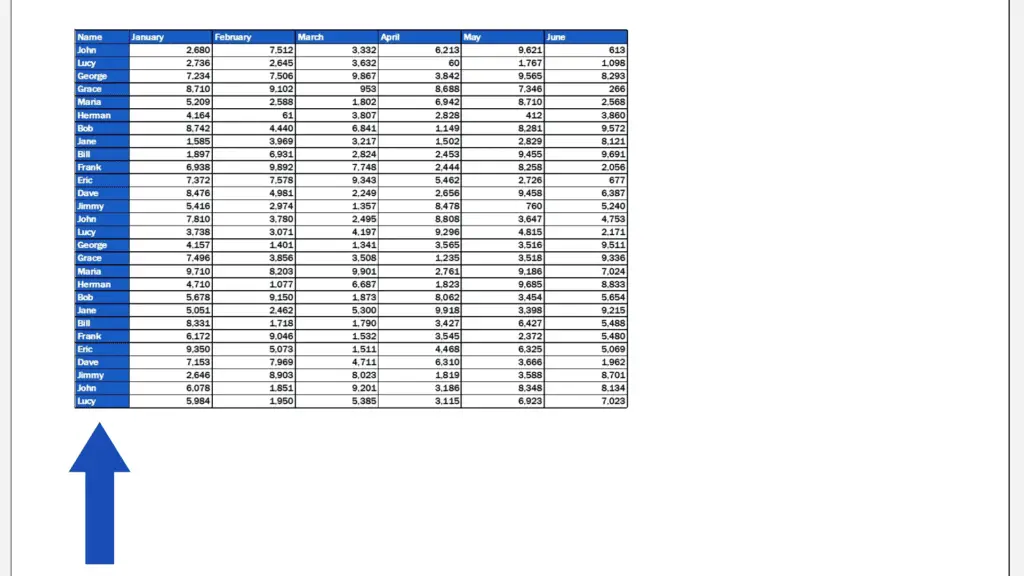
Once everything’s been set as needed, just hit ‘Print’ to print out only that part of the data table you need.
And before we wrap it up for today, there’s something to bear in mind when setting the print area.
If you save the workbook now, the print area you’ve set will be saved, too. So, you can print out the same area anytime you open the document.
How to Clear Print Area in Excel
To clear the print area, click on the arrow in the top left corner again, go to the ‘Page Layout’ tab, click on ‘Print Area’ and select ‘Clear Print Area’.
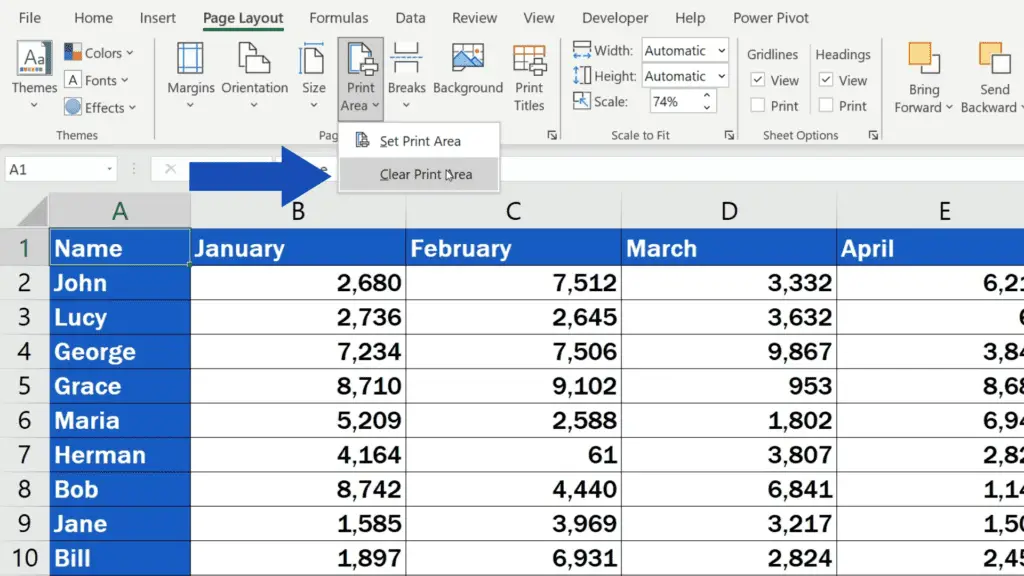
Now you can print out the whole sheet.
If you’d like to know how to add a header or a footer in Excel, watch more tutorials by EasyClick Academy – the links to the tutorials are included in the list below.
Don’t miss out a great opportunity to learn:
- How to Add a Footer in Excel (Text, Picture, Page Numbers, and More)
- How to Add a Header in Excel (Text, Picture, Page Numbers, and More)
- How to Insert Page Numbers in Excel (in the Header or Footer)
If you found this tutorial helpful, give us a like and watch other tutorials by EasyClick Academy. Learn how to use Excel in a quick and easy way!
Is this your first time on EasyClick? We’ll be more than happy to welcome you in our online community. Hit that Subscribe button and join the EasyClickers!
Thanks for watching and I’ll see you in the next tutorial!

 How to Subtract a Percentage in Excel
Welcome! Today we’re going to talk about the simplest way how to…


