How to Remove Spaces in Excel (Two Useful Ways)
In today’s tutorial, we’re gonna go through two helpful ways how to remove spaces in Excel. The first one comes handy when you need to ‘tidy up’ numbers or continuous chunks of text. The second one is perfect for texts consisting of two or more words where you just need to remove the leading or trailing spaces, but you want to keep a space between the words.
Sounds interesting? Let’s get started then!
Would you rather watch this tutorial? Click the play button below!
The First Way How to Remove Spaces in Excel
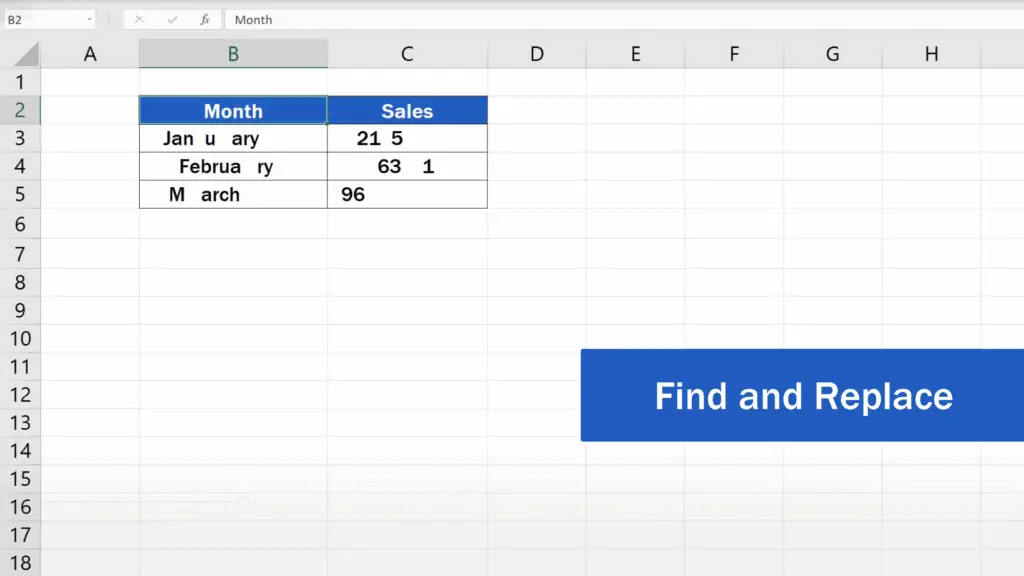
Let’s start straight away with the first way to remove spaces and sort out the data here in this table.
If the data consists of numbers only or there are continuous chunks of text in the table, the best way’s to go for the option ‘Find and Replace’ which is a quick and effective help when it comes to removing spaces in a data set.
Here’s how it works.
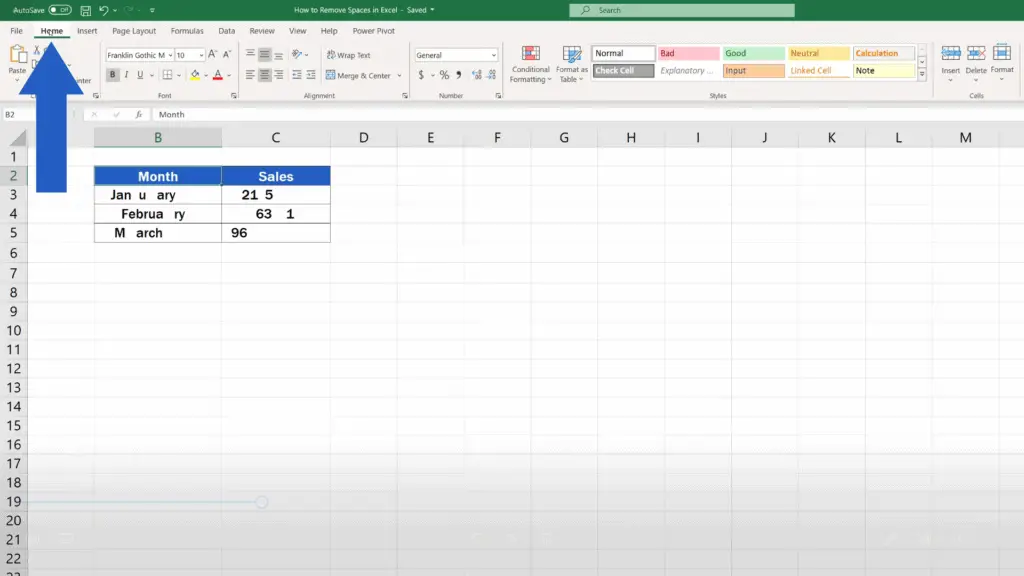
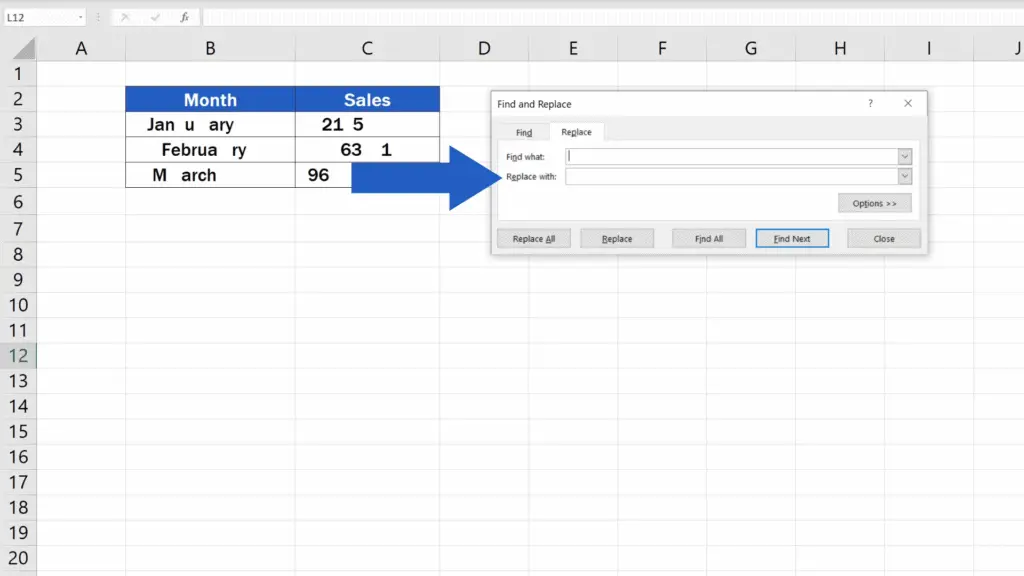
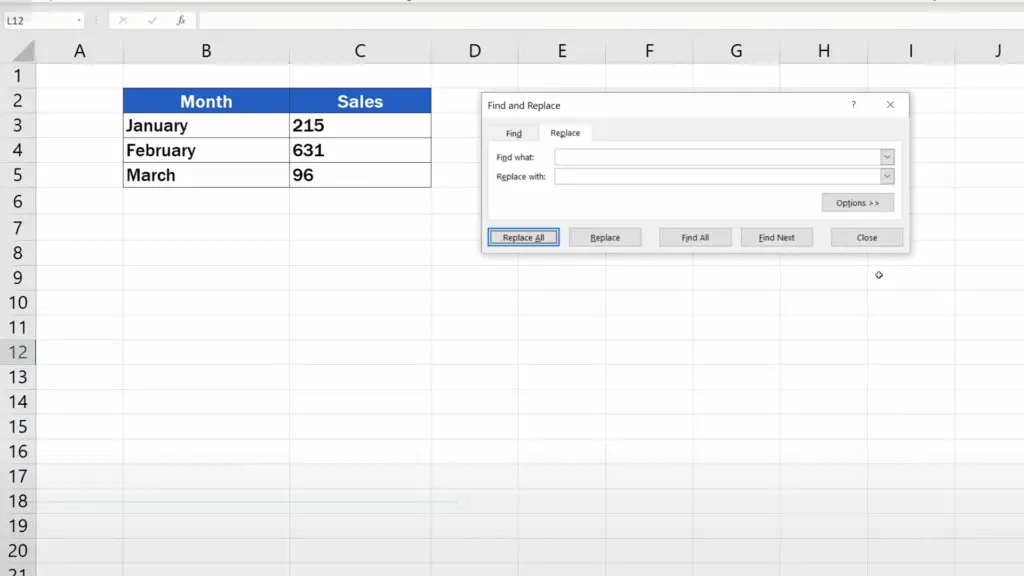
Go to the Home tab, click on ‘Find & Select’ and choose ‘Replace’.
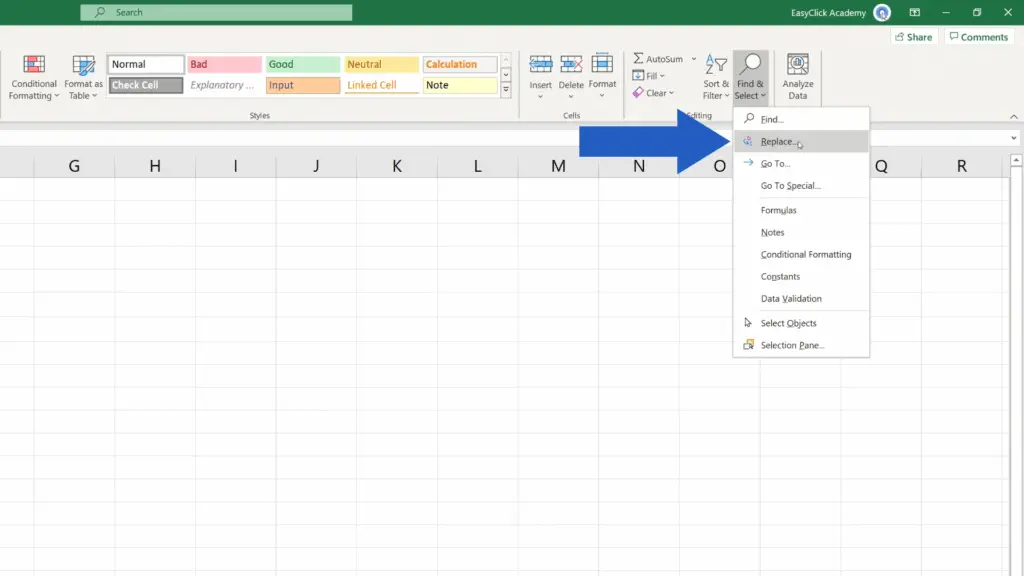
Alternatively, you can press the hot keys Ctrl + H and the same window opens.
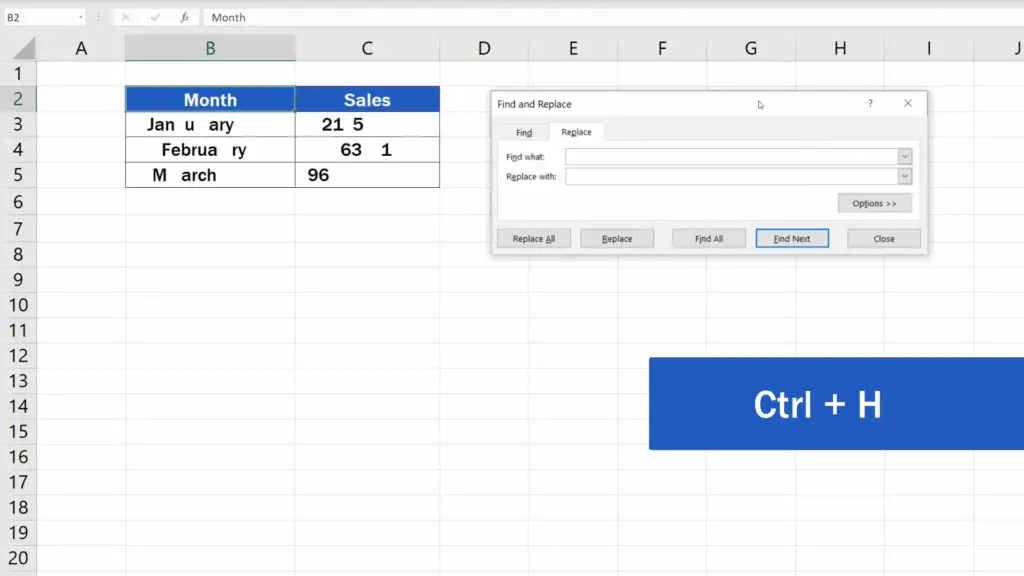
Once done, there are two bits of information that needs to be entered in the two text fields.
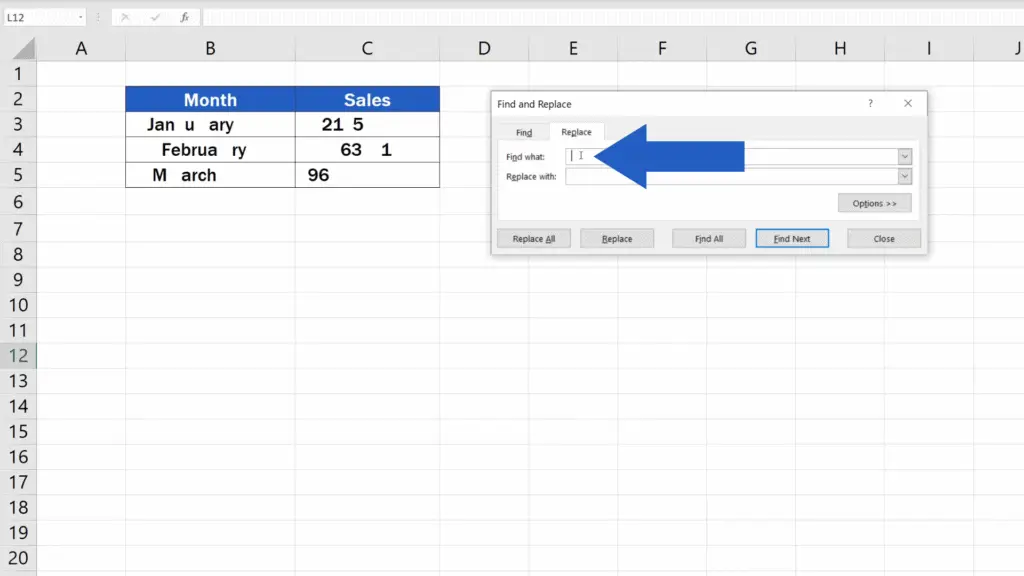
First we need to find each space in the data table. So in the field ‘Find what’, we need to specify the character we’re looking for, which is a space.
Then we need to enter the character which is to replace the space. This bit of information will go in the text field ‘Replace with’. Since we want to remove the spaces, we’ll leave this field empty.
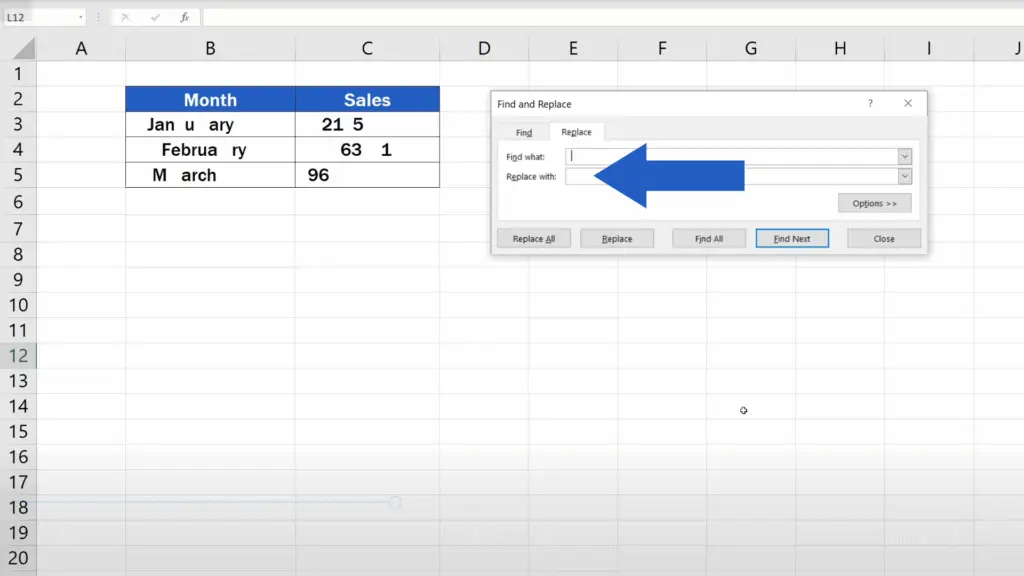
This is an instruction for Excel to look for each space and replace it with nothing, which basically means it will delete the spaces.
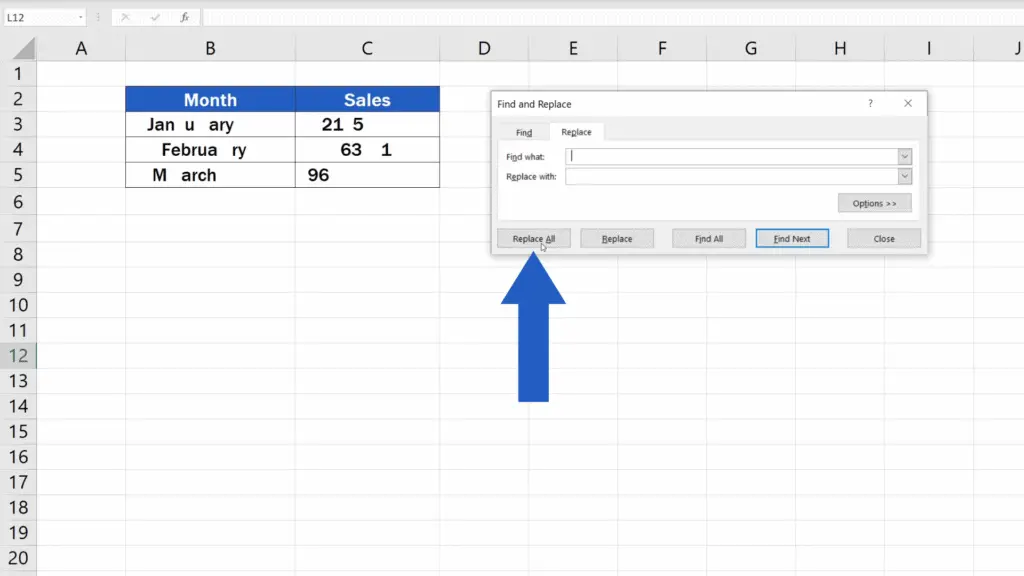
Now, once everything’s been set, click on ‘Replace All’ and all spaces have been removed as needed.
But let’s have a look at the second way.
The Second Way How to Remove Spaces in Excel (Using the TRIM Function)
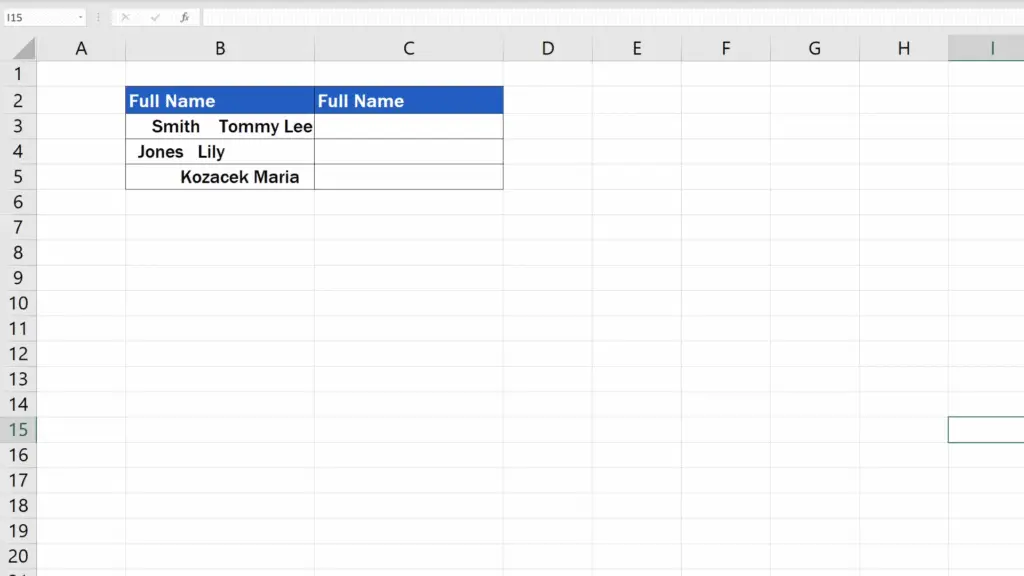
We’ll change sheets and use this data table containing texts which consist of more than one word.
In this case, we need to remove only the leading and trailing spaces and redundant spaces between the words, but we want to keep a single space to separate two words.
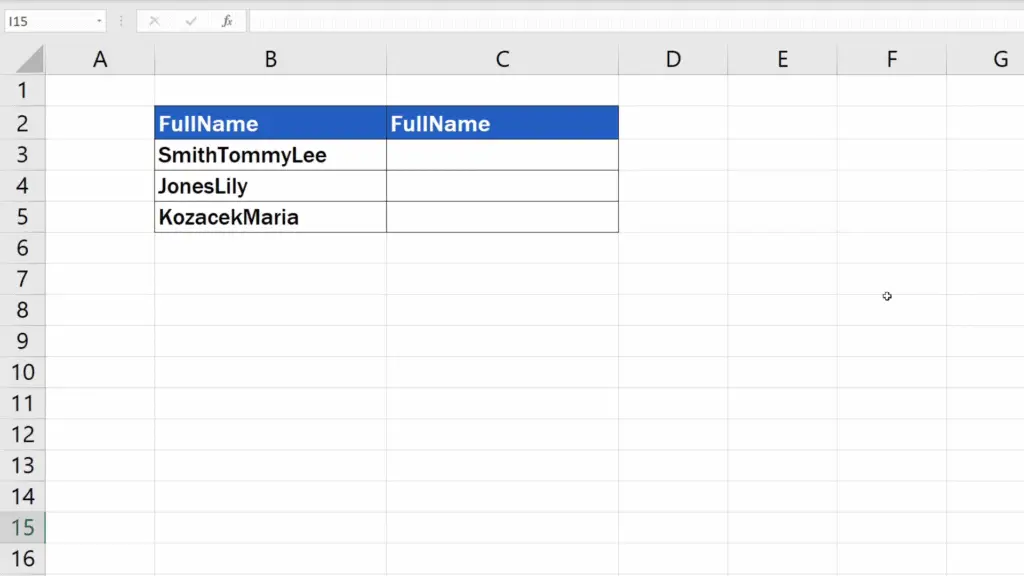
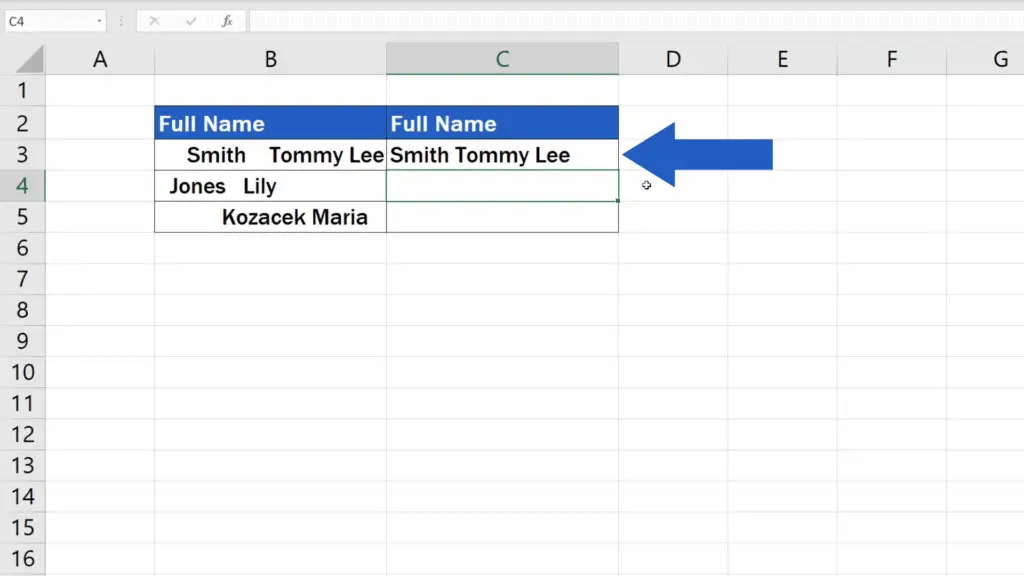
If we remove the spaces the same way as previously, Excel will remove each space throughout the table indiscriminately and the names and surnames will blend like this, which is what we definitely don’t want.
Let’s undo the changes and have a look at the other way to remove the spaces correctly.
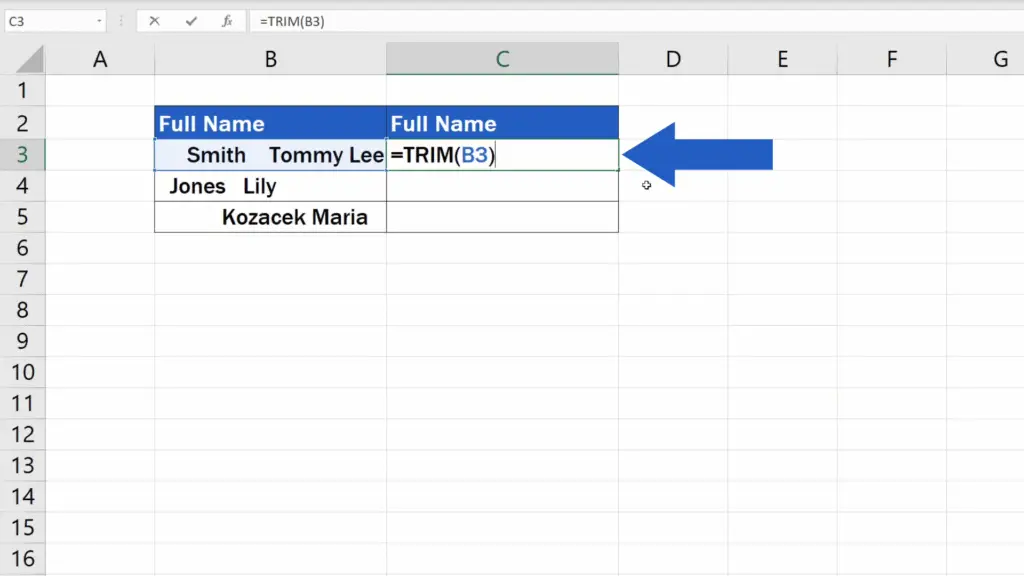
For that, we’ll use the function ‘TRIM’.

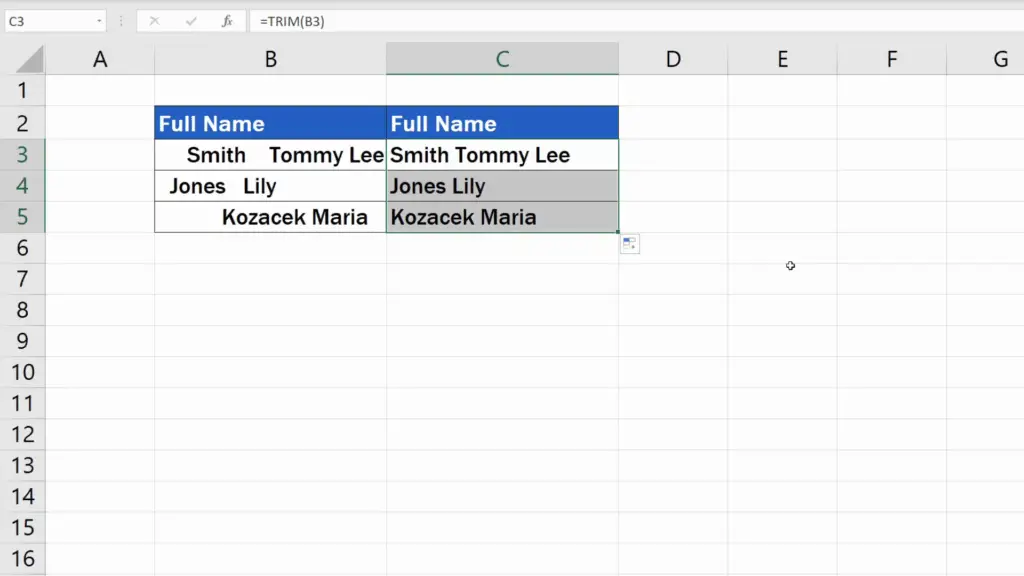
Click into the cell C3, enter the equal sign and type in ‘TRIM’. Then use brackets to specify the cell in which you want to remove the spaces – in our case, it’s B3. Close the brackets, hit ‘Enter’ and that’s it!
All redundant spaces present in B3 have now been removed in C3
The function can be copied by dragging the bottom right-hand corner of the cell down the column.
However, there’s one little thing to bear in mind.
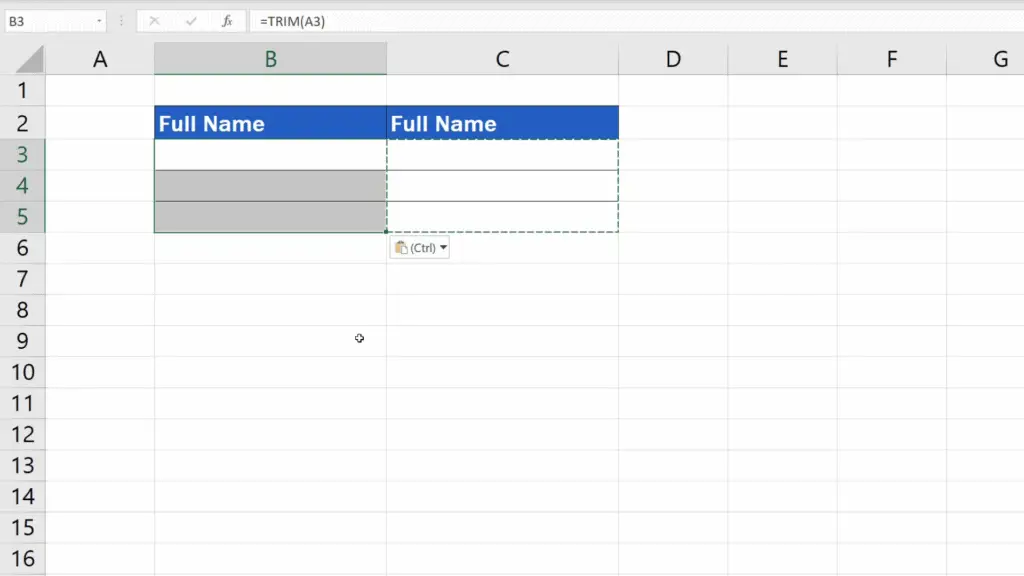
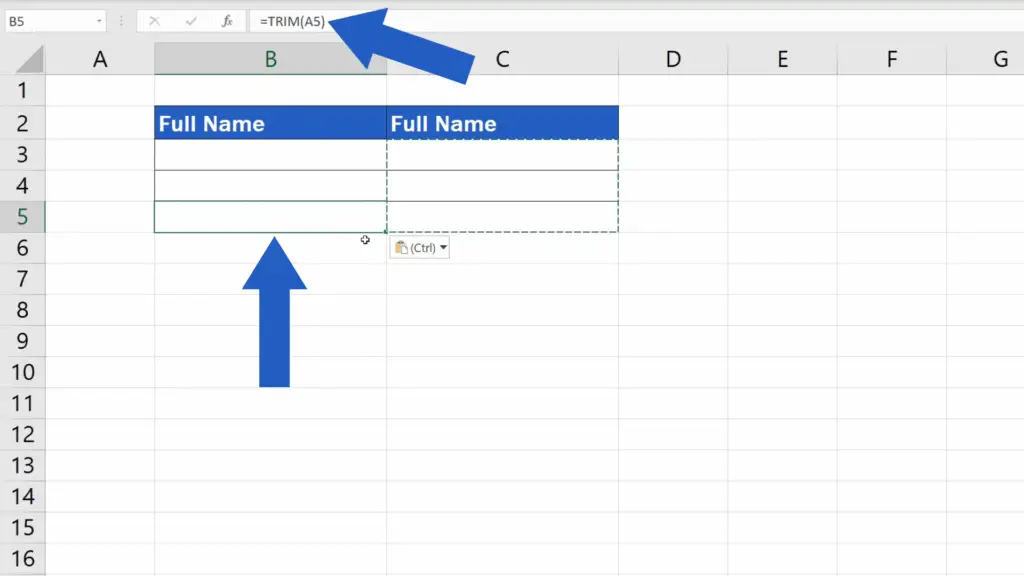
If you copy the data from column C to column B, you’ll see the table empty. The reason behind this is very simple – Excel copies the function itself, not the values which are the results of the function.
Go back and let’s have a look at how to copy the data correctly to see the values not the function in column B.
How to Copy the Data Correctly to See the Values not the Function
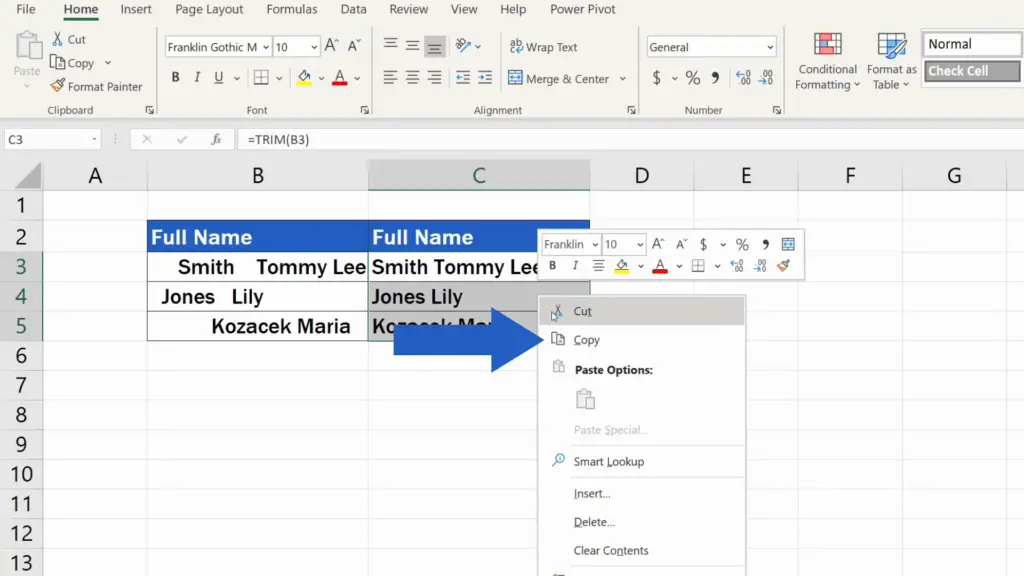
We begin – as before – by selecting the area to copy. Then we select ‘Copy’ through a right-click.
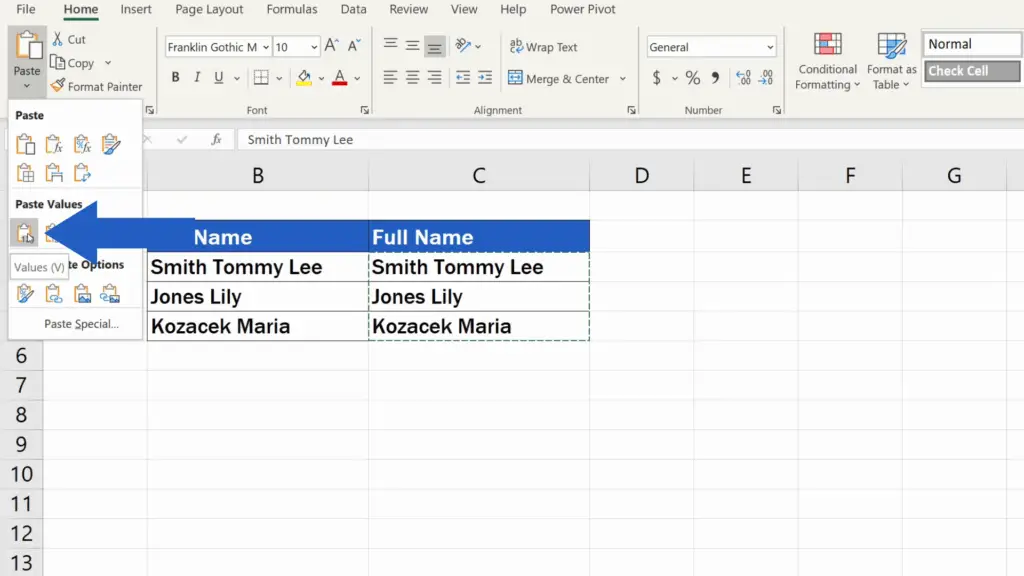
However, instead of regular pasting, we’ll click on ‘Paste’ up here at the top now and select ‘Paste Values’ from the options. This way, Excel will paste only the values which are the results of the function TRIM we entered a while ago.
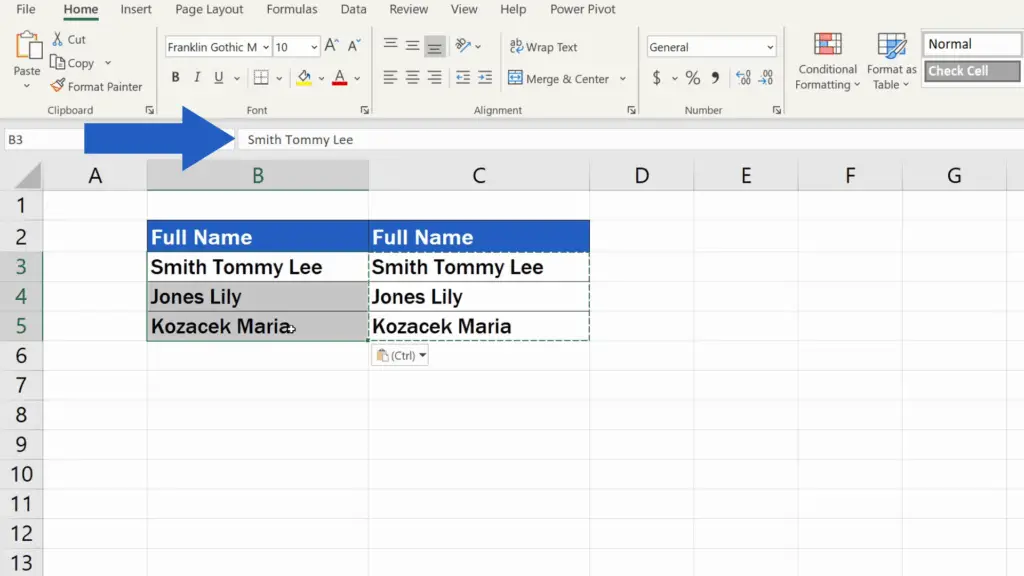
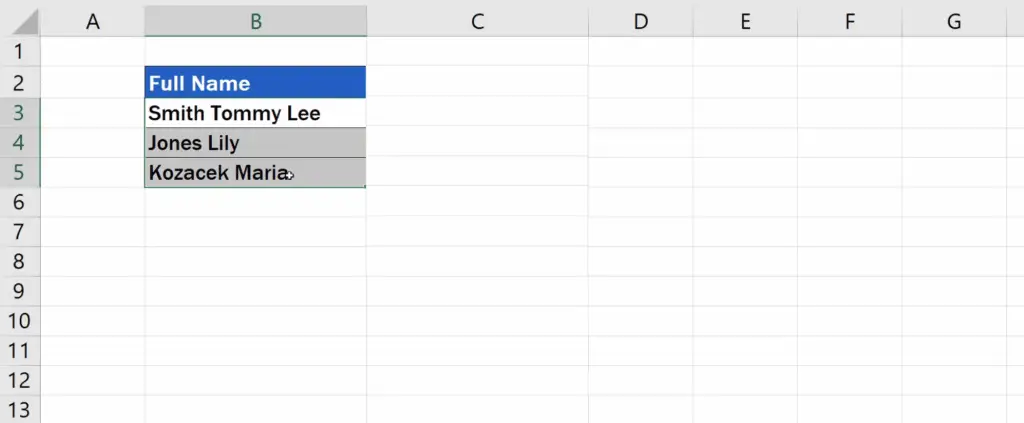
By pasting values, the correct data will show in the original B column and we can simply get rid of the additional column C.
Don’t miss out a great opportunity to learn:
- How to Remove Blank Rows in Excel – BASIC
- How to Remove Blank Rows in Excel – ADVANCED
- How to Highlight Blank Cells in Excel (Conditional Formatting)
If you found this tutorial helpful, give us a like and watch other tutorials by EasyClick Academy. Learn how to use Excel in a quick and easy way!
Is this your first time on EasyClick? We’ll be more than happy to welcome you in our online community. Hit that Subscribe button and join the EasyClickers!
Thanks for watching and I’ll see you in the next tutorial!

 How to Subtract a Percentage in Excel
Welcome! Today we’re going to talk about the simplest way how to…


